
Hi SCT friends! It’s Sidnie here, and I’m back to show you some cool ways to create dimension to your projects using products from Scrapbook Adhesives by 3L! You may think your papercrafting project is missing something that you cannot put your finger on. When that happens to me, I know I can always add foam adhesive, and it will take my project from okay to YAY! Today I want to show you two cards that I added foam to for extra lift!

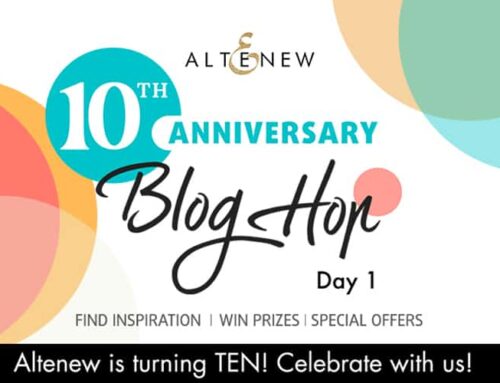
When you have a background stamp like this Honey Bee Stamps Hugs Enclosed set, you can add dimension to make your card front pop!
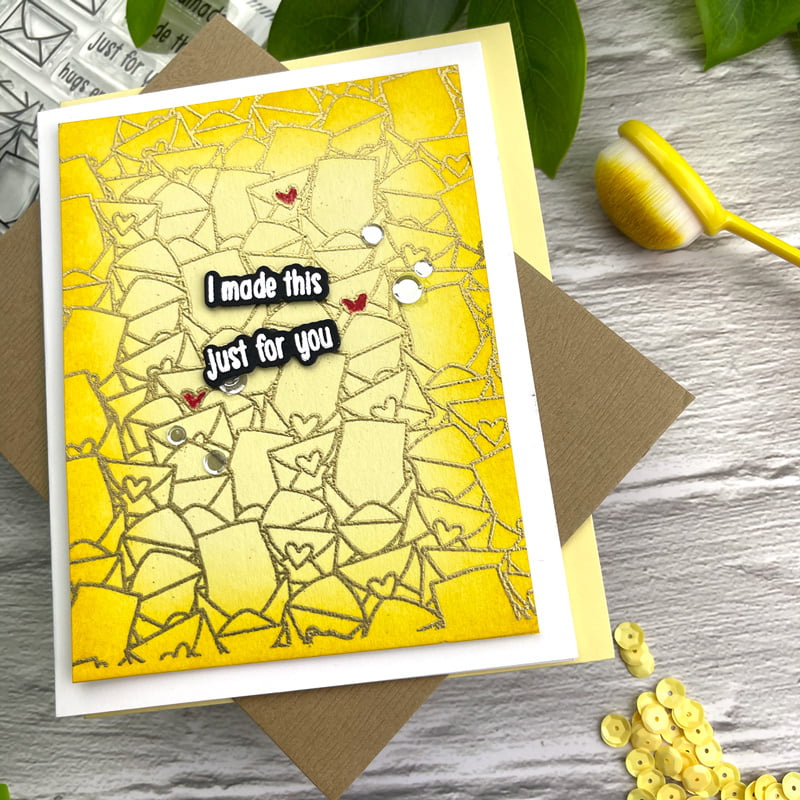
The Hugs Enclosed image was embossed with gold powder, then heat set before I added Mustard Seed Distress Ink to the edges and a pop of red on three hearts. I could have simply adhered the panel to my card front using a tape runner, like the EZ Runner from Scrapbook Adhesives, but adding dimension to the panel makes it cast a nice shadow against the white card front.
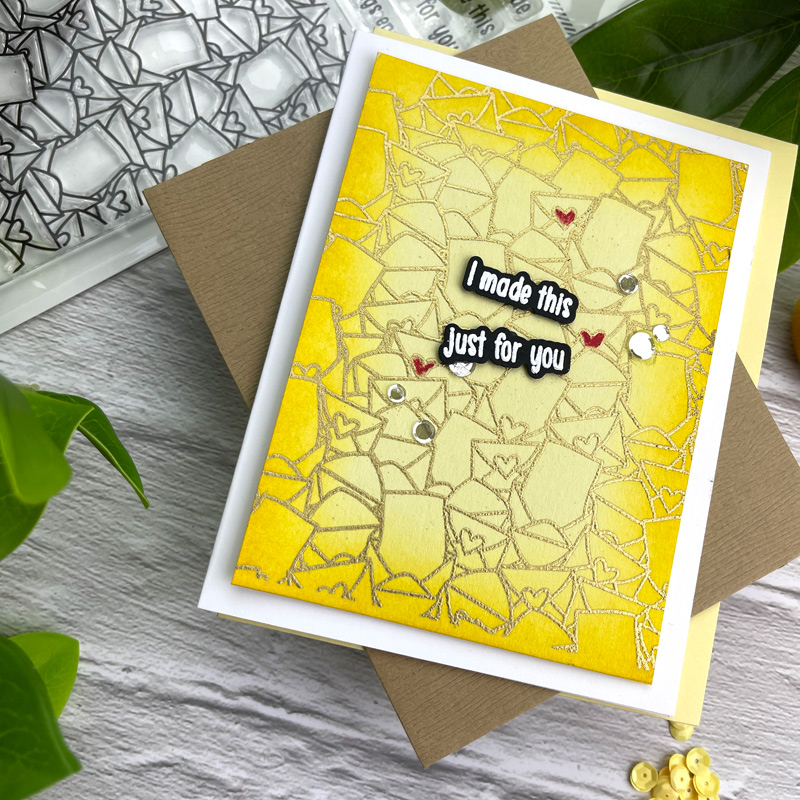
Once I cut out the “I made this just for you” sentiment, I added Scrapbook Adhesive 3D foam squares to the back before adhering to the card panel. These foam squares are the perfect size for small sentiments or any other small items you want to add to your project!
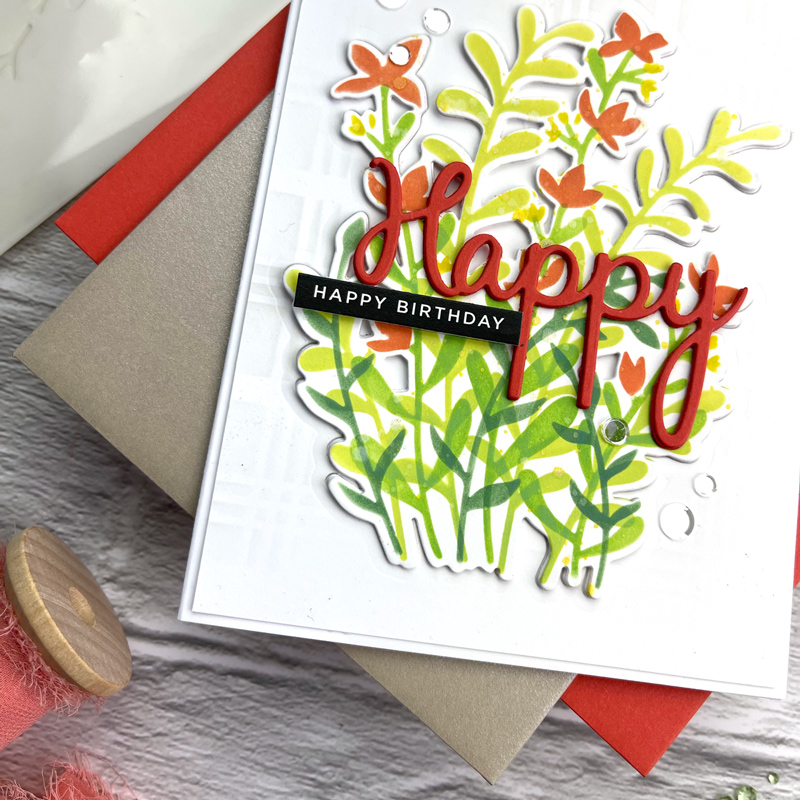
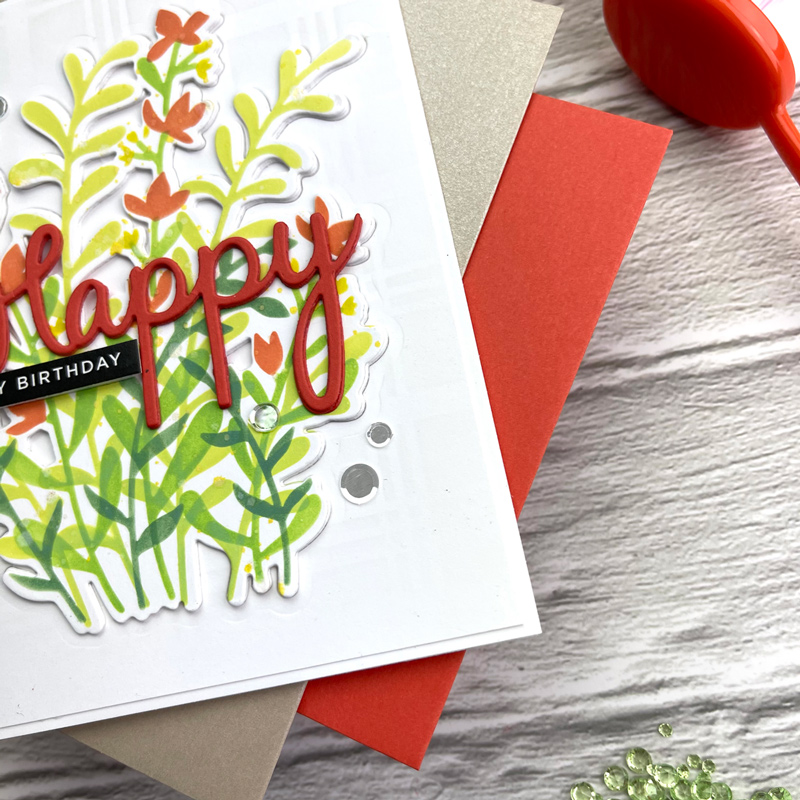
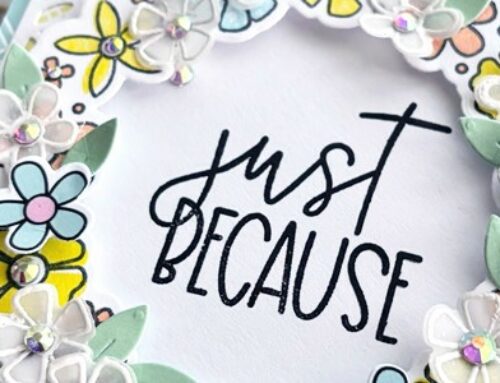
For my second card, I added Scrapbook Adhesive Crafty Foam Tape to the back of my floral scene created with the beautiful Pinkfresh Studio Enchanted Meadows stencil and die.
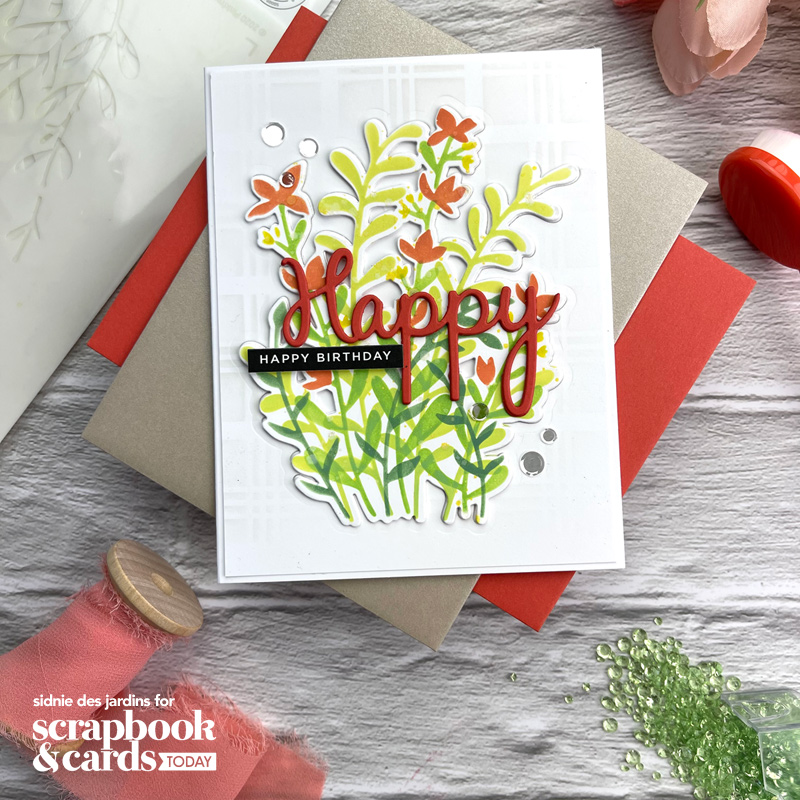
I die cut the floral design from the middle of my panel and placed foam tape on the back for added dimension. I didn’t stop there—even my sentiment deserved some dimension! I added tiny pieces of Scrapbook Adhesive 3D foam sheets behind my sentiment for a second layer of lift before finishing off the card with sparkly gems.
Adding foam products from Scrapbook Adhesives by 3L in one layer, or even two adds so much to a basic card design and elevates it—figuratively and literally.
Thanks for stopping by for day four of Adhesive Week! Grab some foam tape from our friends at Scrapbook Adhesives by 3L and have fun adding dimension to your projects!
Find more of Sidnie’s work here: Instagram | Facebook | Blog


Very cute! Simple design but beautiful!
I have every foam product from Scrapbook Adhesives by 3L. I love that it comes it white and black. Pretty much use it on every project.
Beautiful! I *need* dimension on my cards, so Sidnie’s techniques are ever so appreciated! Inspired and inspiring!
~carol
Beautiful cards adding a double layer of adhesive foam is great.
Great card! Thanks for sharing.
Thanks for your useful suggestions.
The Happy birthday card is so beautiful. Great Inspiration.
Beautiful cards!
So pretty! Thanks for the tip.
Gorgeous cards!
I love scrapbook 3L adhesives.They hold firm everytime.So spring.
Each one cutest than the last! I specially loved the one with the gold embossed letters.
Such wonderful designs! I love how you added dimension for extra added sophistication! Thanks so much for sharing and inspiring!
Simply lovely cards!
Isn’t it amazing what a little foam can do.
I love the yellow envelopes card. It is a beautiful, warm and lively card. It brings good news
Merci
Yolande
Beautiful card!
Beautiful cards… thank you for the inspiration!!
Simple and cute ! Thanks
Lovely card! I have used foam tape for cards I’ve made in classes but somehow I forget to use it on my own designs when a huge element is used. Thanks for the reminder!
Gorgeous cards!
Love the cards! Also love 3L adhesive products!