It’s no secret that I love patterned paper—I don’t think I could scrapbook without it! Lately, I’m especially crazy about shaped patterned paper. Scalloped circles, scalloped squares, fancy edges—you name it, I love it! However, I do have a couple of small problems with it.
Problem #1: The price
Shaped paper tends to be more expensive than regular sheets of 12×12 paper, and understandably so. But because of my cheap, I mean, frugal nature, if I’m splurging on an item like this, I’d like to get the most for my money.
Problem #2: Storage
I store my layouts in drop-in-loading page protectors and I almost always use my full sheets of shaped patterned paper as backgrounds for my layouts. The problem? When I put these page protectors in my drop-in-loading 12×12 albums, with another layout behind it, I can see some of the back of that layout peeking out behind it. (I don’t like this—either it doesn’t coordinate with my layout, or it detracts from the shape of the layout I created.) And, if I put it in a separate page protector, when I turn the page, I can see the back of my shaped layout. And because I often sew on my pages, I don’t like seeing the back of them either.
The solution: to use both sides of the shaped patterned paper to create two layouts.
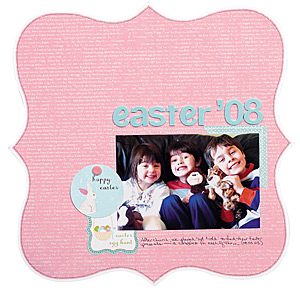
On my “Easter ‘08” layout, I used a piece of Making Memories themed shaped paper. Because I store my layouts in my albums in chronological order, I made sure that the layout I created on the back took place around the same time. So for this layout, I created a layout on the back about decorating our Easter eggs.


These layouts also work well with shaped cardstock.


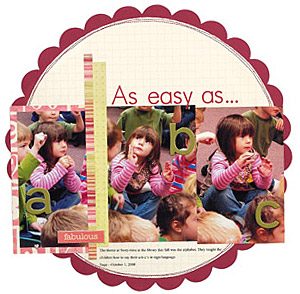
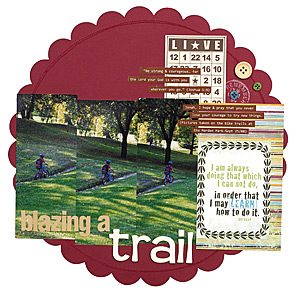
If I have some elements coming off the edge of the page, I just make sure that they’re hidden by other elements on the back (see the a, b, c and blazing a trail layouts).


Problem #3
Sometimes, I find that I really like a 12×12 sheet of patterned paper, but wish it was shaped. The solution to this problem? I make it into a shape myself.
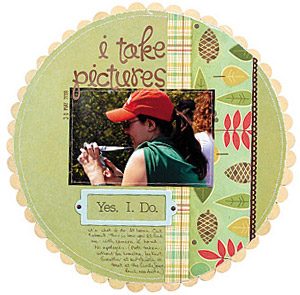
I created my own shaped patterned paper by first tracing a circle with a dinner plate onto a 12×12 sheet of patterned paper, next by cutting it out, and finally by sanding the edges. With a ¾” circle punch, I punched out 47 circles from a coordinating sheet of patterned paper and adhered them around the edge of the large circle on the back. This created my scalloped edge. Because the patterned paper that I punched the circles out of was double-sided, I cut another piece of patterned paper into a circle (using the same dinner plate as a tracer) and adhered it to the back of the first sheet of patterned paper; covering where the circles were adhered to the page. I sewed around the perimeter of the large circle to hold everything in place. Then I created two layouts using pictures that were taken the same day, but have different subject matter (this is only because I am a stickler for chronological order when I place my layouts in my albums!).
So, you can see from all of these examples just how much I love shaped paper! I hope that you can see just how fun, versatile, and, at the end of the day, economical, shaped papers can really be!
by Leigh Penner

