
Greetings from Nashville. My name is Connie and I am on the Stampin’ Up! Artisan Design Team. I am so excited to share today’s blog post with you. I have been scrapbooking and card making for more years than I care to admit, so when I tell you that these new Stitched Layering Shapes dies are amazing, I truly mean it. I am passionate about paper crafting and these dies are the perfect addition to your die-cutting arsenal. With a total of 12 dies (four different sizes in three shapes), you have everything you need to get started on all your holiday crafting and beyond.
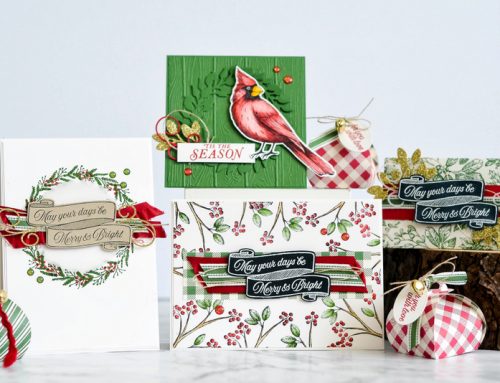
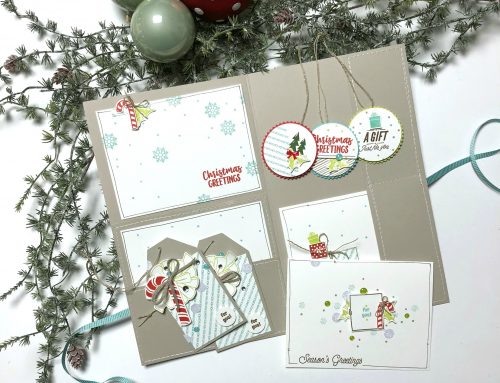
Let me show you some projects I designed using these new dies. I used the Tin of Tags Photopolymer Stamp Set along with This Christmas Designer Series Specialty Paper for all of these projects, along with some coordinating Cherry Cobbler and Garden Green cardstock and ink.
These fun notecards are sized just right. Tie them on some home baked goodies or use them as tags for your holiday packages. Either way, they are the perfect finishing touch for all of your holiday gift-giving.
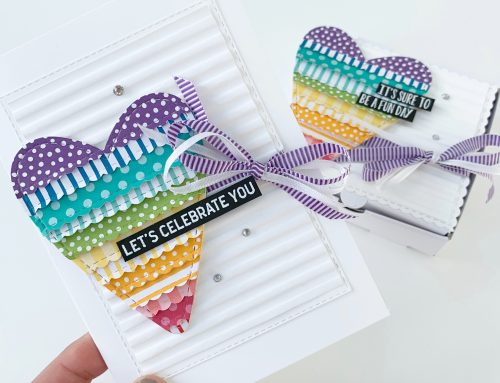
The dies are designed to work well with our Layering Circles, Ovals, and Square Dies. I made a notecard by sandwiching together two scallop squares. Next, I used one of the square stitching dies to cut two layers of This Christmas Designer Series Specialty Paper. I cut away the top and bottom portions of the striped paper and layered both pieces onto the card front. Next, I wrapped around some Linen Thread and secured it on the front. I stamped the greeting with Cherry Cobbler ink on Very Vanilla cardstock and then cut it with one of stitched circle dies and a Big Shot Machine. I cut a slightly larger circle from Cherry Cobble cardstock and layered it onto the front.
This notecard started the same way but this time I used the square stitching dies to create frames. The dies are concentric, so you can make three frames and have a small center square leftover.
I used the largest frame, skipped one, and then used the third largest frame. This is a great look and it was super easy to make.
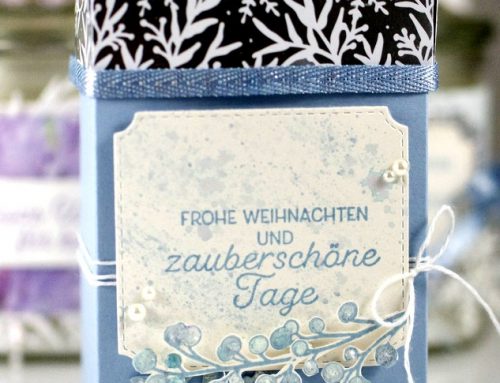
For this notecard I combined the two techniques and added a new one. To make the banner I cut the largest square die, moved it, and cut it again. I used scissors to give a ribbon cut to both ends.
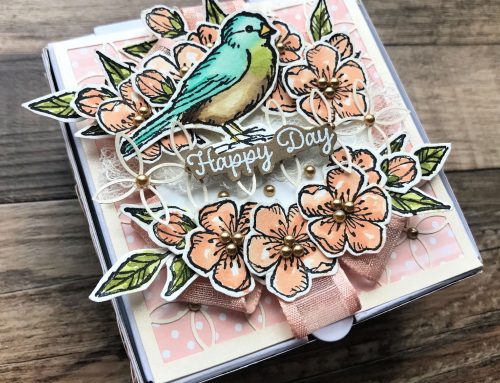
To make this ornament, start with by making a rosette with a 1”x12” strip of designer series paper. Then stamp and die cut the sentiment and layering circles twice. Decorate both sides, so no matter which way it hangs on the tree it looks beautiful on either side.
I went a little crazy with the square dies on this card. I love how you can create your own patterned paper with just cardstock. The stitching adds even more amazing texture. It took a little bit of effort, but the results are amazing.
You are going to love these new Stitched Layers Shapes Framelits Dies!
~ Connie Collins, 2015-16 Artisan, Stampin’ Up!
Giveaway!!!
Connie thank you for the beautiful projects and creative ideas for the holiday season! These Stitched Layers Shapes Framelits Dies are THE perfect addition to your crafty line up! Our friends at Stampin' Up! would love to offer this package to one lucky SCT reader too! For an opportunity to win these Framelits, be sure to leave a comment below by November 30th! Good luck!
Last month Stampin' Up! joined us to feature and give away the 2016 Hello December collection here:
…and the winner of this prize package is….

Oh, gosh! This would be a great addition to this year's December album. Posted by: Mandy R | October 08, 2016 at 05:15 PM
Congratulations Mandy! Please be sure to send your mailing address and telephone number to us at ideas@scrapbookandcards.com and put "Stampin' Up! Winner" in your reference line!
Thank you again to Stampin' Up! for the amazing inspiration! We hope you had a wonderful and creative Saturday!