
Happy Monday! Marcia Dehn-Nix here and I am so excited to be a guest blogger for Scrapbook & Cards Today. Let me introduce myself. I live in Minnesota (USA) with my husband. We have 3 children all adults now, 2 dogs, and 3 cats (as I am a stray magnet it seems). By day I am a software engineer. At night I relax by playing with pretty papers. I have been scrapbooking for about 20 years and currently design for JustNick Studios, Simple Stories, and Jillibean Soup! My scrapbook style is eclectic, but most of my layouts are made with digital cut files and layers of pattern papers and ephemera.
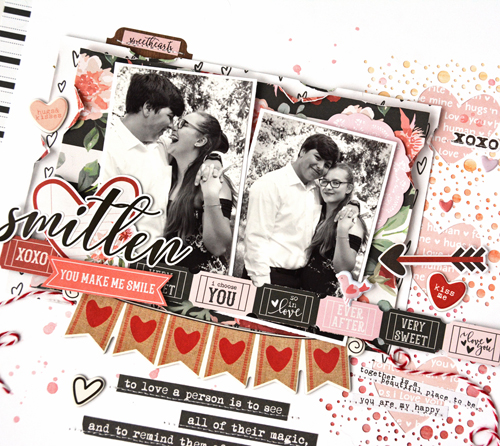
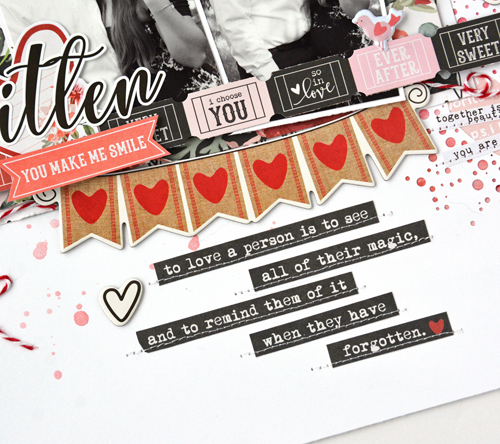
With Valentines Day coming up, I decided to scrap a layout of my nephew and his fiancee using the gorgeous Simple Stories Kissing Booth collection. To go along with the love theme, I chose a heart digital cut file to work with and repeated it down one side of my layout so that I had 3 hearts. Using digital cut files for your background is a way to add depth behind your photos. Here is my layout…
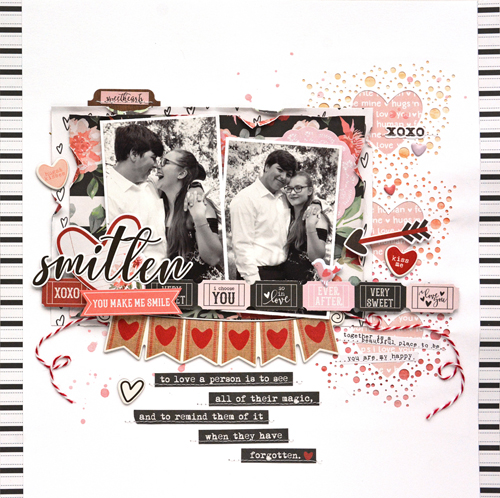
Supplies: Cardstock: Bazzill smooth white; Pattern Paper, Puffy Stickers, Chipboard, Stickers: Simple Stories; Art Crayons: Vicki Boutin; Gesso: Golden; Bakers Twine: The Twinery; Silhouette Cameo; Digital Cut File: JustNick Studios Heart Explosion; Brother Sewing Machine; white thread; Scotch 3M adhesive; H2O pen; Pan Scraper
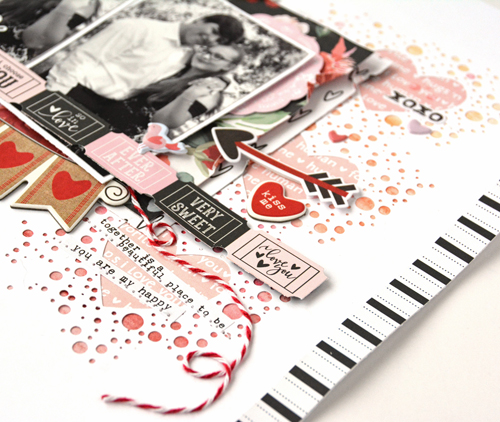
I backed the larger hearts in my cut file with pattern paper, then I thought it would be really pretty to back the rest of the negative space in ombre pink to red tones. I achieved this using some art crayons. This is one way to ease into mixed media if you are uncomfortable getting really messy. I really love the effect. It is very subtle so your layout still looks clean.
After backing my cut file I arranged two photos on top of a couple different pieces of pattern paper and began playing with the ephemera die cuts, chipboard, and stickers until I was happy with the arrangement. Did I say I like layers?
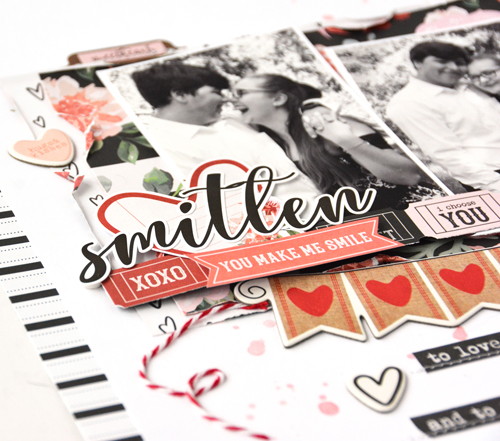
One of the last things I do on a layout is to add some machine stitching. I love the look of hand stitching, but machine stitching is so much quicker. It helps to hold my phrase stickers in place as well as add some texture.
Here is how you can create your own ombre background.
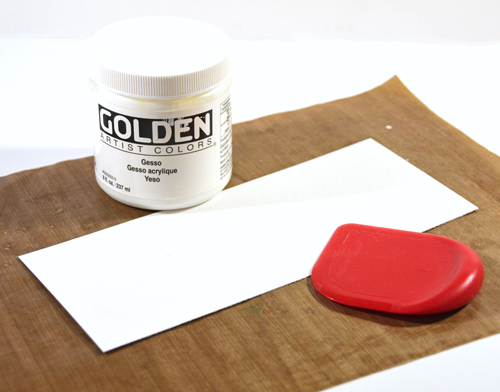
Step 1.
Apply gesso to a piece of smooth white cardstock cut to fit behind your cut file. I like to use a pan scraper to spread the gesso evenly. The gesso helps you to blend the colors without tearing your paper as it gets wet. Let dry.
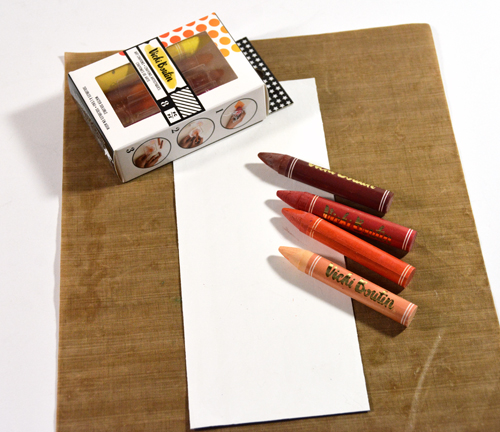
Step 2.
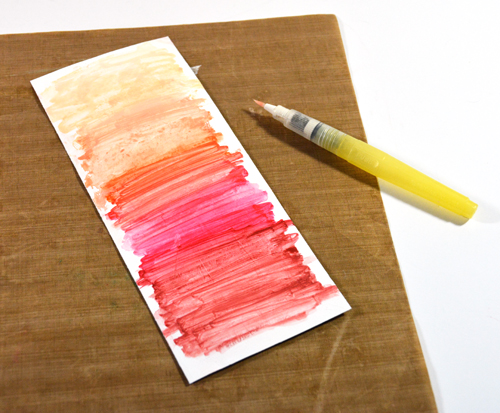
Choose your colors. I selected 4 crayons from light salmon to a deep red.
Step 3.
Apply color from lightest to darkest. Do not feel like you need to cover it completely with color.
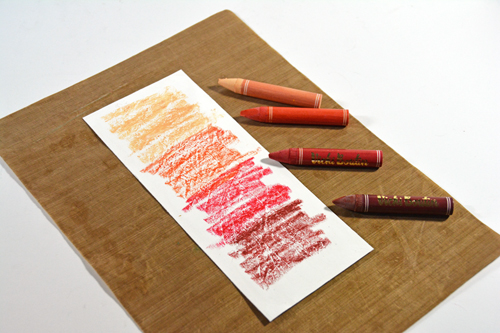
Step 4.
Using a wet brush, mister, or a H2O pen, spread and blend the colors by swiping your brush back and forth and working your way down the sheet of cardstock. If you need more color go ahead and add more and blend again with a wet brush. Let dry.
And again, the finished result…
Thank you so much for having me as your guest today! I hope I have inspired you to try this mixed media technique with one of your cut files or dies if you do not have an electronic cutting machine. Have a great week.
~Marcia
BONUS!
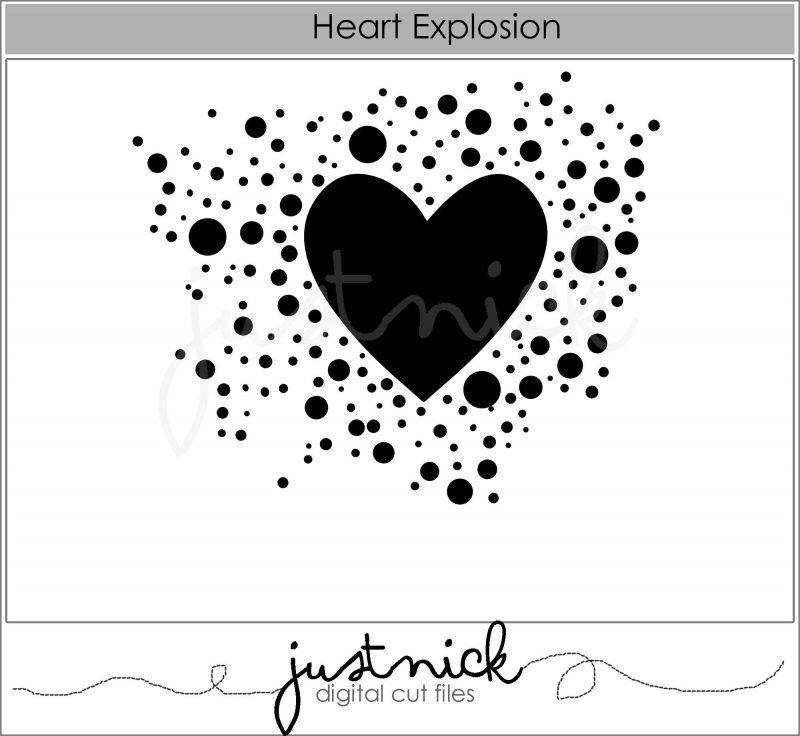
Design Team Member and JustNick Studio owner Nicole Nowosad would love for you to save 50% off the Heart Explosion cutting file Marcia used on her layout! Be sure to visit JustNick Studio and use coupon code: SCTHEART when you checkout!

Do these cut files work on Cricut machines. Only Silhouette is mentioned.
Hi Connie,
The svg files do work with Cricut machines if you use the Cricut Design Space.
I have a cricut and use Just Nick all the time!
Yes, if you have a Cricut Explore or Maker you can upload the png or svg version. If you have the older Cricut then no.
Beautiful layout,I for sure will try to scraplift this one
Gorgeous layout! Love Just Nick files!!
beautiful layout – I love all the details!
I really love this. Love seeing more scrapbook pages. Thanks for sharing
Beautiful page and thanks for the discount code!!
I do not know how to make cut files.
I like your layout and ideas.
I make do with spatter paint and ephemera .
What a lovely layout! This looks like a great cut file. Thank you for the coupon code. :)
Such a wonderful layout! Thanks so much for sharing…
Gorgeous layout!
Gorgeous layout!! Thanks for the coupon for the awesome cut file!
Beautiful layout, very well done. I just have a question. I love that you used Vicki Boutins crayons and showed us how you did but I’m not exactly sure where that colorful piece of cardstock is on your layout? Sorry I couldn’t see it.
Hi Sharon, my ombré Cardstock I colored is behind the heart explosion cut on my layout. Look at the small dots around the top heart… they are the light salmon color. Then look at the dots around the bottom heart… there you see the deep red color. It is very subtle.
What a fabulousjlayout. I have worked with Marcia and she is awesome. ,love everything about this great layout!
Beautiful layout and I love that SS collection!! :D
Gorgeous layout!
HOLY COW! THIS IS AMAZING!
Amazing layout – the whole design feels so happy and lovey!