
Yesterday, Nicole Nowosad shared how she used our latest SCT Delivered kit, Peppermint Express, to create a layout full of love! Today, design team member Sidnie Des Jardins is showing us that it is never too early to use the same kit to get ahead on your holiday cardmaking. Let’s take a look at what Sidnie is sharing with us today!
…………………….
Hi SCT friends! It’s Sidnie and I’m so excited to share my very first project with you here at SCT. And what better way to do that than with this super adorable Peppermint Express scrapbook kit.
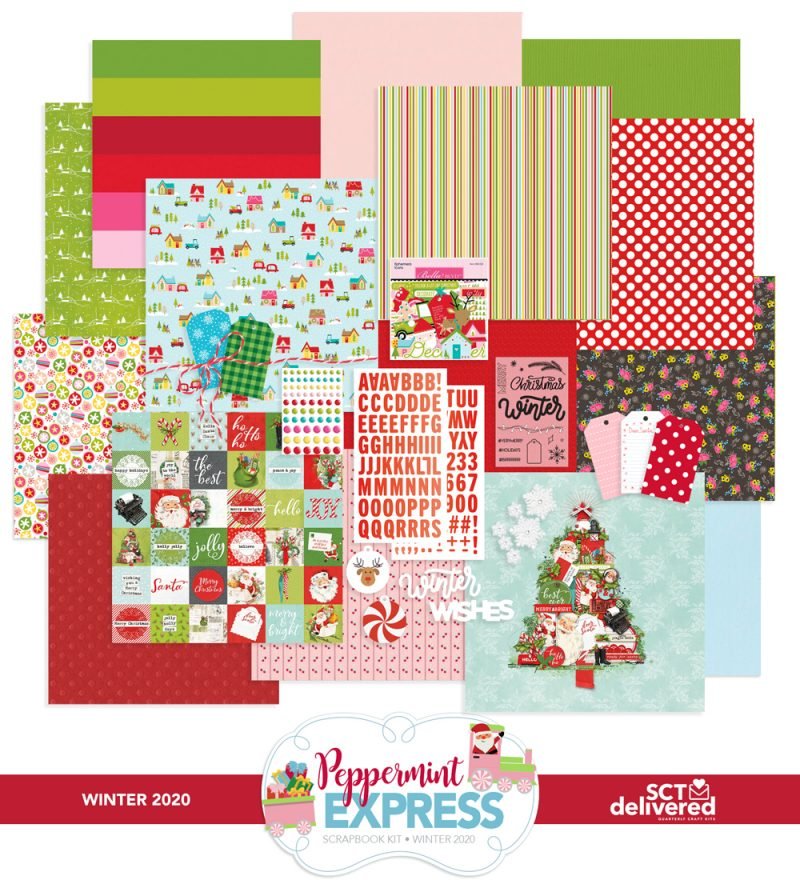
ORDER YOUR SCT DELIVERED PEPPERMINT EXPRESS KIT HERE!
Before we jump into how I made my projects, I’ve got a little tip for you when you first get your kit. You don’t have to stop at just three cards like I’m sharing today. You’ll see you will have so many options to create darling little projects.
I started by opening up my kit and began pulling out things that are similar. For example: I sorted the pieces that looked like trees. You don’t have to do this with every single piece, but you will find that you will start to get a feel for the pieces and parts that will get your creativity going.
I loved all of the patterned paper in the kit, but I chose the ones that went with the trees that I wanted to use. The green one with the trees and hills was a fun pattern to start with for my first project. I paired it with the red patterned paper so that I would be able to adhere my sentiment on it and it wouldn’t get lost in all of that green. I used some foam adhesive from Therm O Web for dimension for Santa and the reindeer. Before I removed the backing, I added some trees behind them. I finished this card with my sentiment, using more adhesive foam tape.
I knew when I saw the cute little “Mr” and “Mrs Claus” die cut mugs, I had to use them, so I did with my next project. I paired the mugs with that eye-catching striped patterned paper. The sentiments in this kit came pre-printed, some die cut words or in a stamp set. I used the die cut sentiment that went with the colors in my project and added some snowflakes that also fit with the color scheme..
As I was pulling pieces of the kit out on my crafting desk, the very first piece I grabbed was the snowman. I knew I had to use him in one of my projects. For my third project, I gathered the snowflakes and tree die cuts and used the lighter blue patterned paper to adhere them to it. The patterned paper has a pattern on both sides so you really can’t go wrong choosing, as they all go together beautifully. I adhered my trees and the snowflakes to patterned paper and used foam adhesive to add to the back to the snowman for dimension. To finish off this card, I used one of the sentiments from the exclusive stamp set.
I hope you were able to get some inspiration from the three projects I shared with you today. Find the pieces that stand out to you, and you’ll be well on your way in creating the cutest cards from the Peppermint Express scrapbook kit!

Find more of Sidnie’s work here : Instagram | Facebook | Blog
………………………….

We understand there were sound issues with Nicole Nowosad’s video, yesterday. We have fixed the issues and hope you’ll be sure to watch HERE!


Very cute cards! Quick and easy to make ideas!
beautiful projects:)
Love these cards – very cute!
Lovely projects and great ideas! Thanks.
Really adorable cards I’d like to send. thanks for sharing!
Those cards are so cute!
Great cards Sidni, they are way too cute.
And great layout Nicole. Loved the video and tips.
hello Sidnie. I like your style of cards.
Beautiful cards! I love Sidnie’s work. She is such a talented cardmaker.