
Today we’re excited to welcome guest designer Angela Simpson to the SCT blog! If you caught our Tool Week highlight here on the blog in May, you may have been intrigued by the hot foil plate dies that our friend Amy with The Stamp Market shared with us. If you’ve been on the fence about trying out this new and professional-looking technique, we think that what Angela has to share with you today will push you over the edge! Angela’s clean and colourful aesthetic is just gorgeous and her card creations inspire us every time her work pops up in our feed! Take a look!
…………………………….
Hi there, SCT fans! It’s Angela and I’m super excited to be guest designing for Scrapbook and Cards Today. As you’ve probably noticed, hot foiling (or hot foil stamping) has become a huge trend in papercrafting, and lots of companies have been getting on board with gorgeous hot foil plates. Today I’m sharing a few of my top tips for success with hot foiling, and a card that I hope will inspire you to give it a try for yourself.
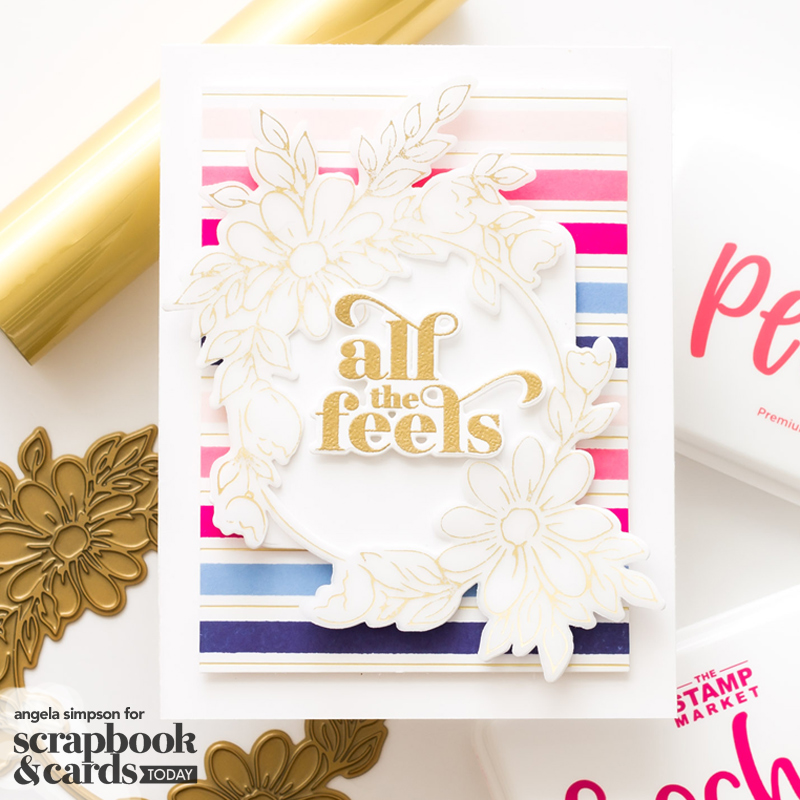
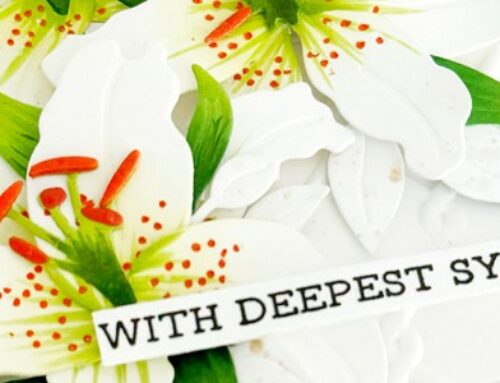
Supplies | The Stamp Market: Simple Stripes Foil Plate, Simply Stripes stamp set, Color Crush inks in Peony and Fuschia, Lovely Labels nested die set, Gorgeous Greetings stamp set, Gorgeous Greetings die set; Pinkfresh Studio: Daisy Wreath hot foil plate, Daisy Wreath die, dye inks in Ballet Slipper, Slumber and Stargazer; Spellbinders: Matte Gold Glimmer Foil, Glimmer Hot Foil System; Other: WOW Embossing Powder in Metallic Gold Rich, Simon Says Stamp 40# vellum, Glue Dots Micro Clear Adhesive
To get started with this card, I used the Simple Stripes Foil Plate from The Stamp Market to create the first part of my background panel. This is a plate with thin horizontal lines, and my first foiling tip is one that’ll help you get those lines straight on your cardstock. I use the Spellbinders Glimmer Hot Foil System, and the standard ‘hot foil sandwich’ that I build is cardstock on the bottom, then foil (shiny side up), the foiling plate (design facing down). I flip that over onto my foiling platform so that the cardstock is now on top, then add the 2 shims that come with the machine. There’s a lot of layers going on here, and that means the potential for things to slip around when transferring the platform to a die cutting machine. In addition, while it’s fairly easy to see if a die has come out of place as it goes into your die cutting machine, foiling plates are solid, making it harder to see shifts. To prevent the plate from moving around and creating misaligned lines on my cardstock, I like to secure it with several pieces of low-tack washi tape, creating a tape hinge on the sides. This ensures that the cardstock, foil, and plate are held in place with all edges aligning. You can also use the gridlines on the Glimmer Hot Foil System’s heated platform to align the edge of the sandwich.
Once the foiled part of my background was created, it was time to add some color. I used The Stamp Market’s Simply Stripes stamp set as well as a combo of inks from The Stamp Market and Pinkfresh Studio to fill in the areas between the foiled lines, alternating colors until I filled the panel. (The colors were Ballet Slipper, Slumber and Stargazer from Pinkfresh Studio, and Peony and Fuschia from The Stamp Market.) After trimming that down to fit my card base, it was time for a bit more foiling—and here comes my next tip!
The Daisy Wreath on this card was cut twice – once from plain white cardstock, and again from 40# vellum. I love the ethereal, delicate look that vellum adds to cards, and decided to pair it with a cardstock layer here to create some extra dimension. I foiled the vellum layer, and as you know, vellum is typically a lot thinner than cardstock. Because of this, I’ve found it helpful to add an extra shim (just a piece of folded cardstock) between the 2 that come with the Spellbinders Glimmer Hot Foil System. This adds a little more pressure when running the sandwich through my die cutting machine, which means a better image impression and foil transfer.
With my two pieces cut with the coordinating Daisy Wreath die, the next step was adhering them together. Since vellum has partial transparency, finding the right adhesive to do this takes a bit of trial and error. I’ve heard that many other crafters swear by liquid glue, but I’ve had a ton of success with micro (1/8″) clear Glue Dots, which can be easily hidden under foiled vellum. They may be small, but they’re also super strong so you don’t need many.
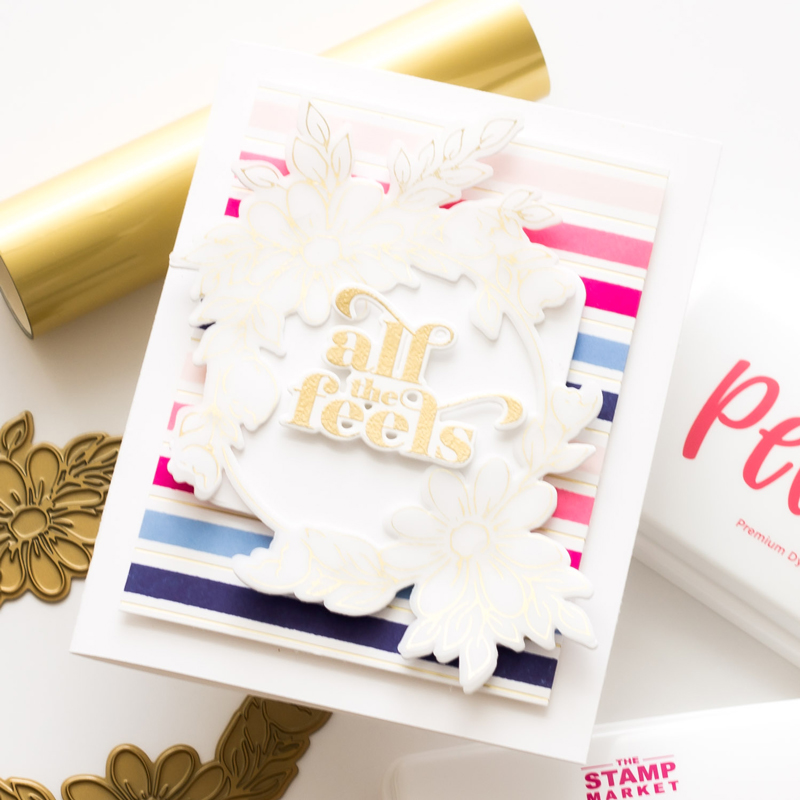
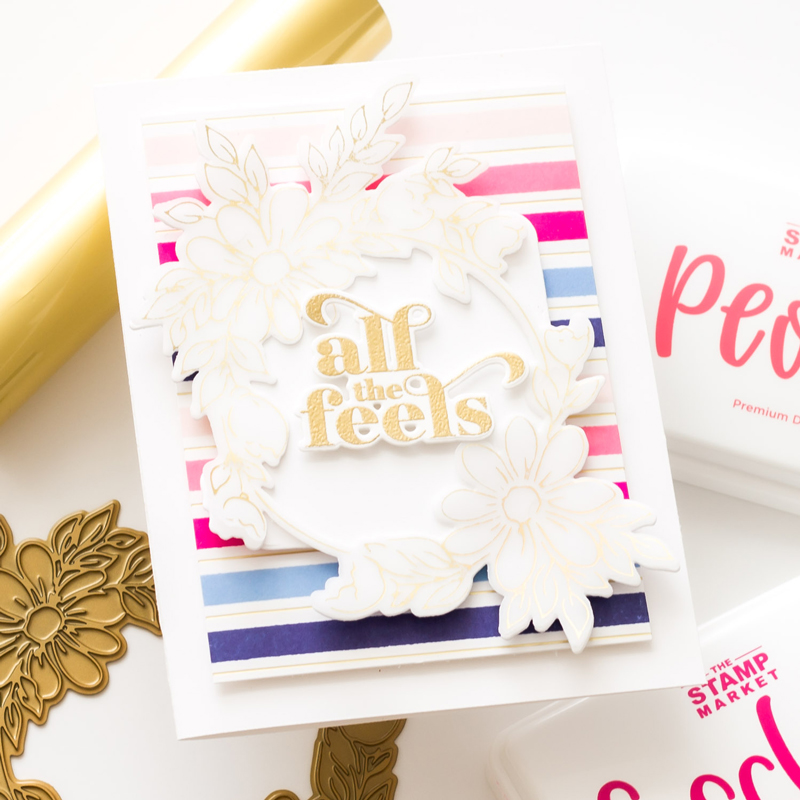
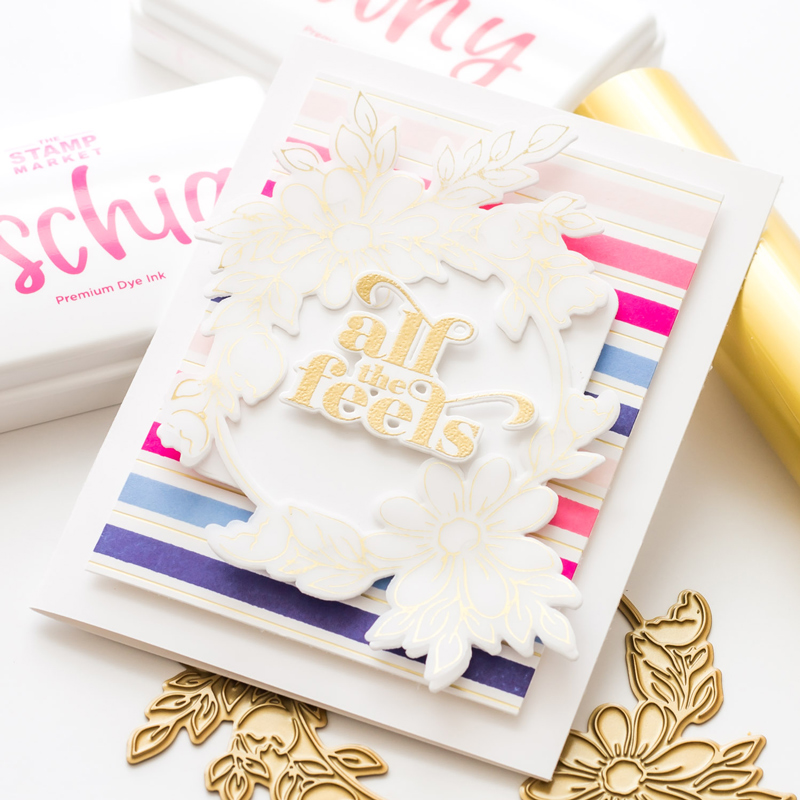
I heat embossed my ‘all the feels’ sentiment from The Stamp Market’s Gorgeous Greetings stamp set, cut it out with the coordinating die, and used the Lovely Labels nested die set to cut one label from white cardstock. From there, it was just a matter of assembling all the layers. I secured the wreath to the white label piece and used skinny foam strips behind my sentiment in the middle. I’m the type who LOVES dimension, so I backed that entire assembled layer, as well as my background panel with foam tape before mounting them on my A2 card base. Ta-daa!
To recap, here are my top 3 tips for successful hot foiling:
- Don’t be afraid to hold your foil and plates in place with low-tack tape. This, as well as using the gridlines on the foiling platform will help to ensure nothing slips around.
- If you’re not getting a clean, crisp image transfer when foiling on vellum, try adding a cardstock shim to the sandwich, in between the two that come with the hot foil system.
- Mini glue dots are a great way to adhere foiled vellum layers to the rest of your card. They’re easy to hide and don’t require any drying time, which is a bonus for busy crafters!
I hope these tips are helpful, and if you’ve had inconsistent hot foiling results in the past, I hope you’re feeling inspired to give it another go. I can’t wait to see what you create!

Find more of Angela’s work here: Blog | Instagram | Facebook
My name is Angela and I’ve been a paper lover for as long as I can remember. As a kid, I loved scrapbooking and card making, and wouldn’t let my mum throw anything away because “I might use it for a craft!” As I grew up I traded crafting for other hobbies but rediscovered my passion for it – specifically card making – about 2 years ago. Since then, my stash of inks, stamps, dies, and tools has grown exponentially, but more importantly, so have the new friendships and hours of joy spent creating. I definitely won’t be stopping any time soon!


Thanks for the tips! I have yet to master my hot foiling. Will get back to it and try your tips.
Not a foiler, but this is gorgeous!
I’ve found the foiling technique takes a lot of patience and getting to know the machine and foiling products. Thanks for the tips Angela! ????
I just received my hot foil machine. I have not use it yet. Your tutorial is very welcome for a débutante.
Merci beaucoup
Yolande