
Hello everyone! Welcome to Technique Tuesday here on the Scrapbook and Cards Today blog! This is Victoria, and today I am sharing two fun techniques using the new Spellbinders Essential Glimmer Solid Hot Foil Plates. Be sure to head over to the Scrapbook and Cards Today YouTube Channel, or watch my process video below to learn more about this technique and to see how these projects came together!
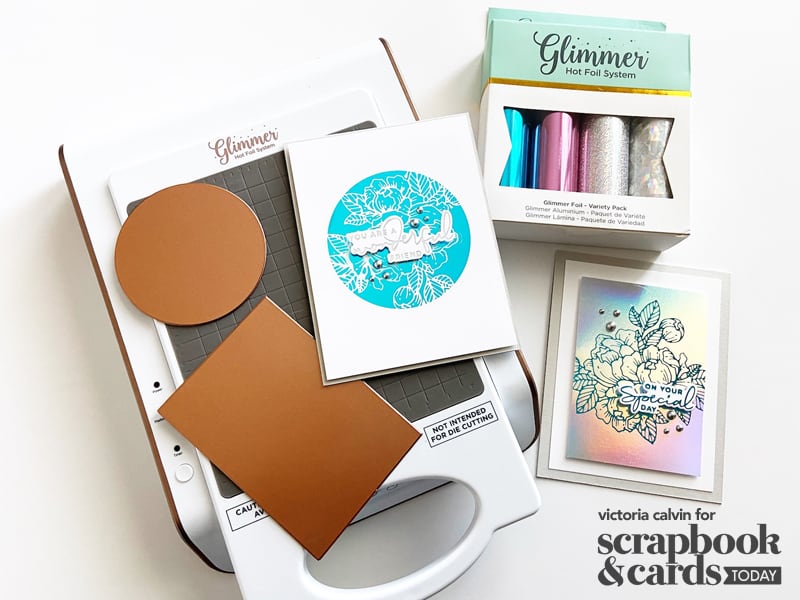
Supplies | Spellbinders: Essential Glimmer Solid Rectangle Hot Foil Plate, Essential Glimmer Solid Circle Hot Foil Plate, Yana’s Special Sentiments Glimmer Plate & Die Set, Glimmering Peony Glimmer Hot Foil Plate, Glimmer Hot Foil Roll – Teal, Glimmer Hot Foil Roll – Prism, Glimmer Hot Foil Roll – Silver, Glimmer Hot Foil System, Platinum 6 Cutting and Embossing Machine; Cardstock: Cardstock Warehouse Gray, Hammermill Color Copy Cover Stock 100 lb.; Embellishments: Studio Katia Satin Silver Pearls
Hot foiling has become a very popular technique! This specific technique involves adding heat and pressure to a hot foil plate to create a stunning foiled effect on a project. Today, I’m sharing two cards both featuring easy hot foiling techniques that create stunning results using solid hot foil plates! The first technique involves layering two different foil sheet colors to create a double foiling effect, and for the second technique, I will create another design using the leftover foil sheets from the double foiling project.
To create a hot foil design on my card projects, I am using the Spellbinders Glimmer Hot Foil System along with the Platinum 6 Cutting and Embossing Machine, and the Spellbinders Foiling Sheets in teal, prism, and silver.
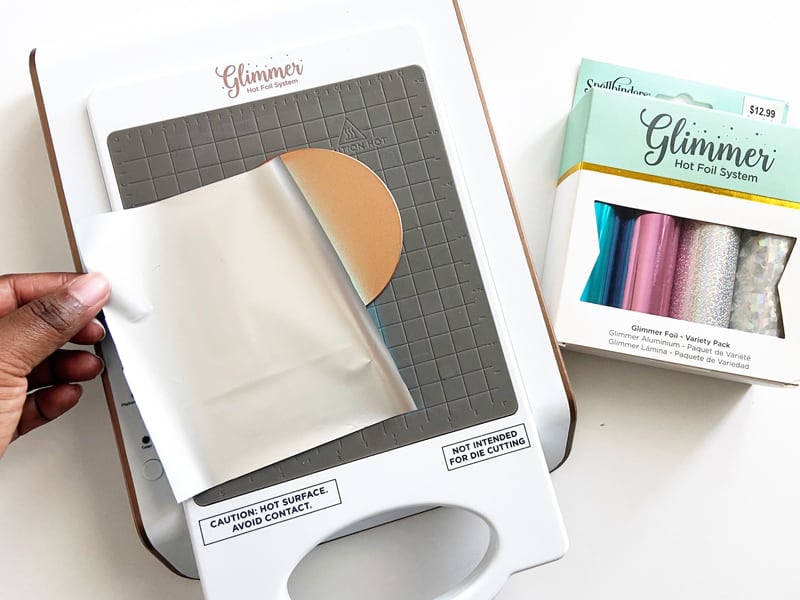
To begin, I turned on the Spellbinders Hot Foil System so it can warm up to the appropriate temperature for foiling. Next, using the Spellbinders Glimmer Solid Rectangle Hot Foil Plate as a guide, I trimmed a piece of prism hot foil material to the approximate size of the foil plate. Once the foil system was warmed up, I positioned the rectangle foil plate on the platform. After a few minutes, the hot foil plate was heated and ready to receive the hot foil material.

Next, I placed the trimmed piece of prism hot foil material on top of the rectangle foil plate, shiny side down. On top of the foil material, I placed a 4.25 x 5.5-inch white cardstock panel along with the hot foil system thin shim and spacer pad. Next, I ran the platform through my Spellbinders Platinum 6 Cutting and Embossing Machine. While the hot foil system adds heat to the hot foil plate, the cutting and embossing machine applies pressure to the plate, leaving a foiled design on the cardstock panel.
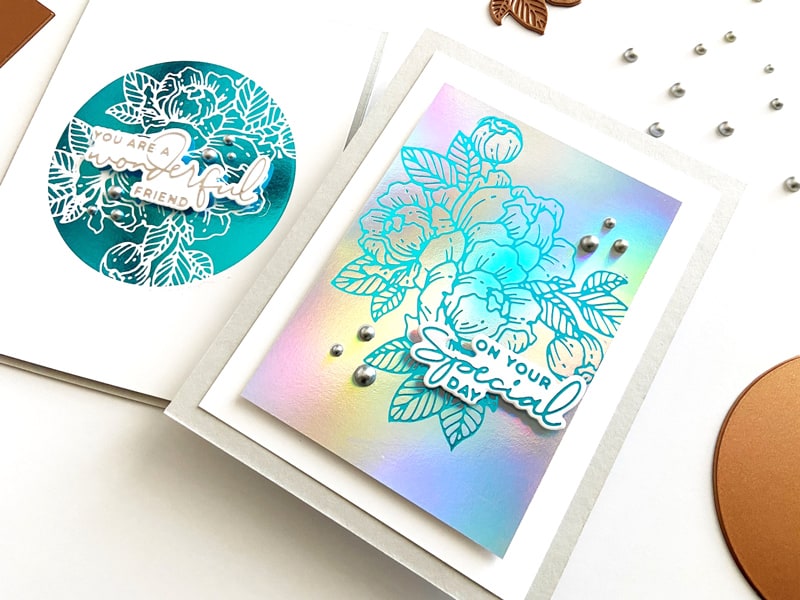
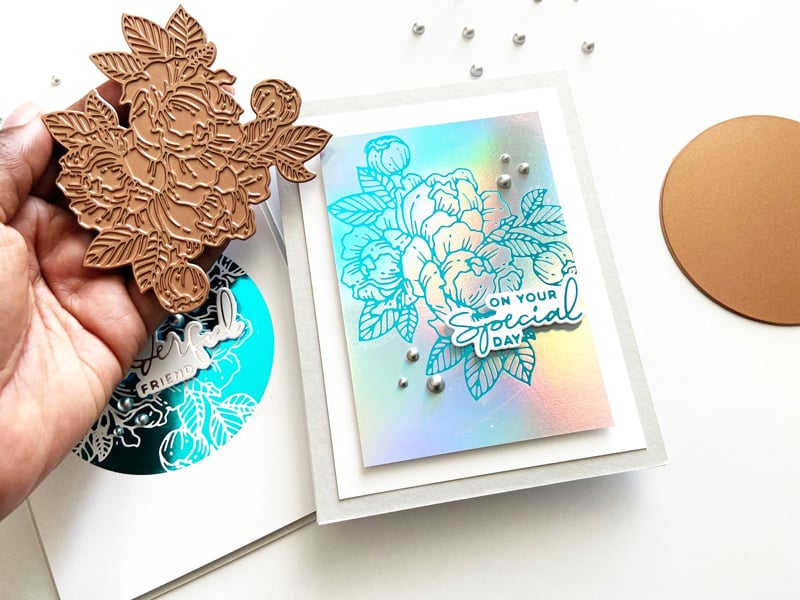
Next, I removed the platform and returned it to the hot foil system. After removing the shim and spacer plate, I peeled back the foiling material from the cardstock panel to reveal the foiled rectangle. To create a layered design, I positioned a Glimmering Peony Glimmer Hot Foil Plate, a piece of teal hot foil, and the foiled panel from the previous step on the platform. Once foiled, I peeled back the teal foil sheet to reveal the layered foiled design!
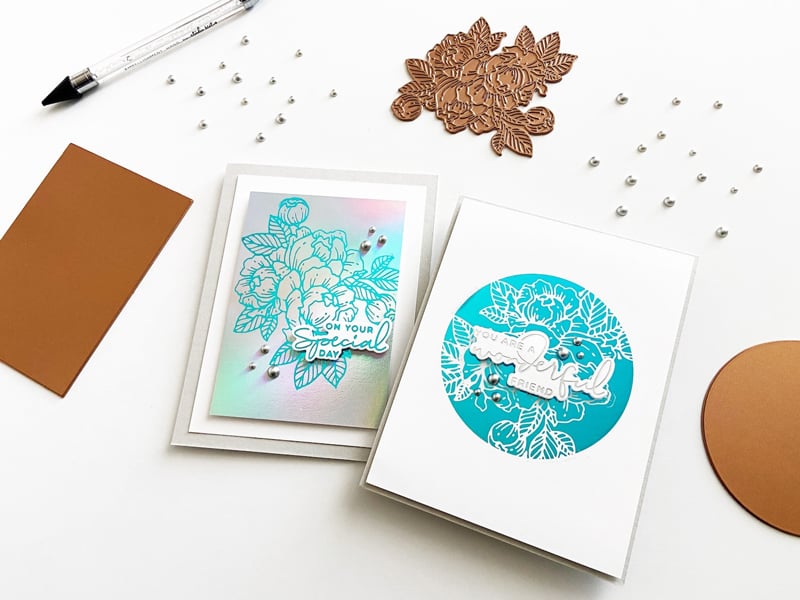
To complete this card project, I trimmed the foiled card panel to 3 x 4.25 inches and adhered it to a 4.00 x 5.25-inch white cardstock panel. Next, I adhered the entire panel to a 4.25 x 5.5-inch gray cardstock base. Lastly, I added a hot foiled sentiment from the Spellbinders Yana’s Special Sentiments Glimmer Plate & Die Set, along with Studio Katia satin silver pearls for interest and dimension.
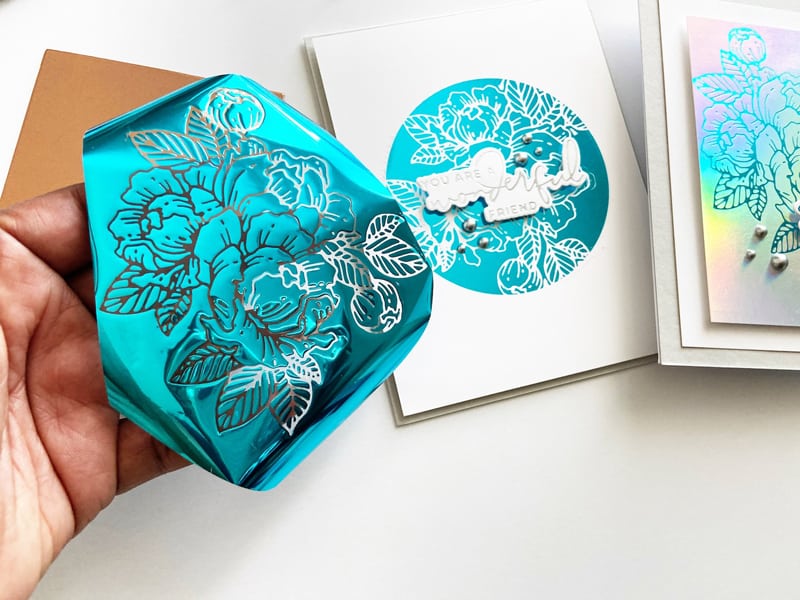
For the next project, I used the leftover piece of teal hot foil to create a second design, along with the Spellbinders Essential Glimmer Solid Circle Hot Foil Plate. Repeating the steps from the previous project, I positioned the circle foil plate on the hot foil system platform, then layered the leftover teal foil sheet on top of the circle hot foil plate. Next, I added a 4.25 x 5.5-inch panel, the thin shim, and a spacer pad on top of the cardstock panel, and ran the platform through my cutting and embossing machine. After removing the shim and spacer pad, I pulled back the leftover hot foil material from the card panel to reveal a super cool design!
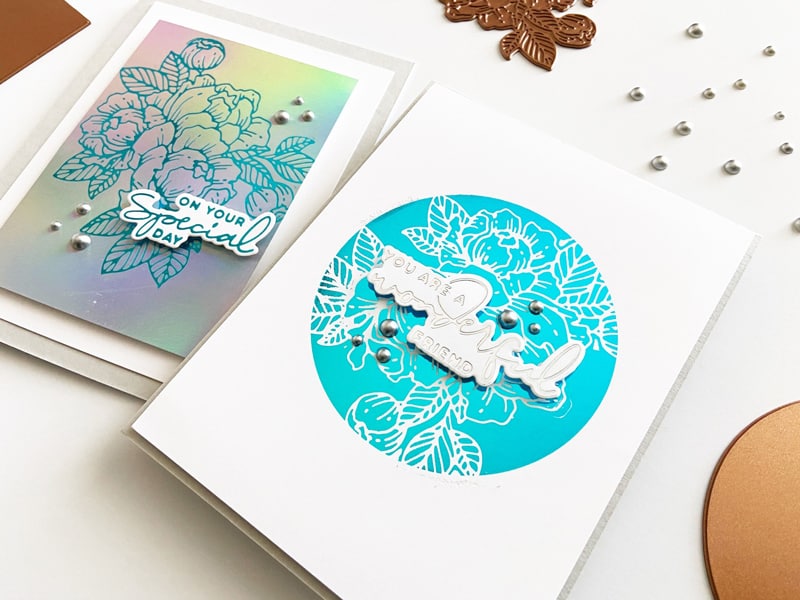
To finish this project, I trimmed the foiled panel to 4.00 x 5.25 inches and positioned it on a 4.25 x 5.5-inch gray cardstock base. Lastly, I added a hot foiled sentiment from the Spellbinders Yana’s Special Sentiments plate and cutting die set, along with Studio Katia satin silver pearls for a bit of added sparkle and shine!
As you can see, hot foiling can take any project to the next level! Both of these techniques are very easy and yield high-impact results. To see both of these card projects come together, be sure to check out this Technique Tuesday process video:
Thanks so much for stopping by, and be sure to tag us @sctmagazine and use the #sctmagazine hashtag if you try out these techniques and share then on social media!

Find more of Victoria’s work here : Blog | YouTube | Instagram | Facebook


These are so pretty! I love the look of hot foil projects. :)
Love those colors!
Simply gorgeous!
Oh wow. Those foil colors are gorgeous and so are your cards.