We simply LOVE 3 t’s Tuesday with Virginia! She always comes up with the most fun, innovative, and pretty techniques to share on our blog! Here she is with this week’s tutorial:
Grab a couple of circle punches and get ready to make a really fun card:
1. To create the flower, punch out eight 1.5 “ circles from double-sided patterned paper and fold each circle in half.
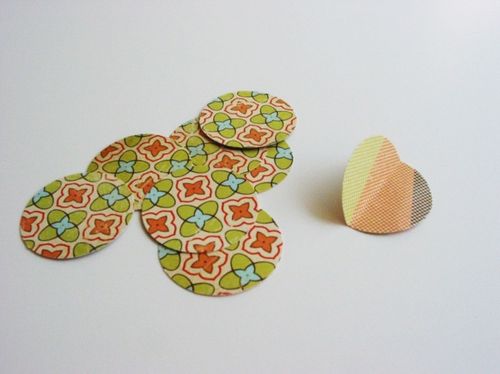
2. To make the cones, roll the paper and use the center fold as your pivot point as you curl. Pinch the cone at the point and the cone shape should stay.
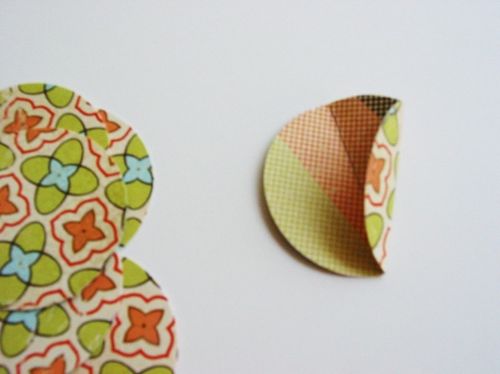
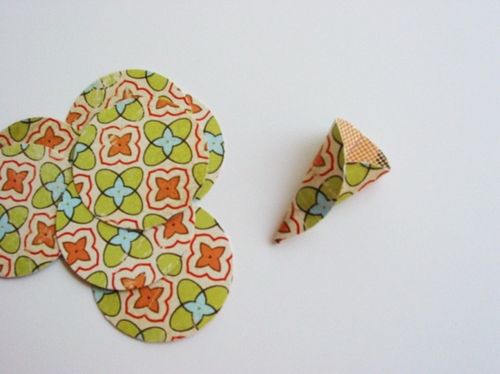
3. Glue the cones to your card in a circle pattern and attached a big brad over the center. Voila! You’ve just made a 3-D flower.
4. To make a pretty scalloped photo corner, punch out four 1“ circles and then cut each circle in half. Ink the edges for extra dimension.
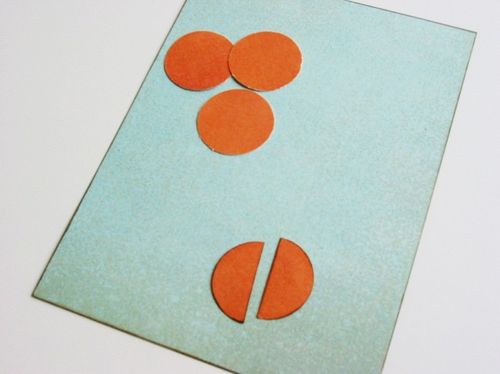
5. Glue the two halves lining up the straight edges on the outside corner. Repeat for the remaining corners.
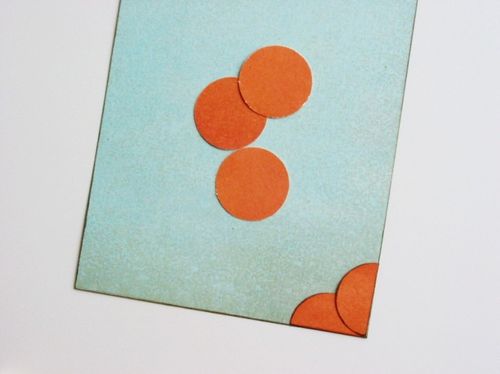
6. Finish the card by adhering ribbon and stamping your sentiment at the bottom.
7. Try the same steps above using a round scalloped punch and you’ll love the results!
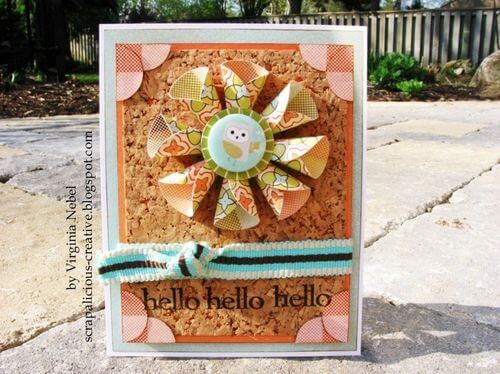
hello hello hello
by Virginia Nebel
supplies: patterned paper, ribbon, and brad, Making Memories; stamp, Hero Arts; ink, Tsukineko; adhesive cork, QuicKutz; circle punches, Creative Memories
Aritcle by: Virginia Nebel

