
Hello SCT friends! It’s Aly Dosdall here with you again. This month I’m happy to feature a very popular and useful too, the Photo Sleeve Fuse from We R Memory Keepers.
I remember when I first heard the exciting announcement that this tool was being released, and I immediately had all kinds of fun projects swimming around in my head. There are so many creative possibilities and fun ways to use this tool. Today I’m going to show you how to use it to make DIY Shaker Planner Clips.
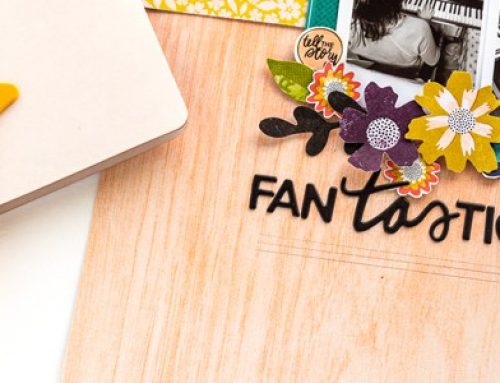
These little guys are perfect place holders for planners, notebooks, journals, or books. The interactive shaker feature makes them not only cute, but super fun to use as well. I used some cute fall die cuts from the Pebbles Woodland Forest collection. You can find them in the Sweater Weather SCT Delivered Layout Kit.
They’re great gifts for friends, neighbors, colleagues and teachers, but you’ll probably want to make a few extra to keep for yourself.
To make these planner clips you’ll need:
- patterned paper
- clear plastic sheets (page protector, waterfall sleeve, thin acetate, etc)
- circle cutter or circle dies (2.5 and 2.25 inches)
- large paper clips
- small shaker bits (sequins, confetti, glass microbeads, etc)
- embellishments or die cuts
- Photo Sleeve Fuse
- heat resistant mat
- double sided craft tape
- liquid craft glue
- hot glue gun
Once you’ve gathered your supplies, watch the video tutorial below where I show you how to make these decorative clips with the Fuse.
I like to try and keep my bookmarks/planner clips fairly non-dimensional so I don’t have to worry about things getting knocked off when using them, so I didn’t add much on the outside of the shaker pockets.
I’ve collected a few tips over the years that have helped me be successful with my Fuse tool projects. Hopefully they’ll help you too!
- Make sure the Fuse is very hot before using. Let it heat up for at least 10 minutes.
- Success with the Fuse requires the right mix of pressure and speed. Each material you use reacts differently with the heat. Practice on scraps of the material you’ll be using for your project ahead of time so you can get just the right amount of speed and pressure for your particular material.
- The heat resistant Fuse mat produces the best results in my experience.
- Use a metal ruler for straight lines.
- The lines that the tool creates mimic stitching lines, so don’t stress about perfection. An organic look creates a handmade feel to your projects.
Well, I hope you enjoyed this easy and fun fall Fuse project! I always love stopping by to visit my friends here at Scrapbook & Cards Today. If you have any questions about the Photo Sleeve Fuse tool, feel free to ask them in the comments below. Happy fusing!
~Aly

Very cute!
I just purchased my WRM Fuse Kit and LOVE, LOVE and LOVE it!!! I’ve even used it for non Paper Crafting items. It’s such a handy tool to have around!!!
Love your Planner clips. Brilliant and so cute!!!
Thanks for sharing with us!
So cute! I love my Fuse Tool and use it daily!!! TFS!
What cute planner clips. The fuse tool would be great to have to make these.
They are so adorable!!!! Love this tutorial!
Love the things everyone is making with this fuse tool! Shaker elements, interactive scrapbook pages, transparent postcards! I need one!
Really like what you did here Aly. I think the shakers would be nice on cards too!
Gorgeous project!!!!
Great idea, cute clips, would be fun to have the fuse kit.
Your tutorials are so well done Aly! I have a fuse tool that doesn’t get much use (: but that is about change. The paper clips are adorable and I can see making them for many things — planner, LO’s, traveler’s notebooks, book marker, banners and so on. Thanks for sharing!!
Thanks for the tutorial and showing another way to use the Fuse. Loved the clips, great idea.
Sweet!!! Love your clever clips! What a wonderful addition to ones planner. Or gifts!!! Ty for sharing!
So many great tips! Thanks so much for sharing this great info so we can all be successful fusers! :D