
Hello SCT friends, it’s Latisha Yoast with you today, sharing inspiration and card designs to use up your 6×6 patterned paper pads!
Supplies | Cardstock: Lawn Fawn; Patterned Paper: American Crafts & Heidi Swapp Favorite Things 6” x 6” paper pad; Glue: Scrapbook.com; Adhesive: Scrapbook Adhesives by 3L Foam Squares; Stamps: SCT Delivered Stamps, Photoplay Paper; Ink: Concord & 9th
Recently, I attended the SCT Crop & Create Delivered Cardmaking crop. It was virtual and lasted an entire weekend. The instructors were incredible, as were the special guests, and the amazing hosts, Catherine and Jen. The box of class supplies was massive! Each participant got more than enough supplies to make at least 100 cards if not more, including several 6” x 6” patterned paper pads. Paper pads include the same prints as a 12” x 12” sheet of patterned paper, but the printed image is reduced by 50%. This ensures that a cardmaker gets all of the great patterns to create a card. The 6” x 6” paper pad that I am working with on these cards is the Heidi Swapp Favorite Things by American Crafts.
It doesn’t matter if you have this exact paper pad, as the cards I created below can be used with any paper pad. These tips are universal!
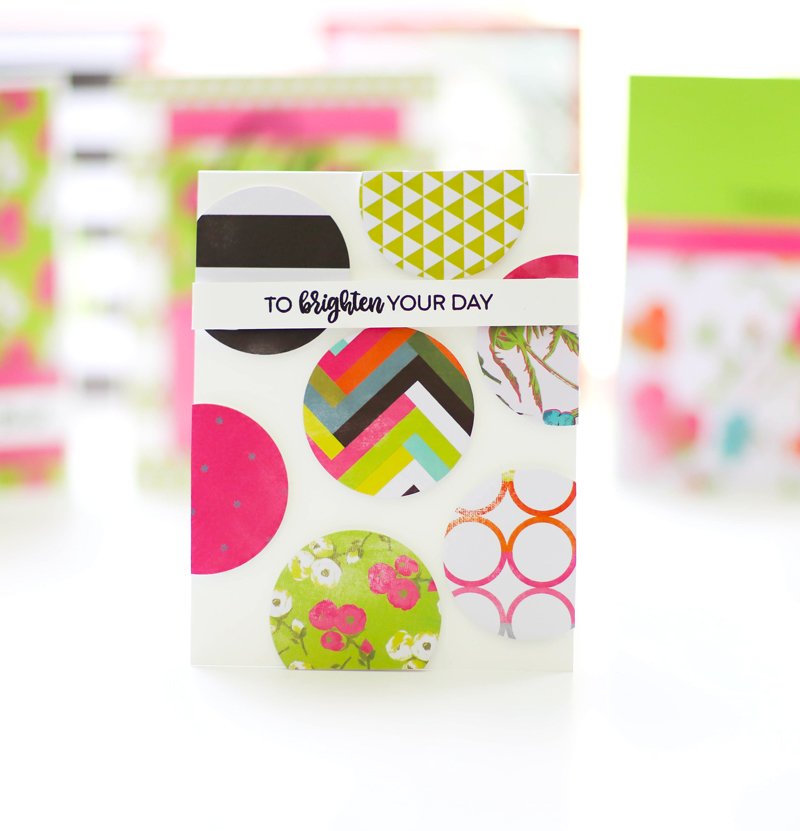
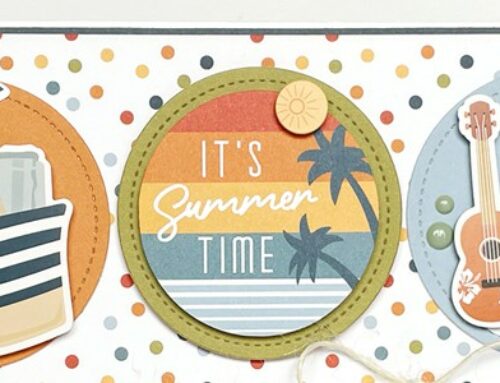
On this card, each circle was die cut from a different pattern with a circle die. If you don’t have circle dies, a circle punch, an electronic die cutting machine, or even freehand cutting them out with scissors would work. Each circle was adhered using foam adhesive for dimension onto a white card base measuring 4.25 x 5.5 inches. Then the sentiment was stamped in black ink on white cardstock and adhered to the card.
The great thing about using a paper pad is that all of the colors coordinate and repeat themselves on the patterns. Pattern mixing can seem overwhelming, but a paper collection makes it so easy. All of the sheets match, so this is your chance to be bold and wild!
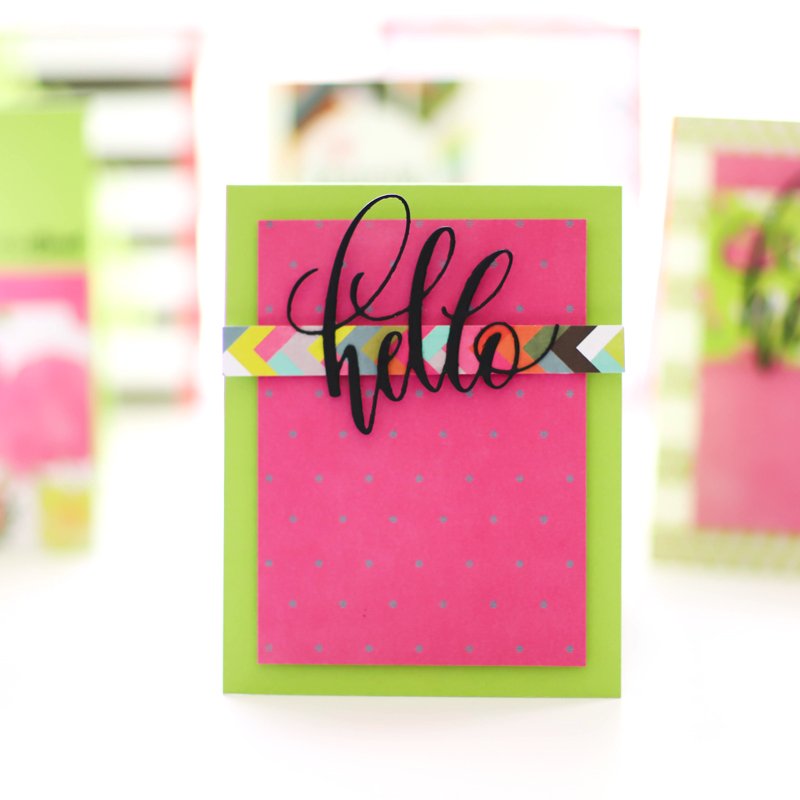
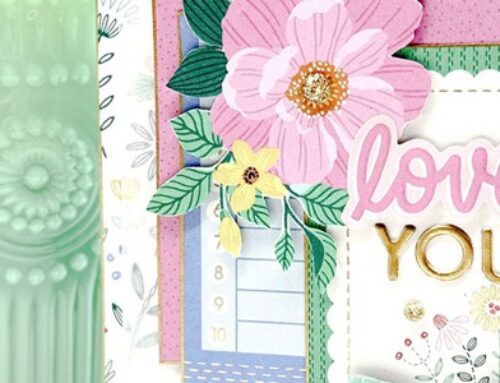
This card features a lime green card base measuring 4.25 x 5.5 inches. The patterned paper panel measures 3.75 x 5 inches, adhered using foam adhesive. Then, the secondary patterned paper layer measures 4.25 x.5 inches. The “hello” die-cut, from Gina K Designs, was cut from black cardstock and adhered to the card front. This is such a great way to let your word dies really shine.
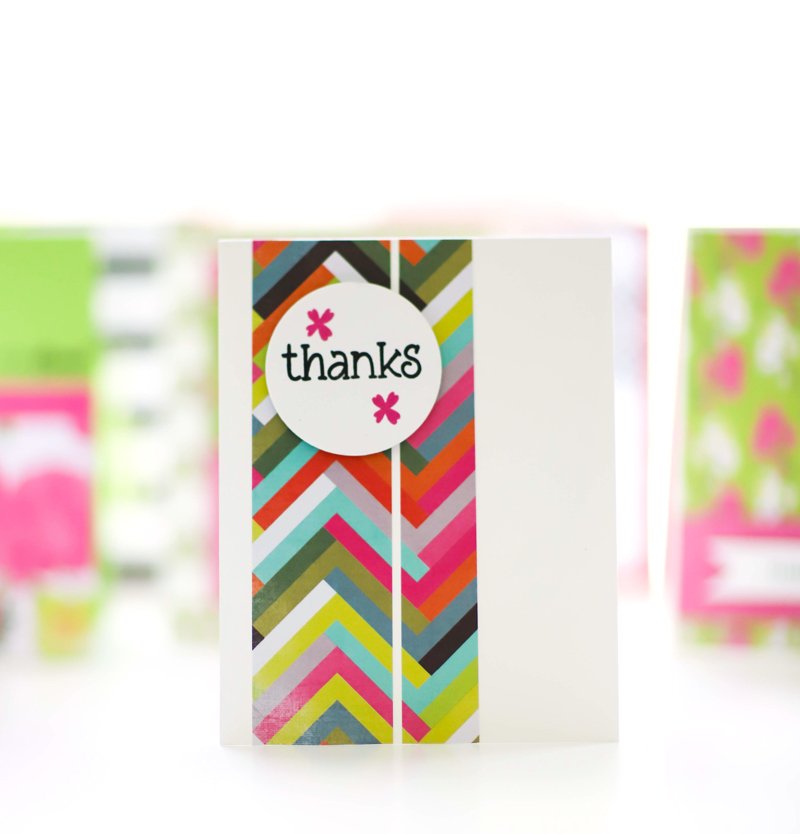
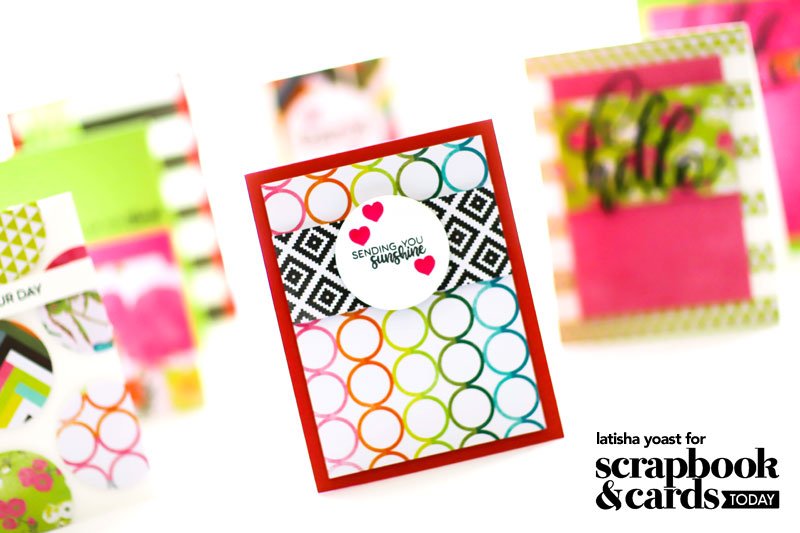
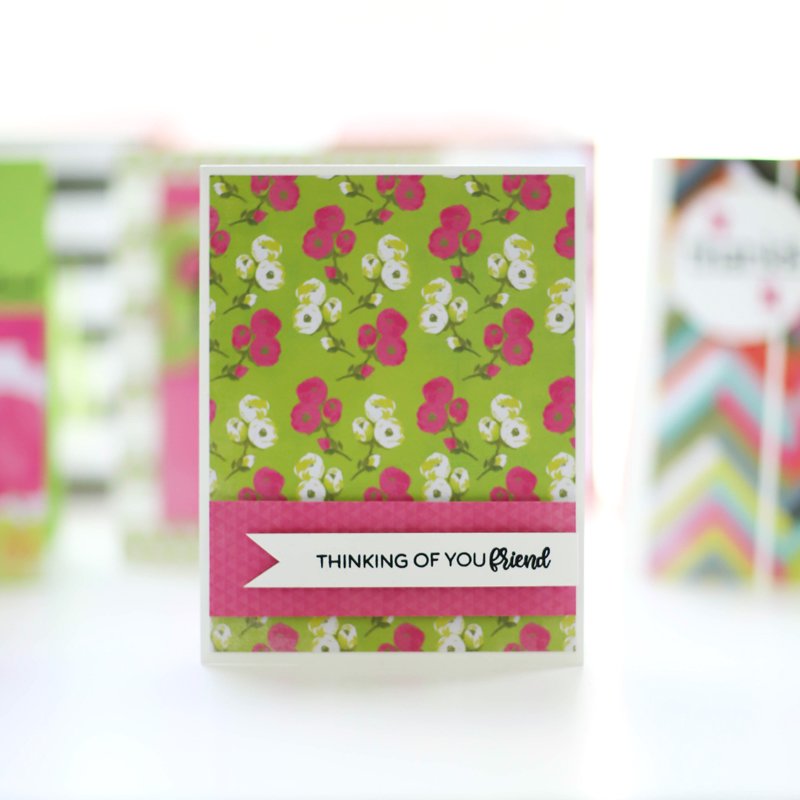
A classic and easy design makes up this card. Trim two strips of patterned paper of varying sizes and adhere them to a card base. Then die-cut a shape. I used a circle for this card. Then, stamp a sentiment onto the die-cut shape and adhere it to the card front using foam adhesive. I use this card sketch over and over again!

If you are a new stamper, or you don’t have die cuts, that’s okay! This card base measures 4.25 x 5.5. The larger patterned paper panel is 4.25 x 3 inches, and the smaller strip is 4.25 x .5 inches. Above the patterned paper, stamp your sentiment. This is a perfect card to put in the mail.
All of these cards shown can be created with any paper pad and any stamps you might have on hand. They are completely customizable to your taste and recipient!


I love the pinks and greens.
Great cards. I love the simplicity of design and the richness of the colorful papers!
I love seeing the sets and paper I have in action. Gives me a ton of inspiration
Fantastic ideas and cards. Tfs!!
Gorgeous cards. Love the patterned paper!
I have a bunch of paper pads and need to do this–I’m making cards for my Mom to give, she lives in a facility and likes to send cards. Thanks for the inspiration!
Thank you so much for the inspiration with these cards. I have a lot of paper pads and don’t use all the paper, this will be a great use for it.
These are cute. Thanks for the ideas!
Great cards, I have been using that same paper pad from the swag bag on a bunch of different cards and have loved the results!
Your cards are great! Thanks for reminding us they don’t all have to be masterpieces!
I’ve just plain gotta remember to keep it simple and colorful! These are so pretty!
Thanks for inspiration- a great way to use 6×6 pads
Since I attended the same event, I have the same paper pad. Thank you so much for the ideas!!
Thank you
All of these styles are simple (easy enough for me to make) yet gorgeous. Very creative
All of these styles are simple (easy enough for me to make) yet gorgeous. Very creative
Great colors!!