
Hello SCT Friends! Jill Hawkins here with you today. I’m excited to share my first SCT Blog projects with you here. And what better topic than Valentine’s Day and Love! :) There is still plenty of time to create a few little Valentines to brighten someone’s day tomorrow.
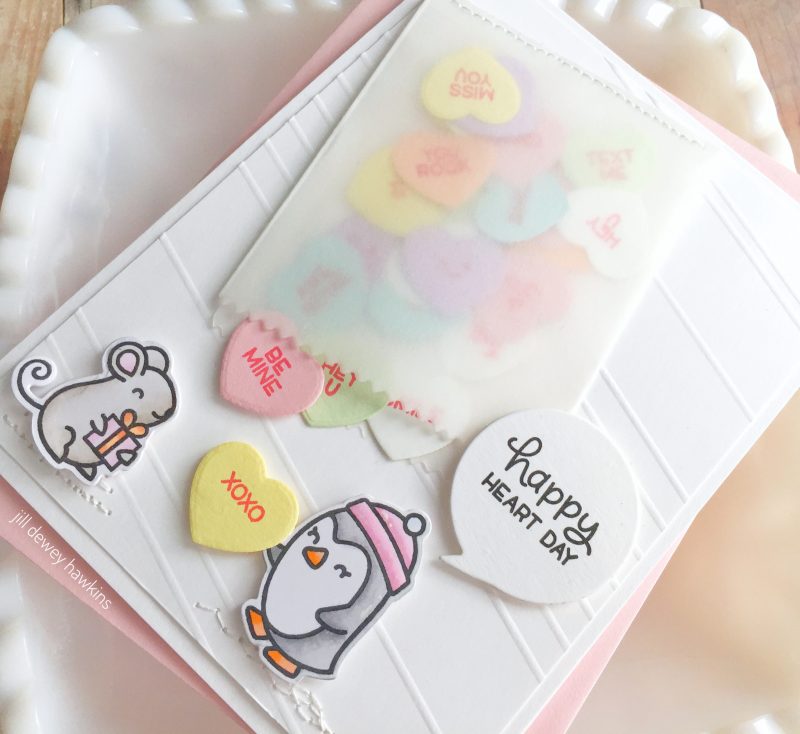
My first project, is a sweet little card I’m giving to our son. He loves to get cute cards, so I spared no cuteness here.
Supplies Cardstock: Neenah, Copic, My Favorite Things; VELLUM: Taylored Expressions; STAMPS, DIES: Lawn Fawn, Paper Smooches; INK: Hero Arts, Gina K; PEN: Uniball; MARKERS: Copic; ADHESIVE: 3M
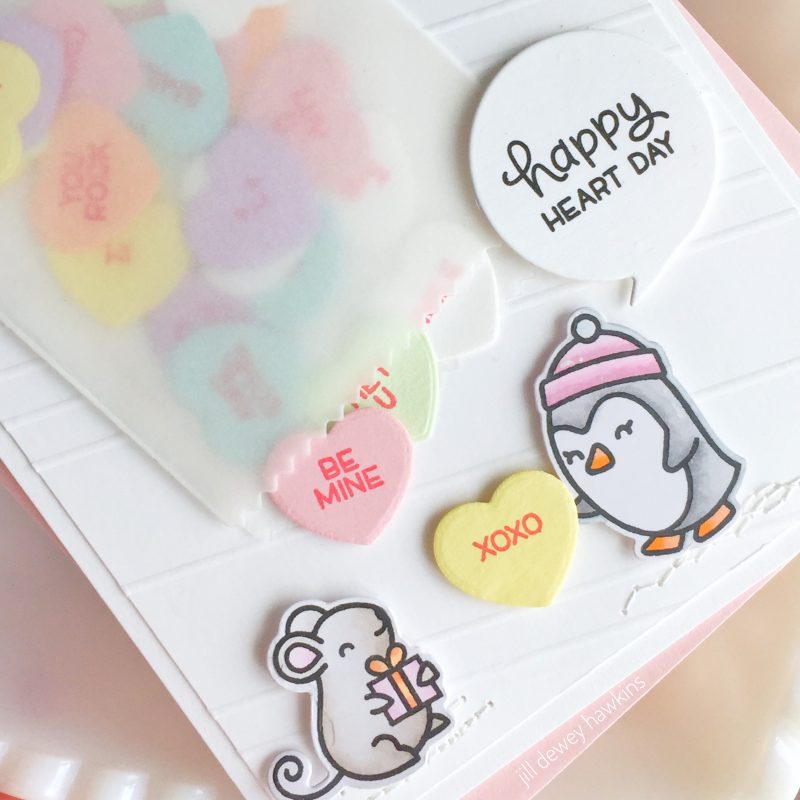
First, I stamped and colored these adorable critters and die cut them both out. Here are a couple of quick photos to see the colors I used.
I just tend to grab and use what colors work for me. ;)
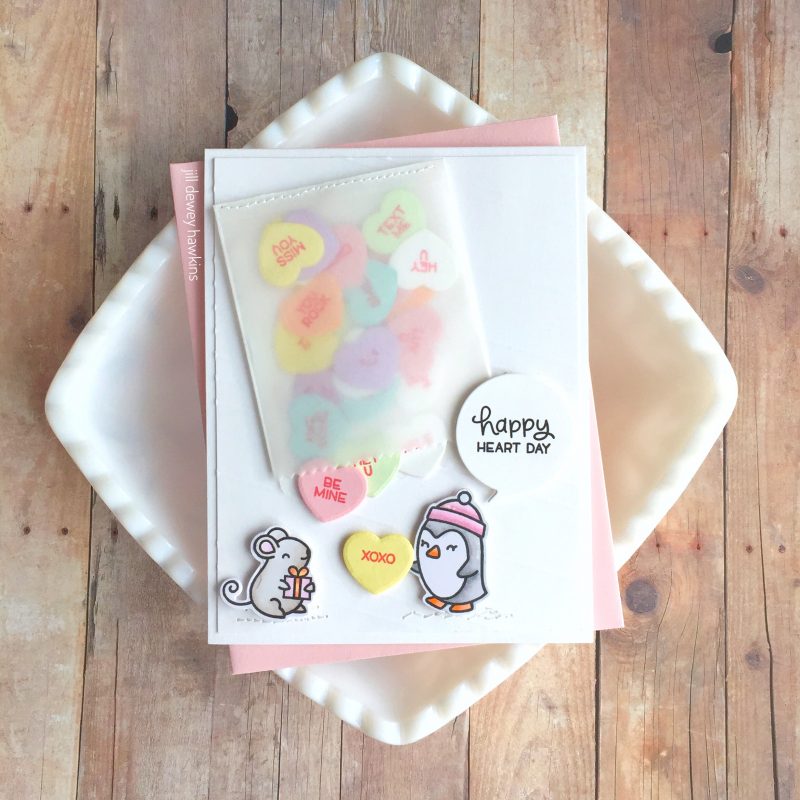
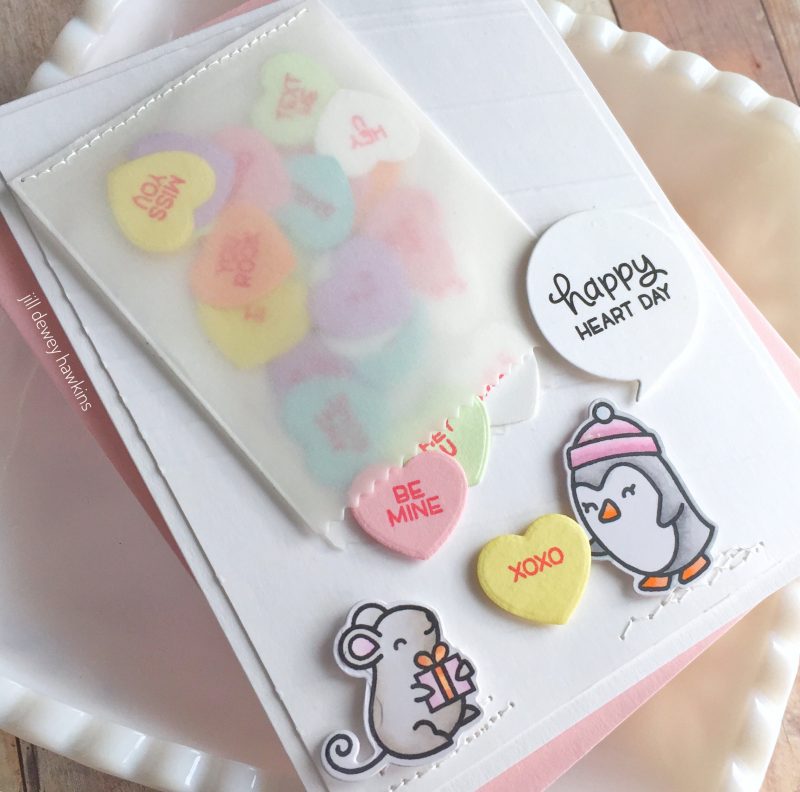
I then die cut a bunch of heart candies and stamped the sentiments on them in a reddish pink. I wanted to make them look very similar to the real candies that you pour from the box on Valentine’s Day. Of course, for my card, I thought a little vellum pouch would be fun to use for transparency.
I always loved to read all the hearts during our class Valentines parties, choosing which to give to each classmate. :)
I added some stitching bits to a scored panel and affixed everything on.
I can’t wait to hear our son say, “Aww it’s so cute!” :)
Next up, I made a card full of Love! Perfect for Valentine’s Day or really any day you want to send some love in the mail.
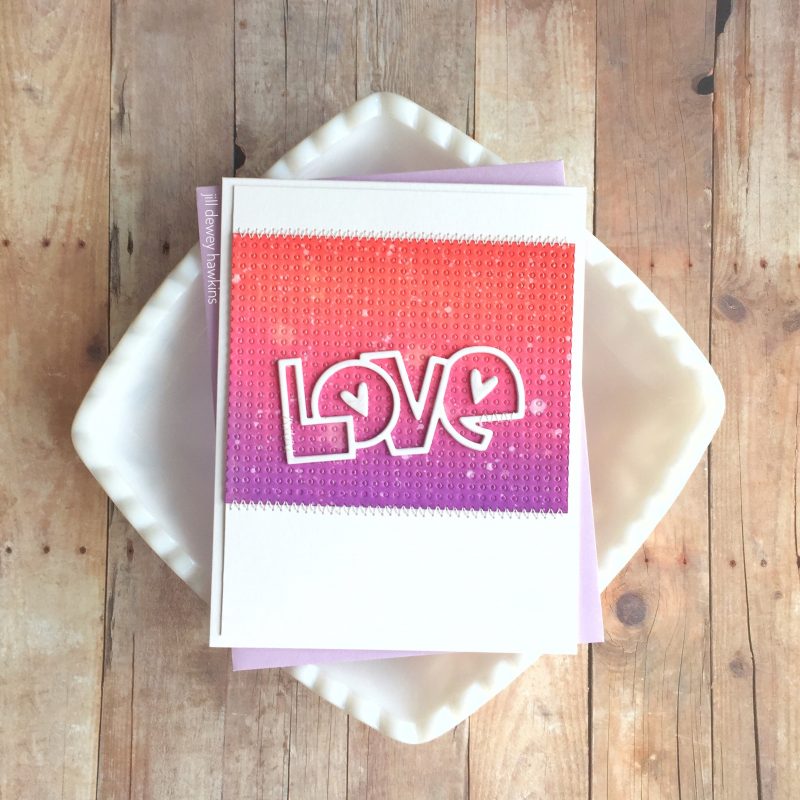
I started blending ink on paper with a foam blending tool. It helps to keep a light hand and keep your blender moving.
I have found it also works best if you overlap each color as you blend, and then go back when you are finished to blend a little more of each color into the next. I tend to go in with a little heavier hand as I finish it off.
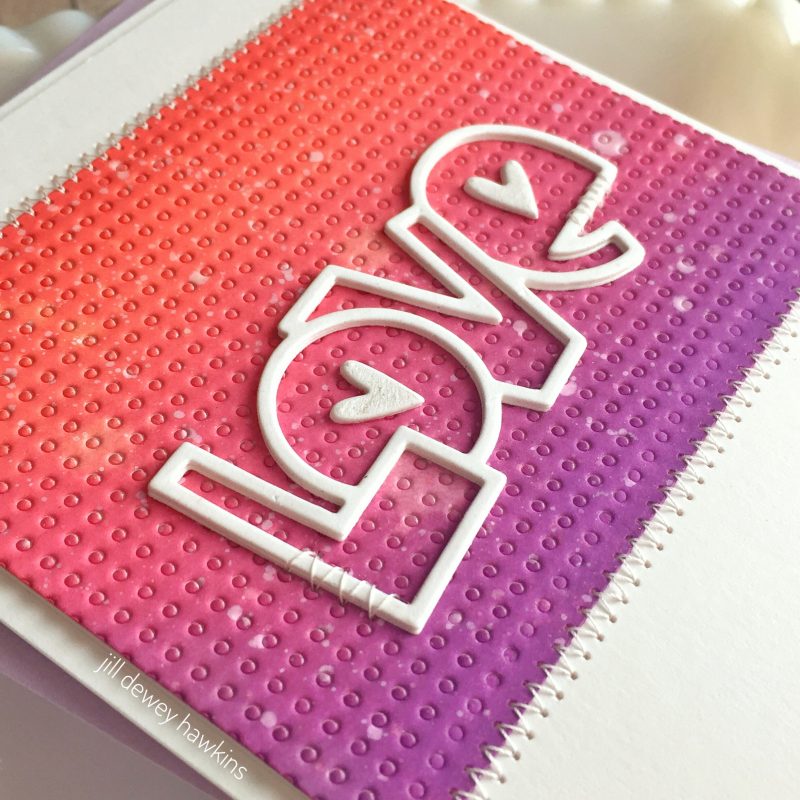
After that, I spritzed some water and white paint on the panel and let it dry completely. Once dry, I dry embossed the panel with a die and embossing mat for some added texture.
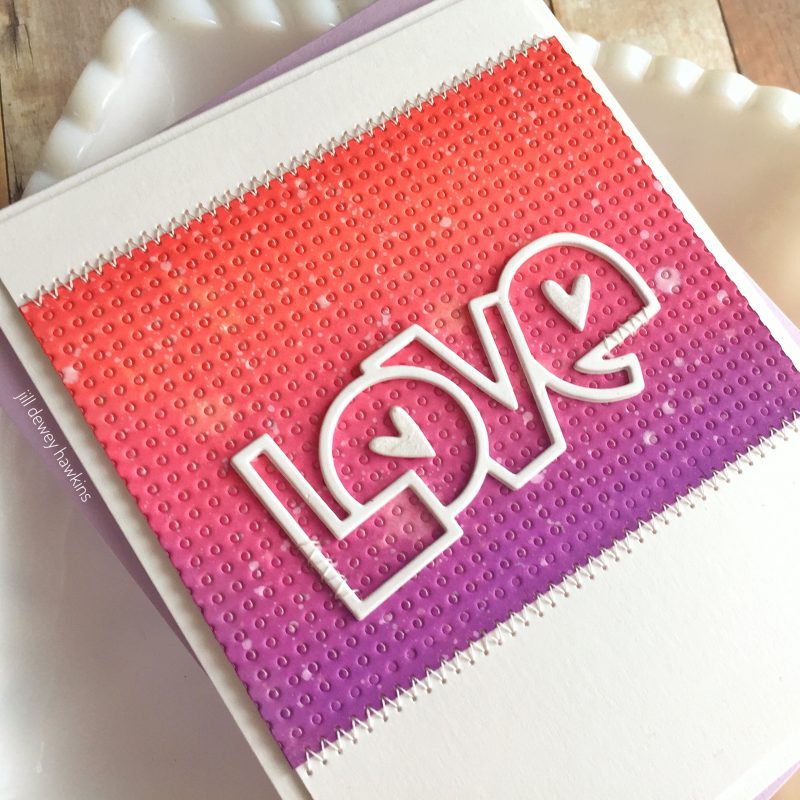
I die cut the sentiment a few times along with some hearts and then adhered all the layers together. I think this gives the whole card a little more pop! After everything was attached, I added some shimmer to the hearts and completed my card with some stitching details.
supplies CARDSTOCK: Neenah; PAPER: Bristol by Canson; DIES: Paper Smooches; INK: Ranger; INK BLENDER: Ranger Industries; ADHESIVE: 3M
I hope I have inspired you to give a little love to someone tomorrow or any day–It’s always fun to receive a handmade card! Happy Valentine’s Day to you!
Thanks for joining me here today—
~ Jill Hawkins
Be sure to find more of Jill’s beautiful work by following her on Instagram @jilldhawkins!


Beautiful cards! Thank you for sharing!
These cards are wonderful! I really love the design of the first card. :)
Cute Valentine’s cards! Thanks Jill, for the inspiration. I need to make hubby one and a birthday card for my Grandson who turns one tomorrow. He is such a cute little Valentine. ❤️
Delightful cards!
Very nice cards! I especially love the Lawn Fawn card. You totally nailed the heart candies…they look so realistic!!
Love the two Valentines cards!! Great products and want to play with all of it!! Great tips too!
These are an amazing pair of playful colorful Valentine’s Day cards!
Love love love Jilll’s card. She has such a keen eye for details and cuteness! Plus she is a pretty awesome person too!
These are just so adorable!! Love , love, love the candy hearts card – I thought they were really candy hearts!!!