

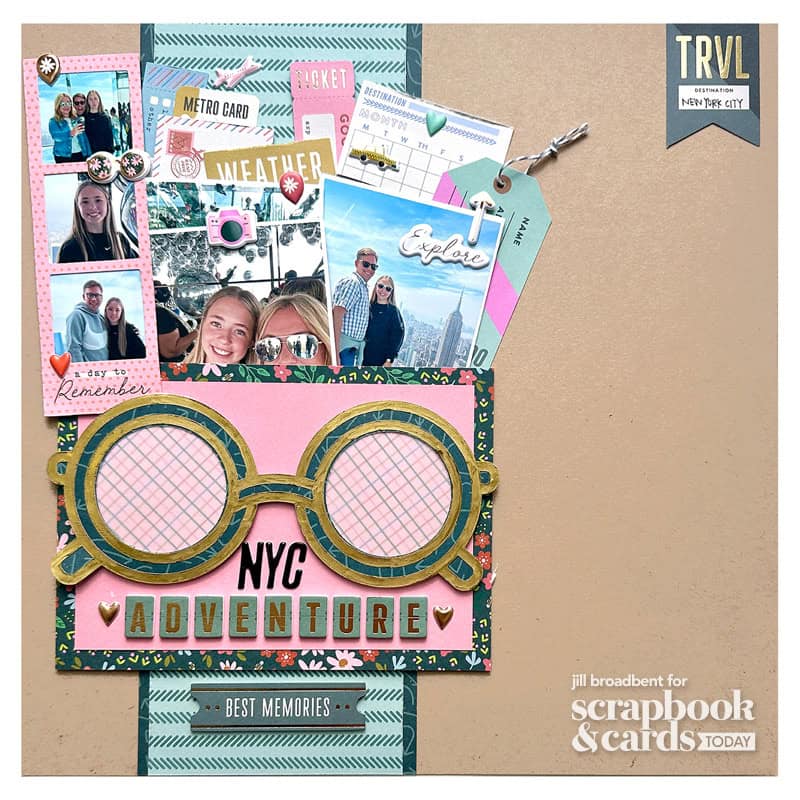
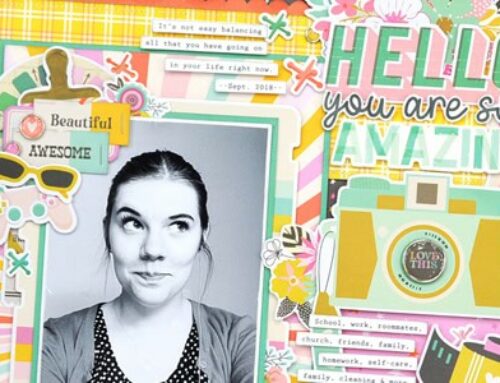
Hi, friends! It’s Jill Broadbent and I’m so happy summer is here! I love summer for the slower schedules and the chance to sneak in a trip or two as a family. Documenting travel is one of my favorite topics to scrapbook. Taking the time to tell the stories feels like revisiting the places and things we experienced all over again. Today, I’m sharing a layout I created for our trip to New York City. We took a LOT of photos and this one page let me share a handful of them in a creative way.
Supplies | American Crafts Coast To Coast collection: Patterned paper, die cuts, puffy stickers, cardstock stickers, journaling bits; Scrapbook and Cards Today: glasses cut file; Deco Foil: toner paper, gold foil; Bazzill Basics: kraft paper; Scrapbook.com: pink cardstock; Scrapbook Adhesives by 3L: foam tape and tape runner
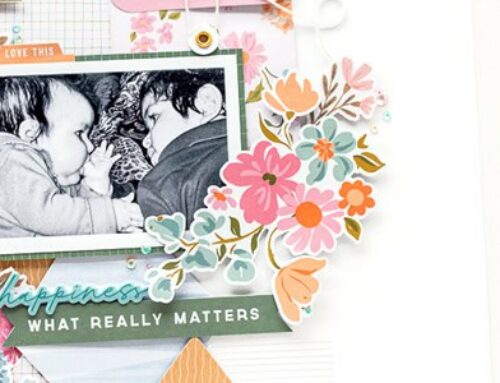
I started with the FREE Summer Sunglasses cut file from Paige Evans for Scrapbook and Cards Today. The cut file includes round, heart, and star glasses that are layered to allow for lots of creativity. Take a look:

Click HERE to download this cut file for FREE!
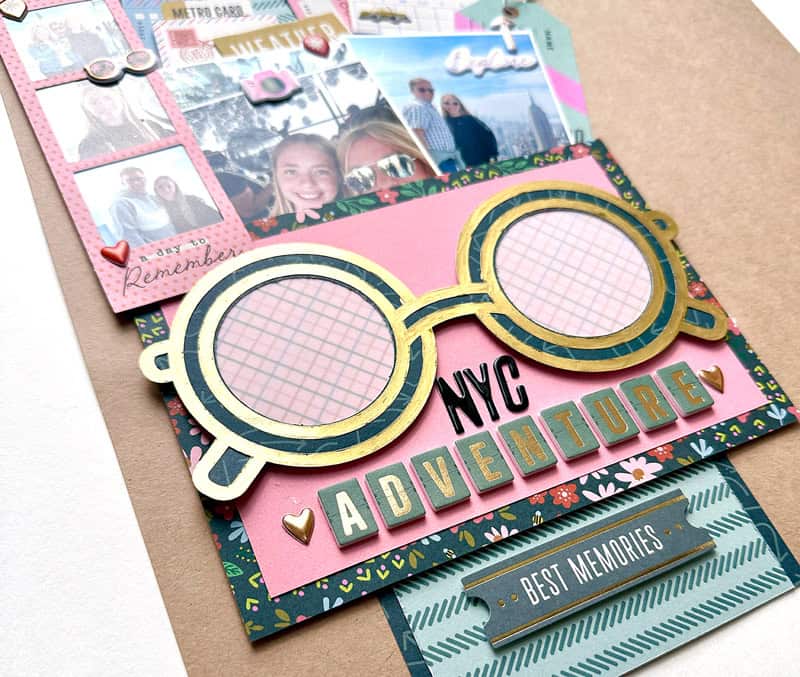
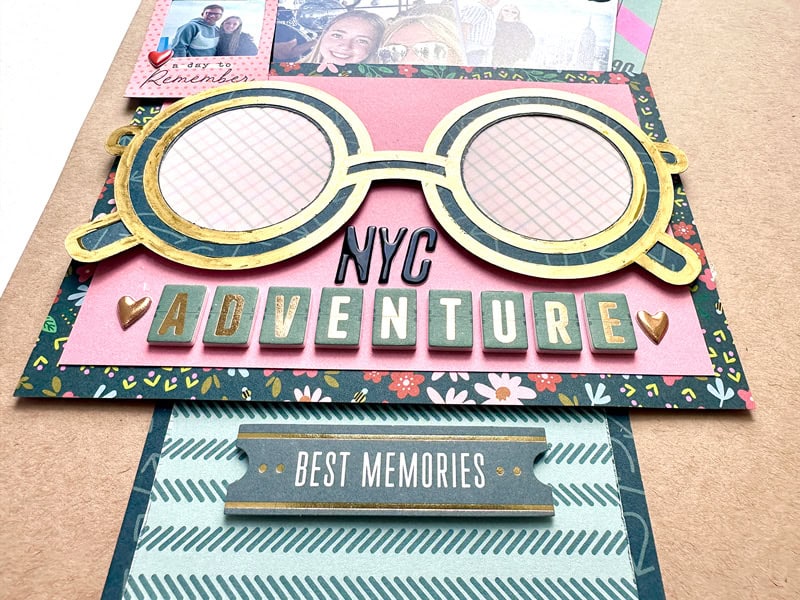
I used the round glasses, toner sheets, and gold foil from Deco Foil. The foiling made the glasses feel more realistic with the gold rims!

I filled the open space with patterned paper from the Coast To Coast collection from American Crafts. A vellum layer in the lenses mimics glass and adds texture to the cut file piece.
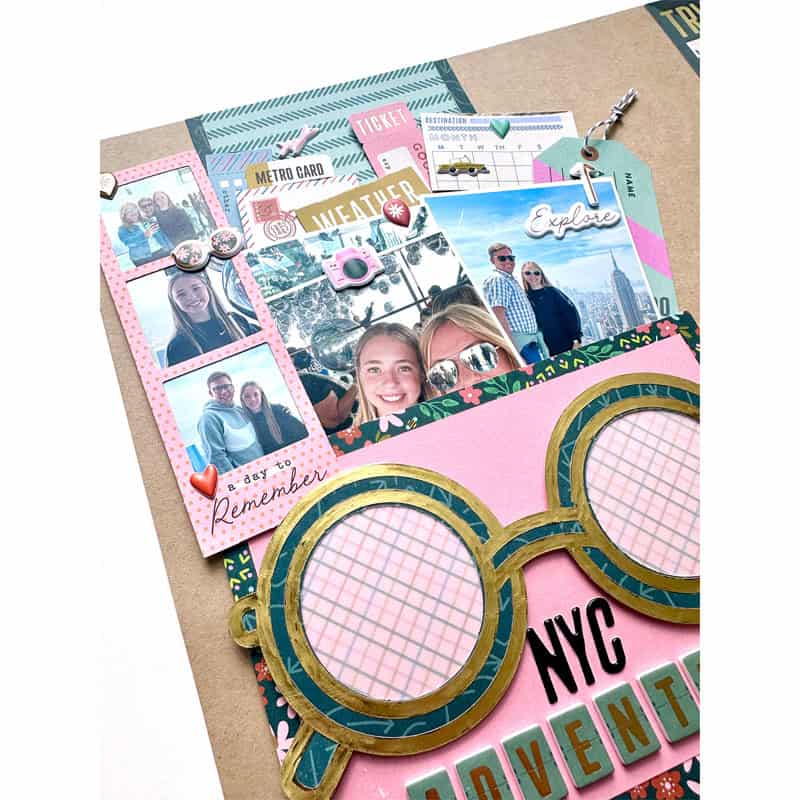
When we travel, we like to collect memorabilia. The Coast To Coast ephemera collection is filled with bits and pieces representing those souvenir elements. I wanted the layout to feel like an envelope stuffed with the collections from travel, so I created a pocket with patterned paper and foam tape that allowed me to “stuff” it full of memories.

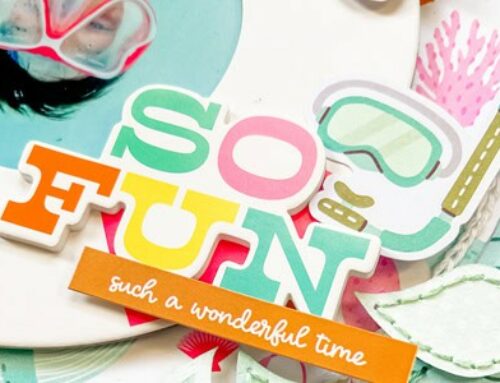
Because these embellishments were just fun and not actual pieces from the trip, I adhered them down directly to the page to keep them from moving. I added three 3 x 4” double-sided photos, for a total of six photos. These are not adhered so you can easily slip them in and out of the pocket to see them all. The Coast To Coast puffy stickers contained the perfect icons to create little pull tabs for the photos and I added them to the front and the back of each photo.
The ephemera pack also included a small film strip die, cut so I added three more photos as an additional accent to the page. We all take a lot more photos when we travel than we do during everyday life, and while I often weed out a lot of the extras, sometimes it is fun to incorporate a collection of shots from one location. This interactive pocket is a fun way to do it. Consider a filmstrip concept as another way to document multiple shots of the same event.
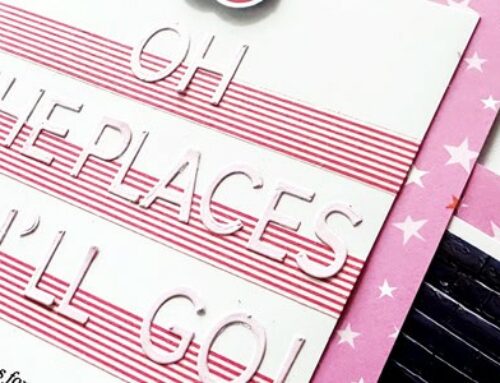
To finish the page, I added the Coast To Coast Thickers for the title. One tip I have when needing to add a long title with individual letters is to trim them from the carrier sheet.


Then, trim off the backing just enough to keep them lined up and adhere to the page. Gently peel the remaining carrier sheet from the stickers, keeping them in place on the page. The letters stay spaced and aligned and you don’t have to place each individual sticker.
I loved working with this fun cut file and can see many more possibilities to use it on other projects. Fill the lenses with photos, create a background, or use the star glasses for upcoming patriotic projects!
The Coast To Coast collection is so versatile, and you can document almost any type of trip with its unique and colorful papers and variety of embellishment options.
Thanks for going along this journey with me today and happy travels!


What a great layout. I love how you layered the memorabilia. Will have to try out the glasses cut file soon.
Thank you so much for the free sunglasses cut file. I will have so much fun with it.
Cleaver layout. I love how unique it is. Thanks for sharing!
Love this layout! I have an upcoming NYC trip and will definitely use these ideas. Thank you for the inspiration and cut file.
This layout is so fun! Love the cutfile and how you embellished it!
Thanks for the file! Love the layout.