
Hello SCT friends! It’s Allison here to share a layout I created featuring one of my favorite techniques using Nuvo Jewel Drops from Tonic Studios paired with the Just Beachy collection from Simple Stories. These little drops are fun to use as intended, but this technique involves turning a simple drop/dot into water droplets.

Supplies | Cardstock: American Crafts and Simple Stories; Patterned paper, chipboard frame, stickers, foam words, and die cuts: Simple Stories Just Beachy collection; Sun cut file: Silhouette Design Store #58668; Droplet cut file: Silhouette Design Store #83594; Nuvo Jewel Drops: Tonic Studios; Embroidery floss: DMC; Font: Century Gothic
I have always loved creating water-themed layouts. I have enjoyed being in the water for as long as I can remember. I was the first kid at the public pool every morning and usually the last to leave. My elementary principal used to greet me in the morning when I walked into school by calling me “Fish” and my mom quickly learned that you never book a hotel without checking to ensure they had a pool first. So, it makes total sense that water-themed layouts would be something I am drawn to and enjoy creating often.
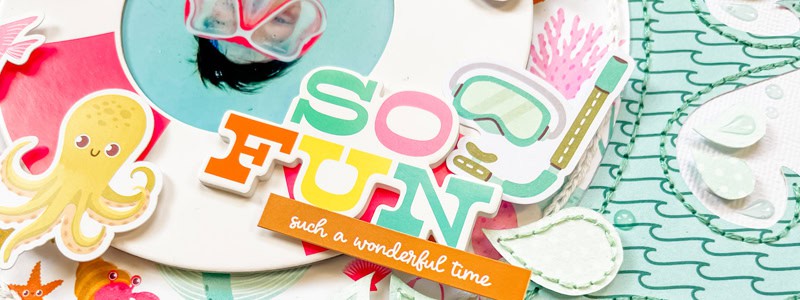
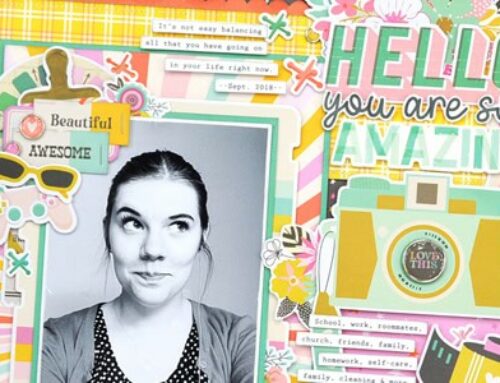
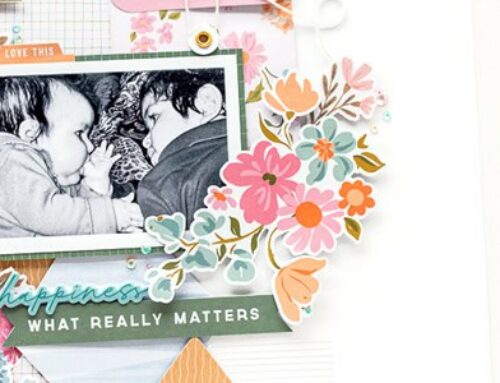
For my layout, I used a photo of my son Jackson hanging upside down underwater. Simple Stories always has a package of super cute photo frames and the circle inflatable frame was so perfect for highlighting this photo. I love that the pink stripes on the frame match his goggles!

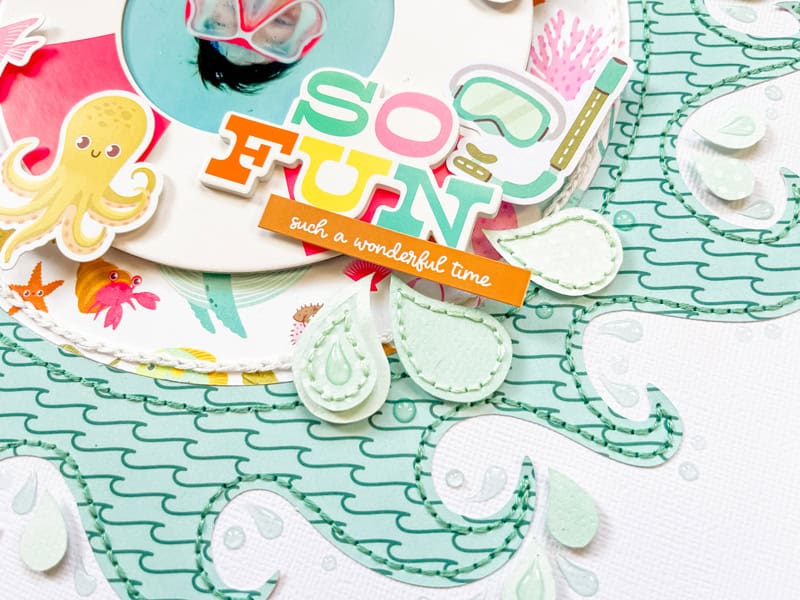
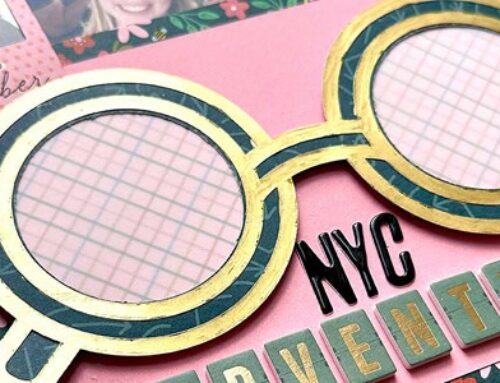
I wanted to create a large splash design around the photo and frame so I used my Silhouette to cut out the large splash circle. It’s a sun cut file, but I thought the edges looked like waves and that I could easily convert it to a splash design by using wave-patterned paper and adding droplets all around it. For some of the droplets, I used pieces cut from my Silhouette and adhered them with foam adhesive for dimension. Then I added lots and lots of Nuvo Jewel Drop droplets as well.

To make the droplets:
- Squeeze out a small drop.
- Use a needle and place it in the center of the drop.
- Drag the needle out to create your point.
- Immediately clean your needle point before you make another. I use a paper towel to wipe the product off the needle. (The product will pile up and your drops won’t be as pointy if you don’t clean it between each use.)

My favorite color to use for this technique is called Sea Breeze. It’s a light blue color that looks exactly like water. It’s my go-to color for all water-themed layouts!
If you need a visual of this technique, I’ve put together a short process video for this layout with a tutorial on creating these droplets:
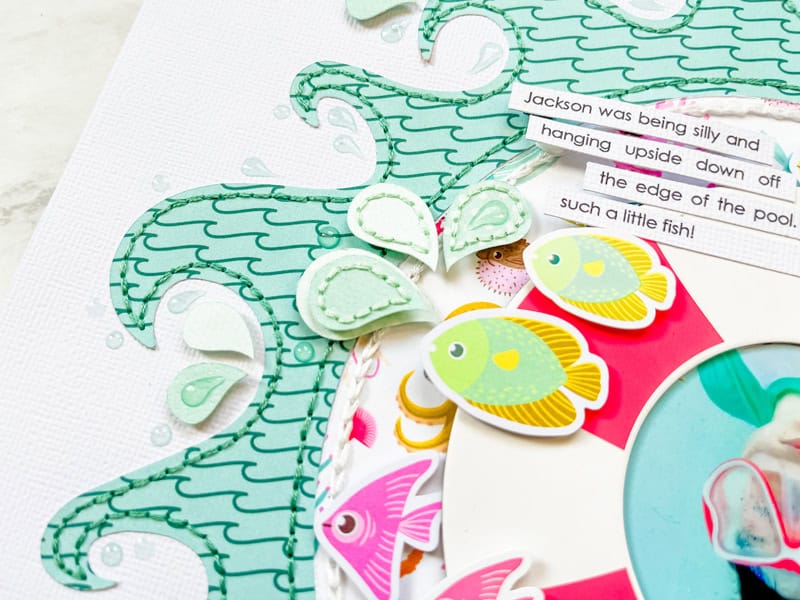
To finish my layout I added a stitched border around the splash design to add texture and dimension and lots of fish stickers around the photo frame along with my title and journaling strips.
If you are like me and love creating water-themed layouts I highly recommend you give this technique a try! It adds a fun detail to those splash and wave designs!
Find more of Allison’s creations here: Instagram | YouTube | Facebook
![]()

Our Let’s Stamp Together card making bi-monthly kit subscription window is almost closed, and we don’t want you to miss out on the upcoming kits. Sign up by Friday, June 21st to ensure that you receive our September kit, and explore how this wonderful kit and class will invigorate your creativity!
Click HERE to learn more about Let’s Stamp Together today & add your name to our subscription list!

Once again Allison, you’ve outdone yourself! Love it! Love it Love it!!!!!!
Such an adorable layout! I love this technique!
I too am a water baby! So water themed layouts tug at my heart. I LOVE this technique, and have added that colour to my Wishlist. Thanks, Jill for such a fun and well designed layout.
Oh I love your layout. Thank you for sharing how you made water droplets with your Nuvo Drops. I need to get going on my scrapbooking again as I have a whole bunch of pictures from Hawaii!! I am not a fan of being in the water, but I do love the layout and creating water-themed pages!
I love your LO! So whimsical and fun. Thanks for sharing.
Gorgeous layout! Thank you for the tip to make droplets!
What a fun layout!
I LOVE this layout and I LOVE those drops! Fantastic!