
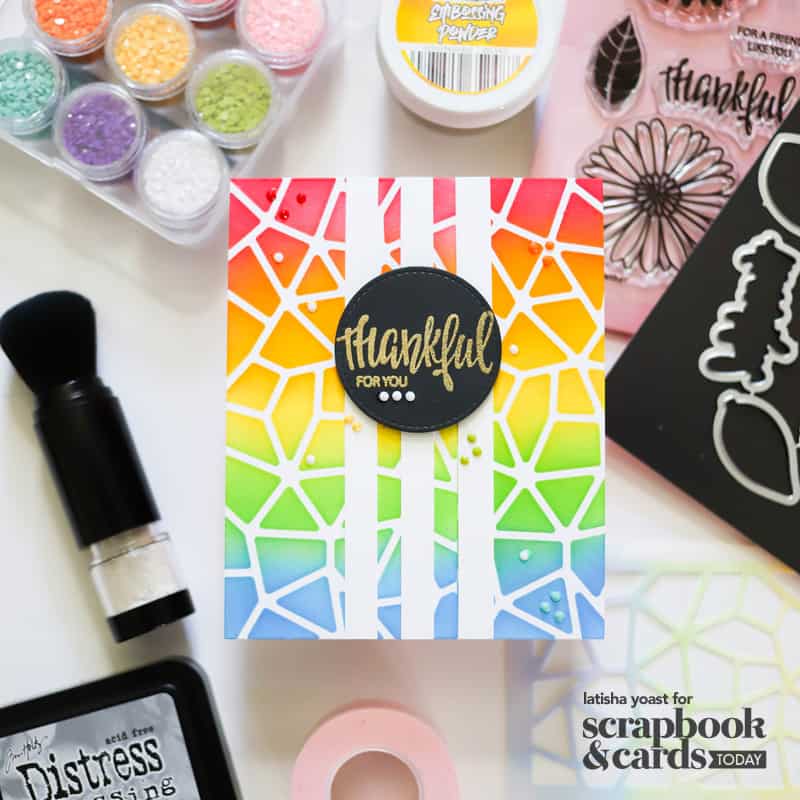
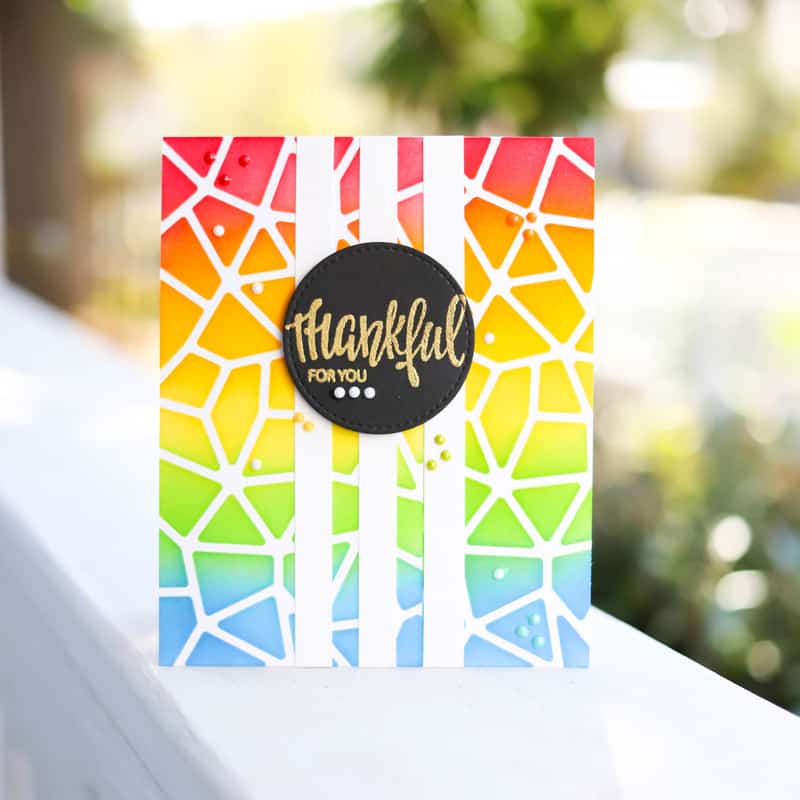
The January Let’s Stamp Together kit included a stencil made for a mini slimline card, or to stencil a portion of an A2 card. I wanted to create a card front using the entire stencil. To achieve this, I placed the stencil onto the card and secured with the new Pixie Tape. This tape is designed so that it will not rip or tear your paper once removed. Once I blended the ink on the card front, I removed the tape and slid the stencil along the card front, lining it up with where it was just blended. Then, securing the stencil in place with the same strip of tape, I ink blended with the same ink colors.

To add contrast, I adhered three strips of white cardstock measuring 1/2 inch by 5.5 inches to the center of the card.
Black cardstock was prepped with a no static embossing powder brush, which ensures the embossing powder only sticks to the ink, before I stamped the sentiment onto the cardstock and embossed using Metallic Gilded Brutus Monroe embossing powder. I love this embossing powder because it creates such a smooth finish when it is heat embossed without bubbles or unevenness. Once the cardstock was cool to the touch, the sentiment was die cut with a circle die and adhered to the card center using foam adhesive. To embellish and balance out the card, gems in coordinating colors were added with glue.
Thank you so much for joining me today! What crafty things are you loving right now? Let us know in a comment!


beautiful
Great card! Thanks for showing us another way to use the Let’s Stamp Together stencil!
What are the gems you used?
I think they are the Diamond Dots from Taylored Expressions
Thanks!!
It’s beautiful like a stained glass window.
Lovely cards so pretty.
Oh wow what do I want for my Birthday this year? I love the virtual Crop & Create Events but would also love to attend a in person Crop & Create event!