

Welcome back to day three of Let’s Hear It For the Boys Week here on the SCT blog! Today we welcome our second guest of the week, Phil Donahue! Phil’s colorful and layered layouts always catch our eye and what he is sharing with us today is no exception! Don’t miss his tips for creating below, including how he easily backs a cut file! Let’s hear from Phil!
![]()
Hello crafty friends! It’s Phil Donahue here, beyond excited to be a guest designer for SCT’s inaugural Let’s Hear It For the Boys Week! I have always loved anything related to art and creativity. Drawing, writing, photography—you name it, I did it as a child! Later on in life, I worked in event marketing for an all-natural grocery store and even freelanced as a food stylist and photographer for a local salsa company. At the start of the pandemic and out of dire need for help on the sales floor, my events management role became a front-end management role and the salsa company could no longer afford to keep me in my freelance role. Each day at work felt more stressful than the last and without a creative outlet I fell down a YouTube rabbit hole discovering scrapbook process videos from Paige Evans and Shimelle!
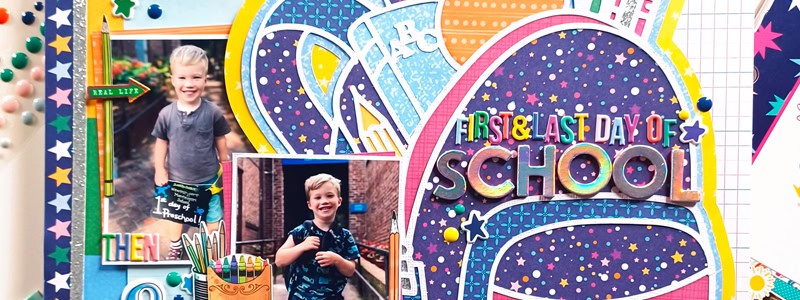
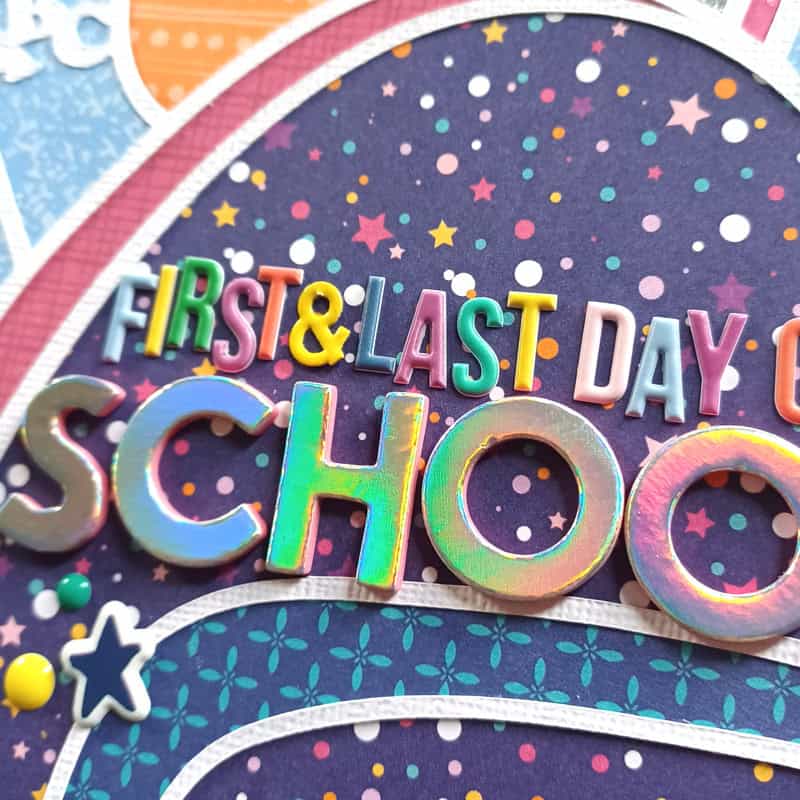
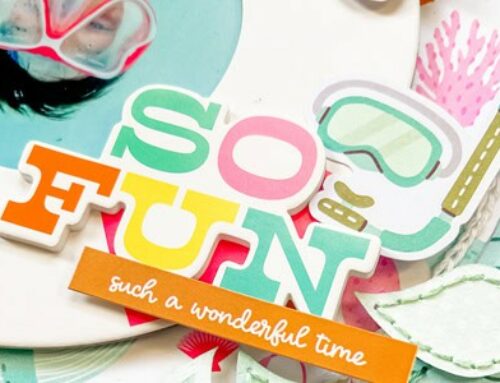
These videos became a much needed mental break from daily pandemic life. A few months later, my sister and best friend both had their first children and I decided to put those hours of watching tutorials to use and make pages to document their lives as a first mother’s day gift! Today, I am on the Kingston Crafts and Paige Evan’s Cut File design teams. I love creating vibrant, colorful pages with lots of pattern paper and bold cut files like the one I am sharing with you today! This layout features a photo of my best friend’s son, Hunter, on his first and last day of pre-school!
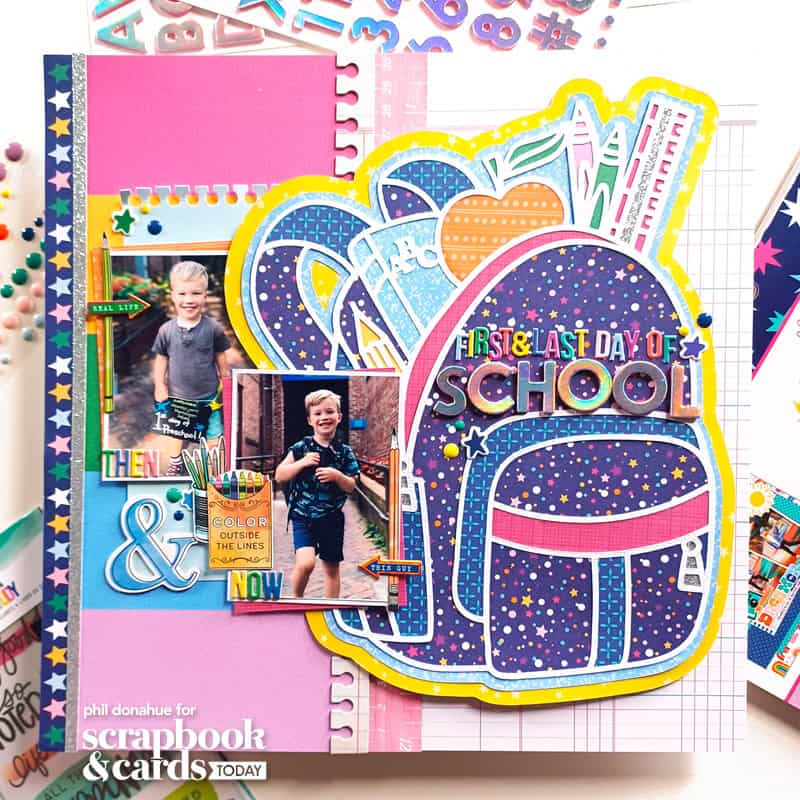
Supplies | Shimelle Main Character Energy collection: 12×12 Paper Pad, Mini Puffy Stickers; SCT Magazine & Paige Evans: School Backpack cut file; American Crafts: 12×12 white cardstock; Other: Cricut Explore Air 2
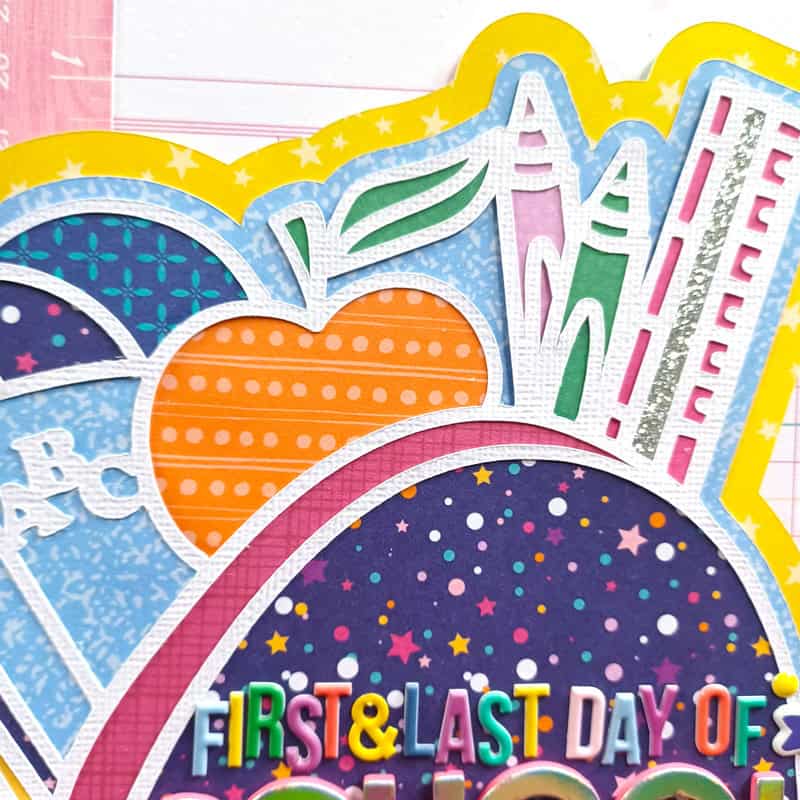
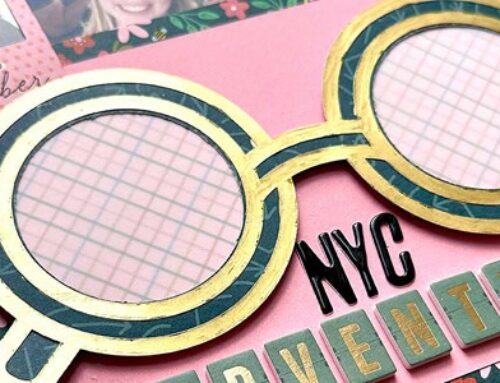
I love using cut files on my scrapbook layouts because they add a base to any layout making it easy to build upon with photos, patterned papers and embellishments. Cut files always help make stunning layouts with a lot less effort than they seem! Using Cricut Design Space, I resized the backpack cut file, keeping in mind I wanted it to take up the majority of the page while leaving space for my photos and embellishments. Some days, I’ll fussy cut papers to back a cut file and other days I’ll let the software do the work. Once I choose a size for the cut file, I create a copy and use the ‘contour’ tool to isolate shapes I want to cut and use for backing. After, I use the ‘offset’ tool and set it to .06 to create a slightly larger shape which adheres perfectly behind the cut file. I repeat these steps, add patterned paper to adhesive cutting mats and run them through my Cricut Explore Air 2 until my entire cut file is backed. As long as you always keep the first copy, you can’t go wrong!
Since I love using a mix of colors and patterns I tend to focus on one collection for the majority of a layout. This ensures the patterns and colors will coordinate no matter what! To create a color palette for my page, I’ll find one patterned paper (typically one that features multiple colors from a collection) and draw from that to find coordinating papers to create my layout. For this layout, I chose to use Shimelle’s Main Character Energy collection and the navy and multi-color confetti sheet as my main color reference. All colors and patterns in the final layout drew from that paper which made a cohesive, yet colorful page!
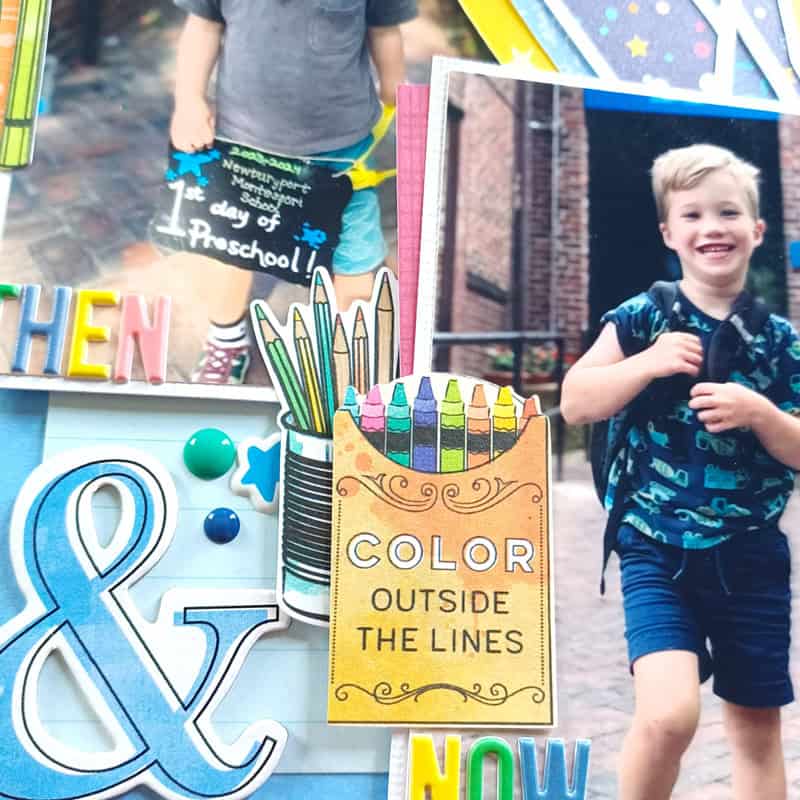
Next, I placed my title and embellishments. At this step, I tend to dip into my stash to audition items, placing them on the page without adhering, from any collection that can fit the theme or color palette. I typically embellish the page from large to small items because large items create areas of interest to add little stickers and enamel dots which fill spaces that may need a little extra something!
Remember, a colorful layout is as simple as sticking to (mostly) one collection, choosing a reference page to create a color palette and using a cut file to create a versatile base to build any layout! I hope you found some inspiration in this layout and choose to try a cut file and my color palette strategy in your next project! Thanks for reading!

Find more of Phil’s creations here: Instagram
![]()

Join Tina Smith tomorrow as we continue Let’s Hear It For the Boys week with and adorable, and suprising card for any special boy on your list!

I love hearing how all these designers and contributors got started
I’ve seen Phil’s work on Paige Evans’s website but didn’t know his story. So interesting to hear how he got involved with crafting as an adult. He’s a quick learner and love his use of color! Thanks for highlighting his talent!
Thanks for sharing your story and your process for creating!
This layout is AMAZING!
What a great story. Sounds like you found your happy place!
Probably showing my age, but I thought of a different Phil Donahue. :-P
Such a bright and lively layout, beautiful! Thank you for the great tips on cut files and color palettes. Will sure give it a try.
I love his work! Thanks for showcasing Phil so we could learn more about him