
Welcome, SCT friends! It’s Dee here today with two new festive cards to jumpstart your holiday cardmaking! These cards feature products from the latest Honey Bee Stamps release combined with a few previously released favorites, and I’m excited to share them with you!

Supplies | Honey Bee Stamps: Elegant Floral Frames Stamp Set, Home for The Holidays Stamp Set, Layering Holiday Bells, Mason Jar Vase, Jingle All The Way Stamp Set, Scallop A2 Card Frames, Deckle Edge A2, Pine Trees, Layering Snowflakes, Bee Creative Intense Black Ink Pad, Make It Merry Gem Stickers; Concord & 9th: Cardstock, Concord & 9th Ink; Other: Ranger Ink White Embossing Powder, Dina Wakley Media Gloss Sprays (Fir, Aloe, Sage, Sterling, White)
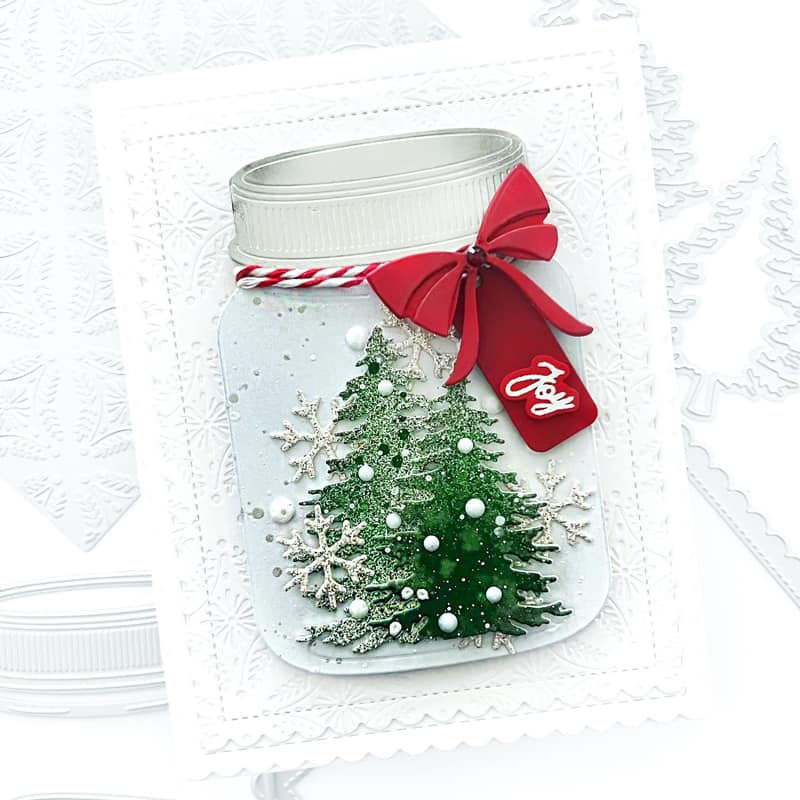
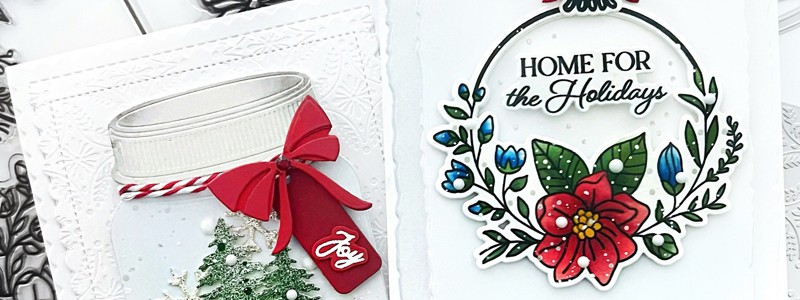
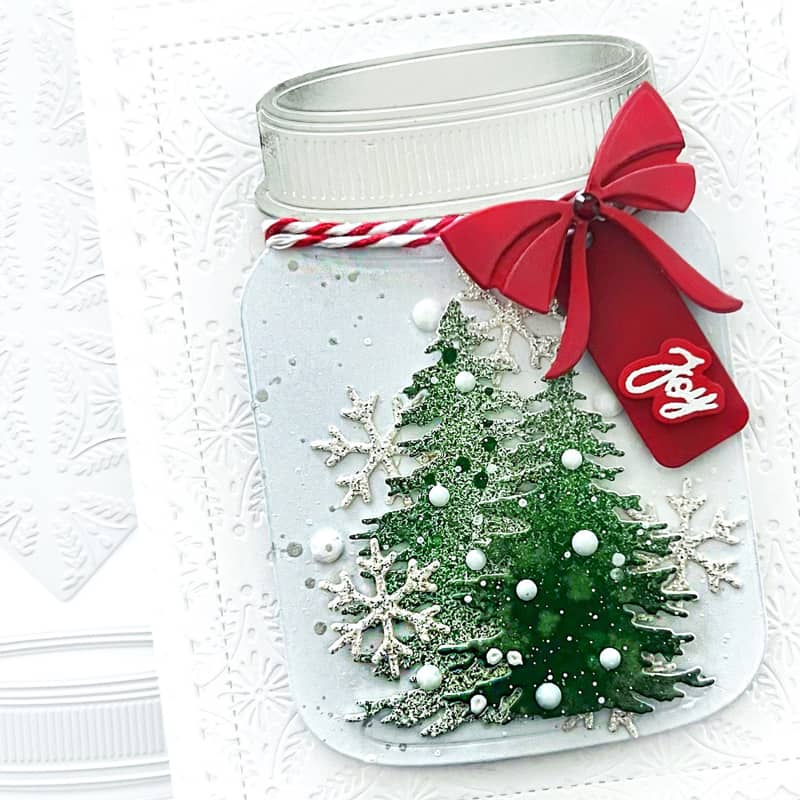
For the first card, I created a fun winter scene using the Pine Trees and Mason Jar Vase dies as the focal point. To start, I sprayed Dina Wakley’s Media Gloss Spray in shades of green onto white cardstock, then die-cut it using the tree dies. Next, I die cut the mason jar, adhered the lid, then lightly ink blended over the top. For the background, I die-cut two of the Scalloped Card Frames, embossed the smaller of the two with the Winter Gems cover plate, and splattered silver and white paint onto the frames. I adhered the die-cut elements over the top, added a piece of red and white twine around the jar, and attached a die-cut tag with a simple embossed sentiment. I couldn’t resist the adorable (and perfectly sized) bow from the Layering Holiday Bells die set, so I added that to the lid, too! To finish, I added a few small Snowflake die cuts and white gem embellishments for a little extra sparkle!
For the second card, I went with a coordinating design, but this time, I used the stamped elements as the focal point.
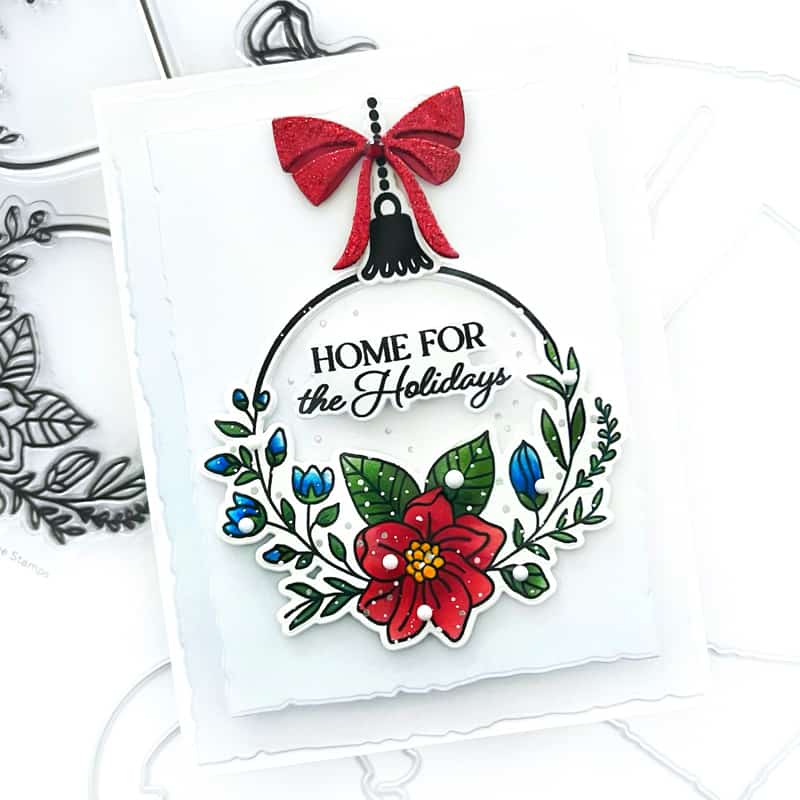
To begin, I stamped the wreath ornament from the Elegant Florals stamp set, ink-blended the foliage and the poinsettia using the coordinating stencils, and cut it with the coordinating die. For the background, I die cut the two larger Deckle Edge dies, stacked them on top of each other, then ink-blended them with light-blue ink creating a gradient effect.
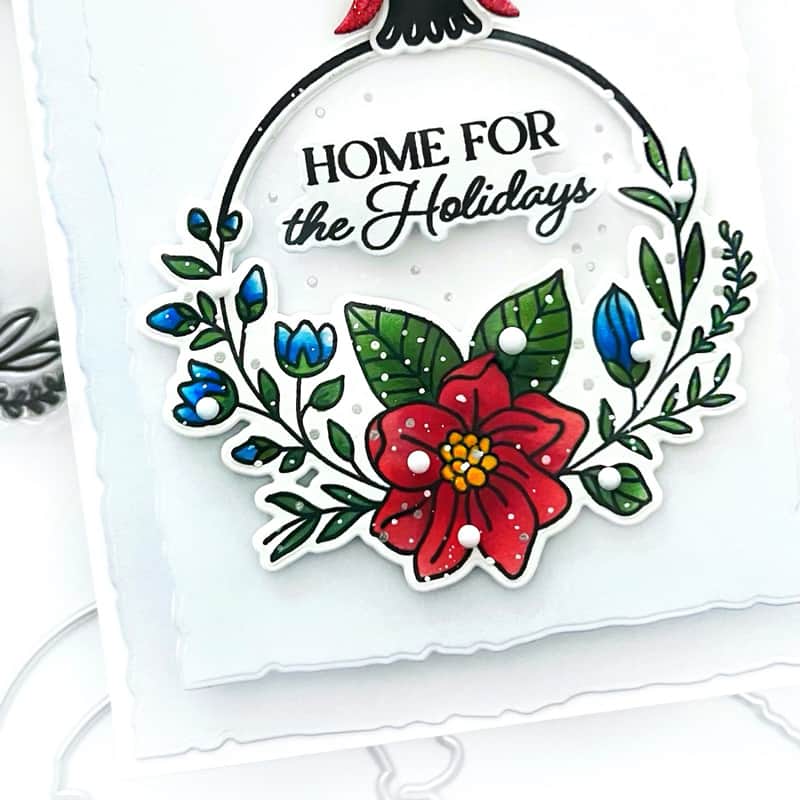
I adhered them together with foam tape, then added more silver paint splatter to the center, and once dry, I adhered the die-cut wreath to the center using more foam tape. To add a bit of sparkle, I added the same bow as I did to the first card, this time using red glitter cardstock. I stamped and die-cut a sentiment from the Home for the Holidays stamp set and adhered it to the center. To finish, I lightly splattered white paint onto the ornament and added more white gem embellishments!

I hope you enjoyed learning more about my cards and are inspired to create some of your own for the holidays! Thanks so much!

Find more of Dilay’s work here: Instagram | YouTube | Blog | Facebook


These are great! I especially love the pine trees in the jar.
What beautiful cards! I just love the winter scene in the mason jar! :)
Beautiful cards!
These cards are gorgeous.
Both cards are so pretty. Thank you for sharing.
Beautiful cards from Dilay Nacar!! I am smitten over the mason jar card.
The jar card has an ethereal effect. And I love the wreath design, so crisp and clean.
Absolutely gorgeous cards! So pretty!