

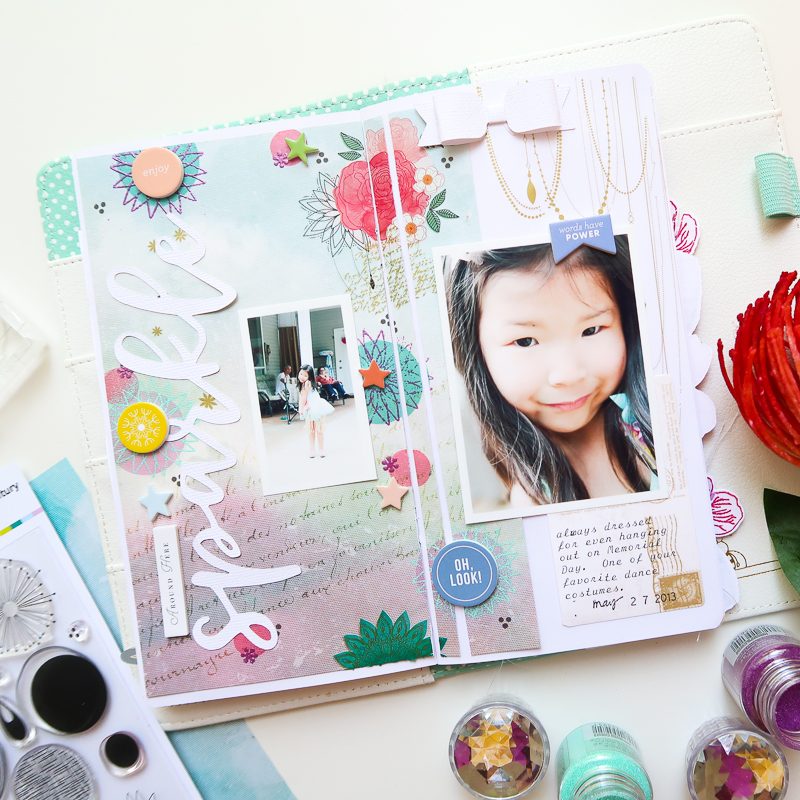
I am so excited to be with you today to share a page from one of my traveler’s notebooks. This post combines my love of pattern paper, stamping, and creating texture. I use a variety of different traveler’s notebooks, but for this post, I’m using a pre-made notebook from Doodlebug Design to show you how to create the layers first and then add them to your notebook.
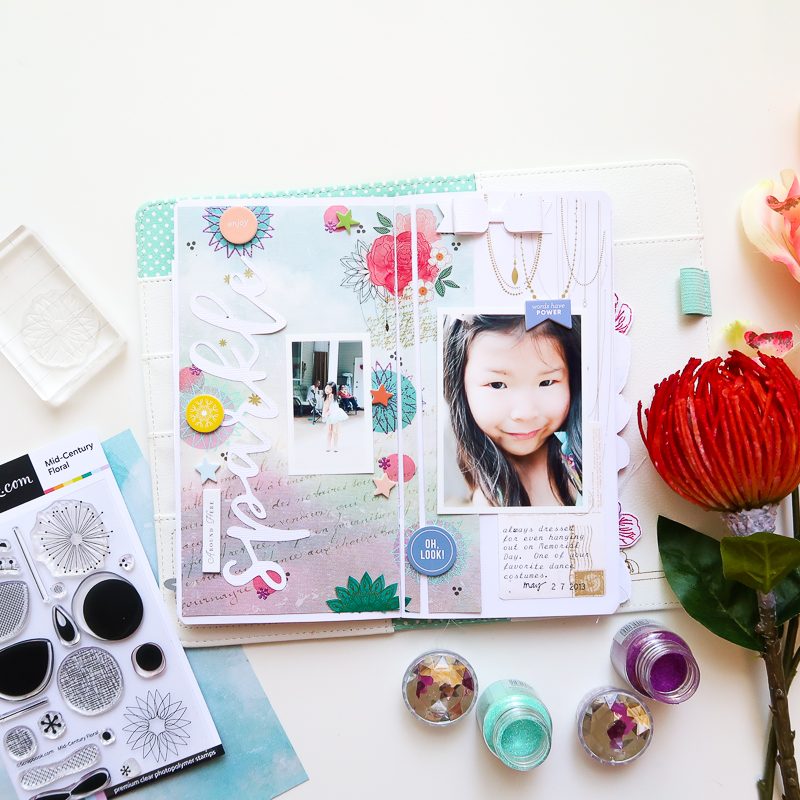
Once I picked out the stamp set to use, I picked the pattern paper, rub-ons and embellishments to complement the set. I trimmed the 12×12 pattern paper to fit on the left side and then used about a 1/4” and 1” strips to continue the pattern paper onto the right side. Allowing a space in between the paper creates motion, repetition, and texture. Next, I want to create even more texture on the pattern paper.
Adding the rub-ons and stamping to the pattern paper directly before adhering to my notebook gives me a flat surface to work with. I start by adding the rub-ons to the paper where it is trimmed to continue that motion. Then I start stamping my first stamping with the large solid circles, then heat embossing the flower image on top using a contrasting color. The surface is uneven on the right side because of a finished page on the reverse side of it, but I still added another rub-on to that side directly to the notebook knowing that the imperfect transfer of the rub-on would be covered up by my photo, and embellishments.
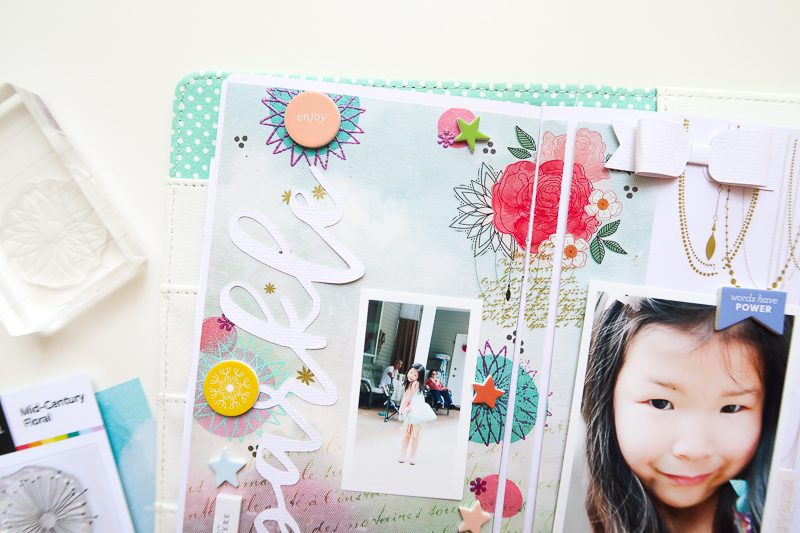
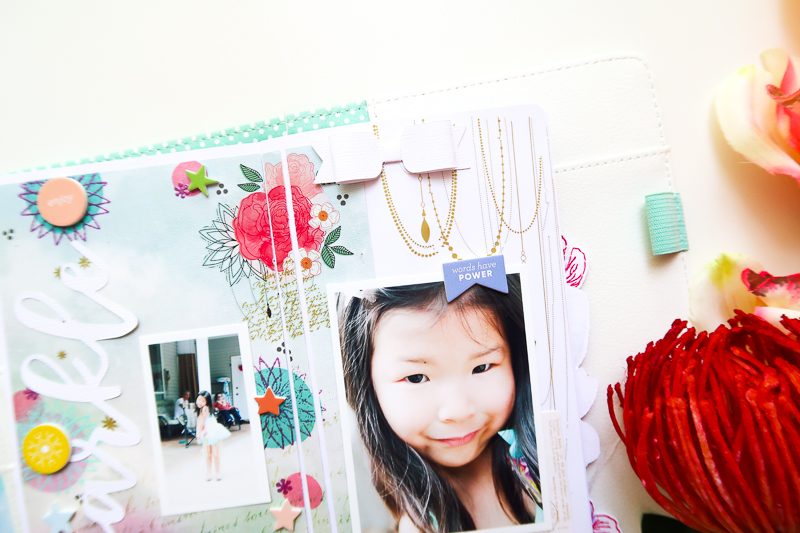
I finished the background by using the smaller solid circle, then layering with smaller stamp images either heat embossing or using black ink. When adhering my finished pattern paper to my notebook, I make sure to apply a strip of adhesive on the edge to ensure it is secure when opening and closing my notebook. Using a tape runner and/or double-sides tape helps with this. I placed my cut title vertically to create balance on the right side that shows more white. To add more gold to my right side, I used a die-cut with gold to type my journaling and tucked it under my main photo.
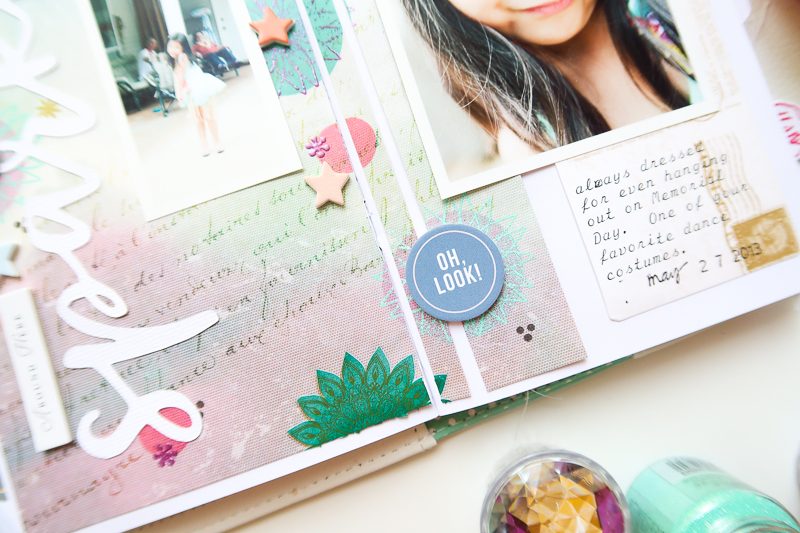
To add a final layer, I added puffy stickers over the stamping and over my main photo. Then finished the spread with a die-cut bow on the right.
Supplies: Cardstock: American Crafts; Patterned Paper, Rub-ons: American Crafts Vicki Boutin; Stamps and adhesive: Scrapbook.com; Ink: Altenew, Fun Stampers Journey, Waffle Flower Crafts; Embossing Powder: Nuvo Embossing Powder; Stickers: Citrus Twist; Pre-made die-cut shapes: Crate Paper; Die Cut Machine: Silhouette Cameo; Other: Doodlebug Traveler’s Notebook
Please watch the video below to see how this all came together!
Thank you so much Scrapbook & Cards Today Magazine for having me and to everyone for letting me share by traveler’s notebook!
You can find Patrica on her blog HERE or on Instagram at @patricia_roebuck


Love this
Wonderful page Patricia! Such adorable photos of Emma! :)
Very pretty. Love all the embellishments.
I love all of the elements on this page. I am taking a TN class at Crop & Create and can’t wait to start playing!
I have only recently started doing TNs and I am so thrilled about how quickly these ‘mini-layouts’ come together. I love your page, Patricia. Great inspiration!