
Welcome back to day two of We Love Fall Week! If you have very little autumn-themed products in your stash, Victoria Calvin is here to show you how you can stretch what you have on hand to create the cutest fall-themed cards! Let’s take a look at what she created!
![]()
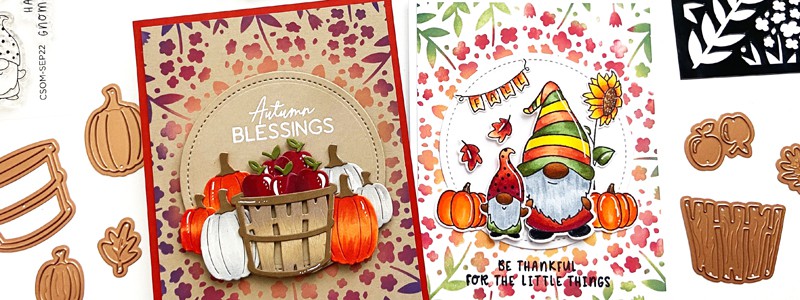
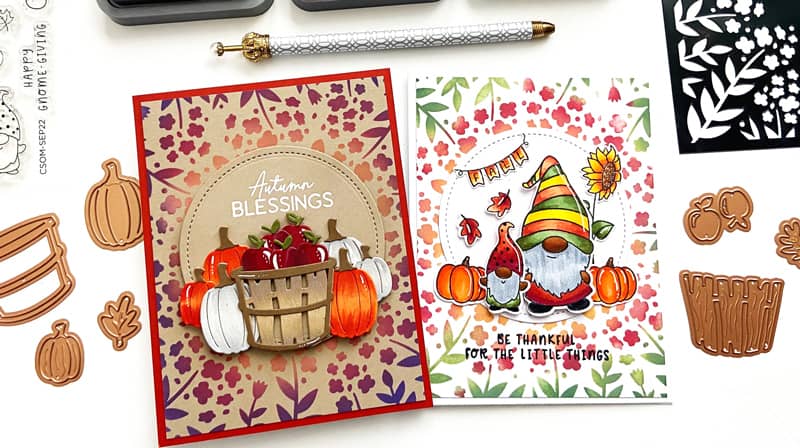
Hello friends! It’s Victoria and today, I’m sharing two fall-inspired cards for We Love Fall Week. Fall is by far my favorite season (second to spring) and I have been busy making lots of cards for my family and friends. Every year, I like to challenge myself to make a few cards using non-fall-themed supplies. For today’s featured projects, I used the Flowers and Butterflies Stencil Pairs by Hero Arts. This stencil set is perfect for creating spring and summer-themed cards, however, when paired with warm colors and fall-themed stamps and dies, this stencil design can be easily transformed into a high-impact fall card. Let’s check it out!
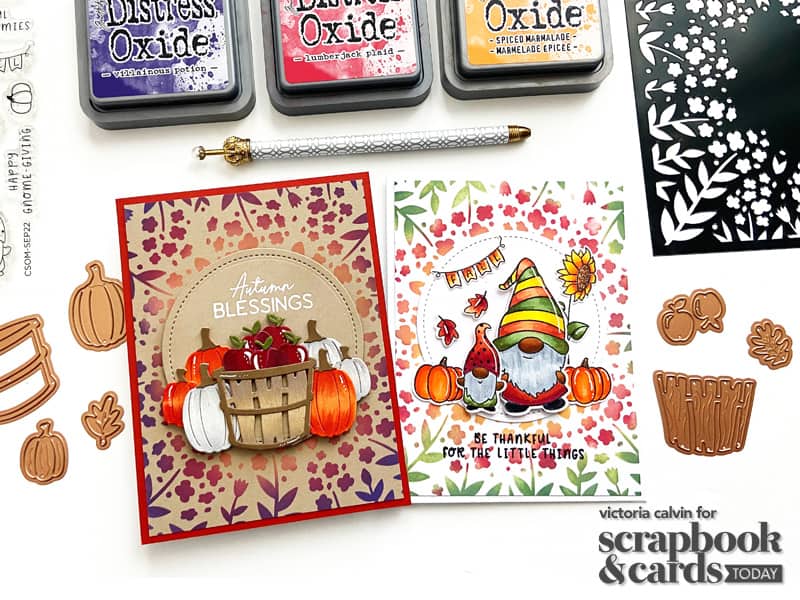
Supplies | Hero Arts: Flowers and Butterflies Stencil Pairs; Spellbinders: Fall Greetings stamp set, Welcome Fall cutting dies; Fall Gnomes Clear Stamp of the Month, Fall Gnomes dies, white embossing powder; Echo Park: Single Stitched Circle Frame die set; Taylored Expressions: blender brushes; Ranger Distress Oxide Ink: Rustic Wilderness, Peeled Paint, Fossilized Amber, Lumberjack Plaid, Villainous Potion, Spiced Marmalade; Scrapbook Adhesives by 3L: foam squares; VersaFine Clair Nocturne pigment ink; Sakura: White Gelly Roll pen
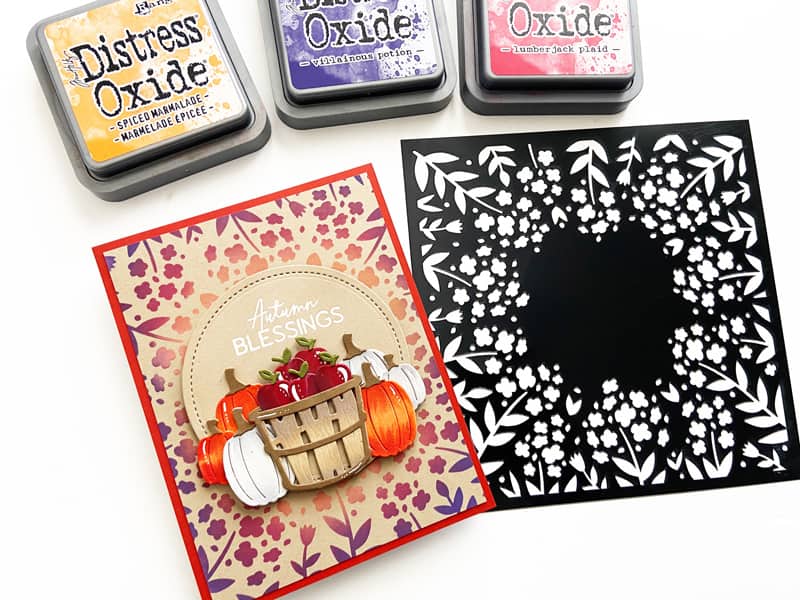
To begin, for the first card project, I used the stencil and several colors of Distress Oxide ink (Lumberjack Plaid, Spiced Marmalade, and Villainous Potion) to create a 4.25 x 5.5-inch card panel from kraft cardstock. To get a smooth blend, I applied the oxide ink with blender brushes from Taylored Expressions. Notice how the warm color selection instantly changes the look of this stencil design. I love when I can get multiple looks from one product!
Once the ink was applied, I set the panel aside to dry. Then I repeated this step to create a similar card panel using white cardstock and Distress Oxide ink (Fossilized Amber, Spiced Marmalade, Lumberjack Plaid, Peeled Paint, and Rustic Wilderness). TIP: Take the opportunity to make multiple card panels. In doing this, you will maximize your creative session and have several stenciled card panels that are ready for future projects.
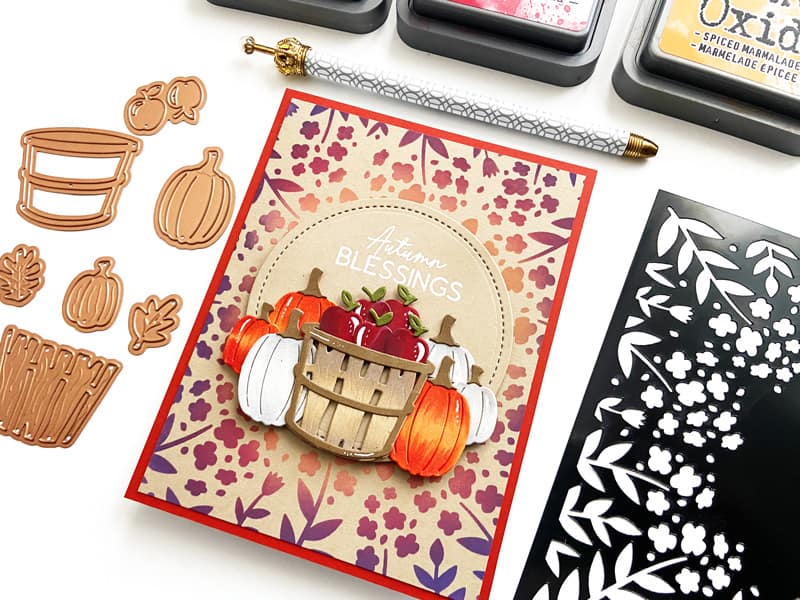
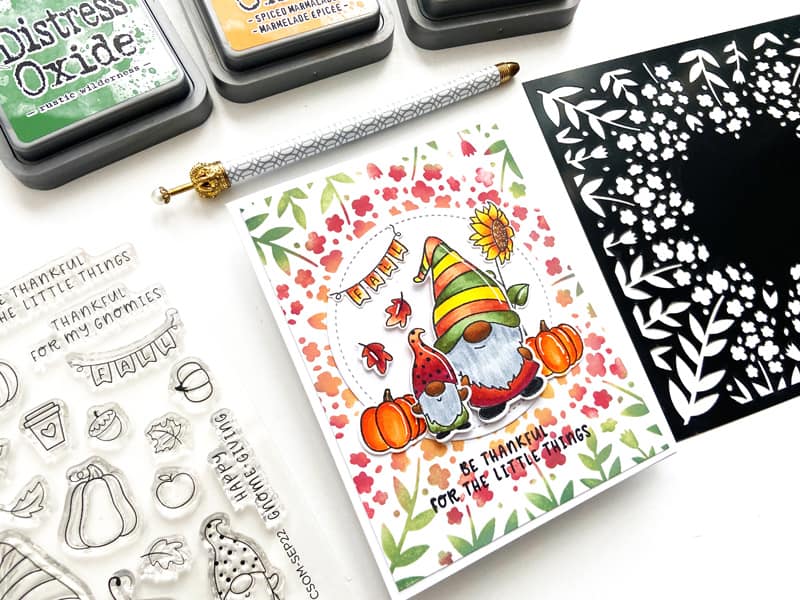
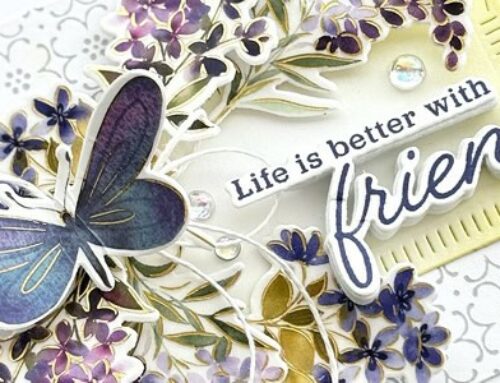
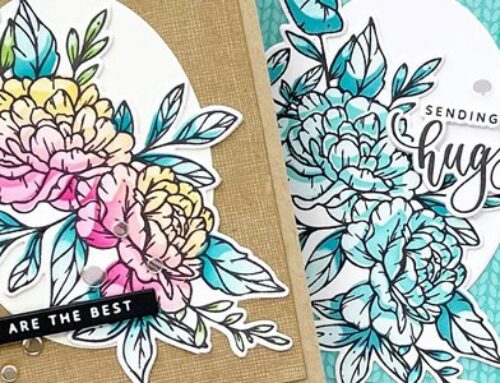
Next, to further extend the fall design, I selected two fall-themed stamp and die sets from Spellbinders that feature a variety of fall elements including leaves and pumpkins. For the first card project, “Autumn Blessings,” I used the Welcome Fall dies to cut a set of pumpkins, apples, and a wooden basket from coordinating solid cardstock. For the “Be Thankful” card, I used the Fall Gnomes stamp and dies set to cut two gnomes, pumpkins, leaves, and a sunflower. I colored the images with alcohol markers and added highlights to the images using a Gelly Roll pen.
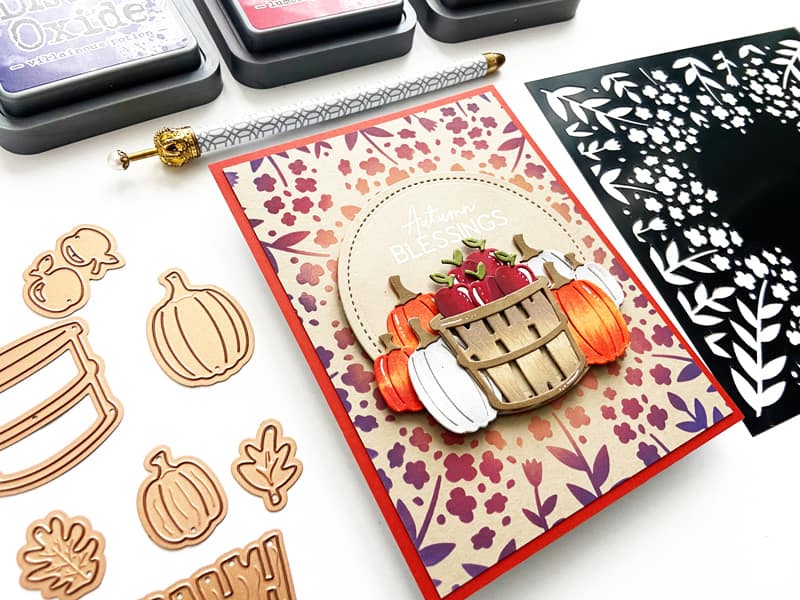
After cutting and coloring all of the images, I assembled the cards as shown. Starting with the “Autumn Blessings” card, I adhered the stenciled panel to a 4.25 x 5.5-inch card base. Next, I die-cut a stitched circle from kraft cardstock and added a heat-embossed greeting to the top of the circle. Then, I layered die-cut images to the center of the circle using foam adhesive for added dimension.
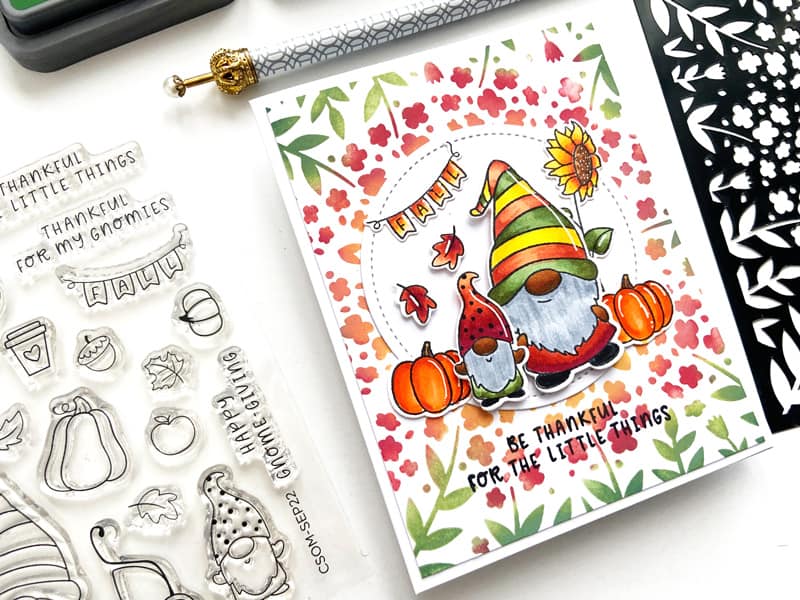
I repeated these steps for the second card by adhering a stenciled card panel to a 4.25 x 5.5-inch card base. Next, I stamped the “Be Thankful for the Little Things” sentiment at the bottom of the card panel and adhered a stitched circle die cut to the center of the card. I layered the tiny gnomes, pumpkins, leaves, and sunflower images in the center of the stitched circle.
And with that, these fall card projects are done! This week, think about some of the non-fall-themed products in your stash that can be used to create fall-themed cards. This is a great way to extend the use of your stash and get a ton of new looks for your next card projects. Have fun, play, experiment, and explore. Happy fall, y’all!

Find more of Victoria’s work here: Blog | YouTube | Instagram | Facebook
![]()


Victoria’s Cards are great!
Fantastic fall offering! Way to go Victoria!
I never would have thought to combine pink, purple and yellow inks but they’re BEAUTIFUL especially on kraft paper!
Victoria is so talented. Not only are her cards beautiful but her layering skills are on point!