
We may not all be able to travel together, so today we are bringing the creative space of Andrea Lake to you! We are so excited to take a step into Andrea’s room so that you can see the thoughtful way that she has organized her supplies, and showcased her creations! Don’t miss her walkthrough video at the end of the post, too! It’s worth grabbing a cuppa and getting a few ideas on how to organize your own space, or put your creations on display!
![]()
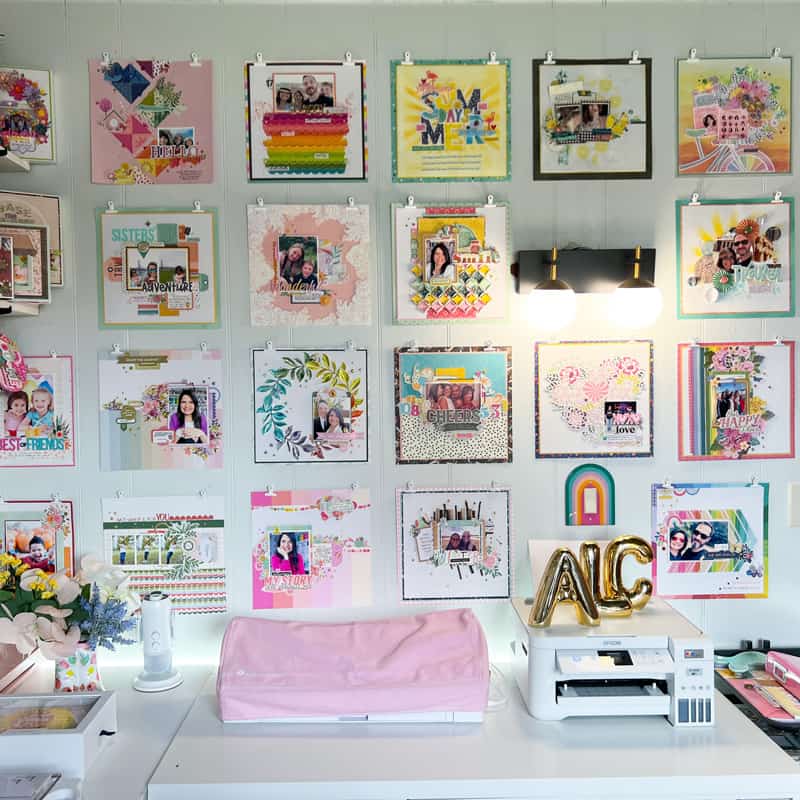
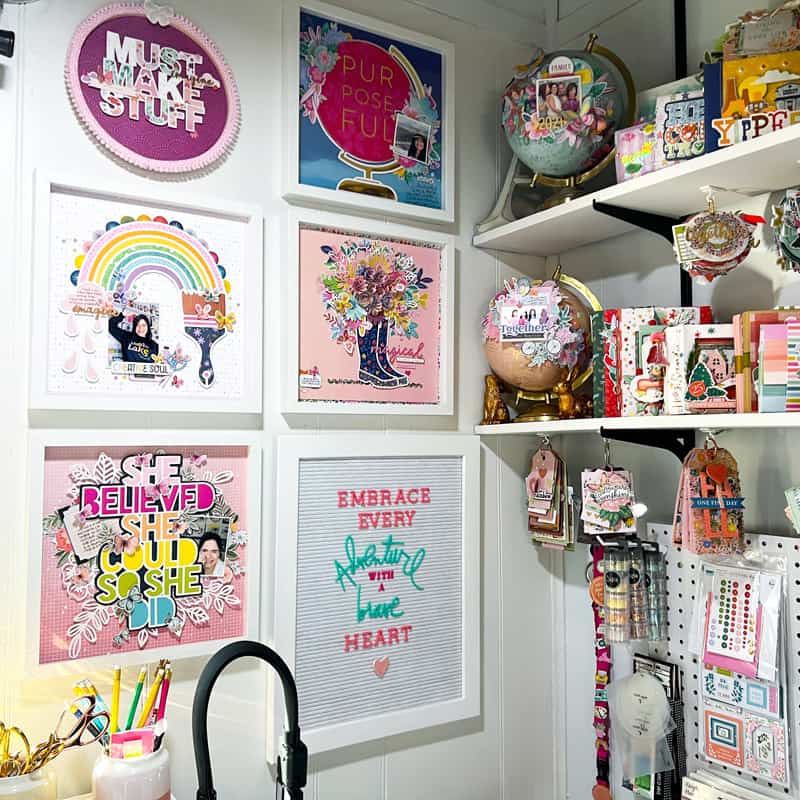
Hello, friends! It’s Andrea Lake, and I am excited to share my creative space with you today. I have been in this space for a little over a year, and I love it. This is by far the best and most functional space I’ve ever had. It is also the biggest and the first one with a door. But what makes me the happiest about this room is that I have a lot of space to display some of my mini albums, layouts, and the products I get to work with daily.
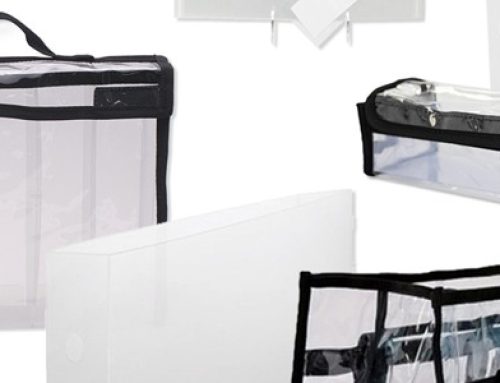
Organization supplies: Scrapbook.com: White Stackable Trays, Large Stadium Organizer, Storage Bin with Lid, Stack-n-Store trays, Pink Storage Envelopes, Crafty Storage Pouch; We R Makers: Project Cart, Punch Board Storage, Multiuse Paper Trays
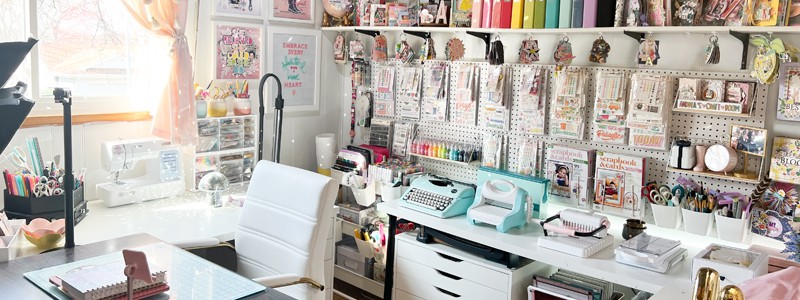
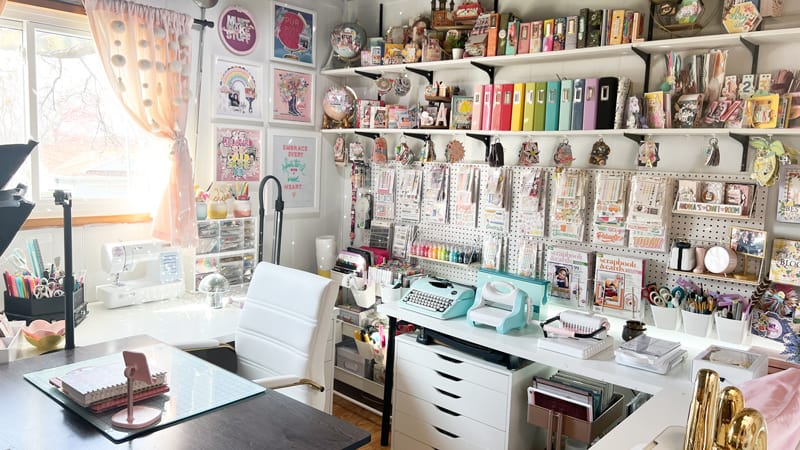
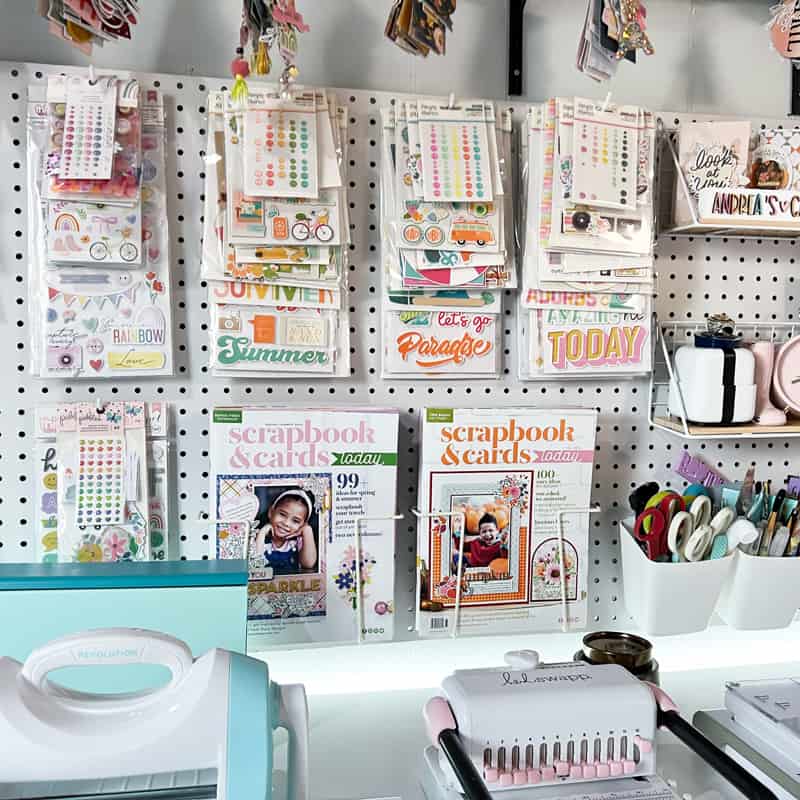
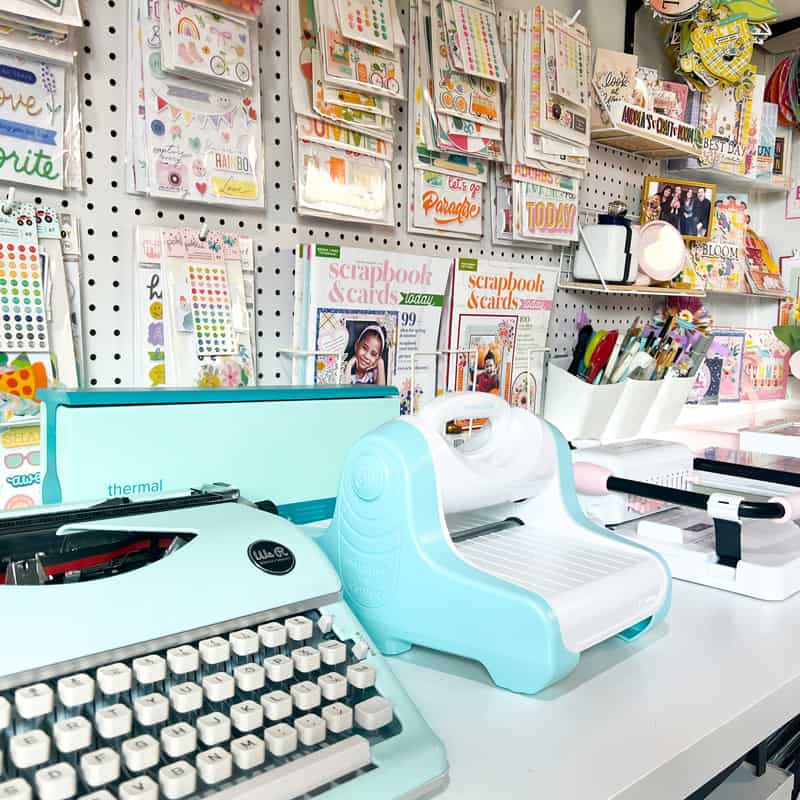
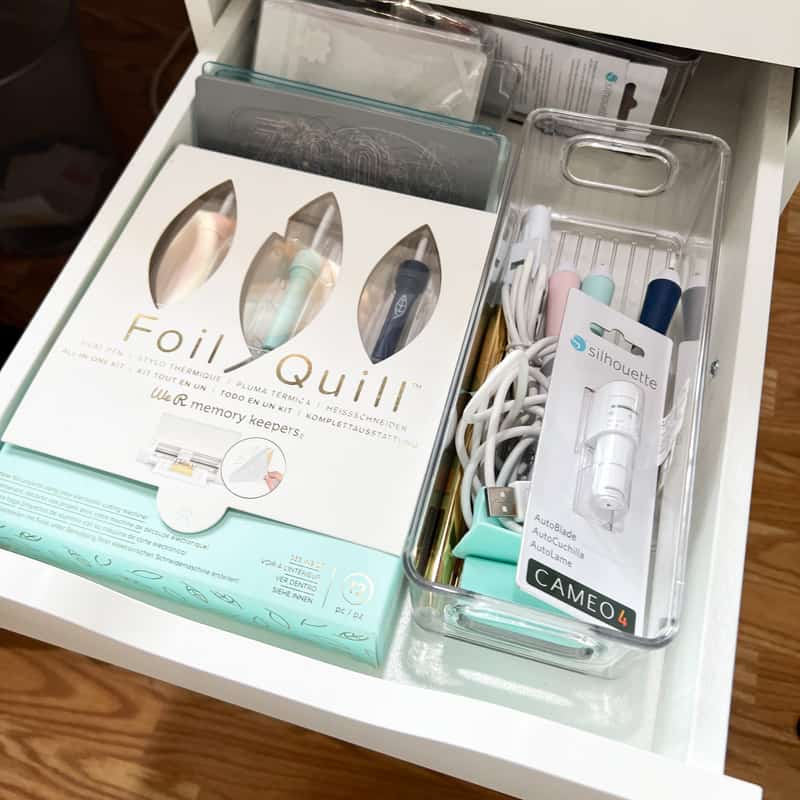
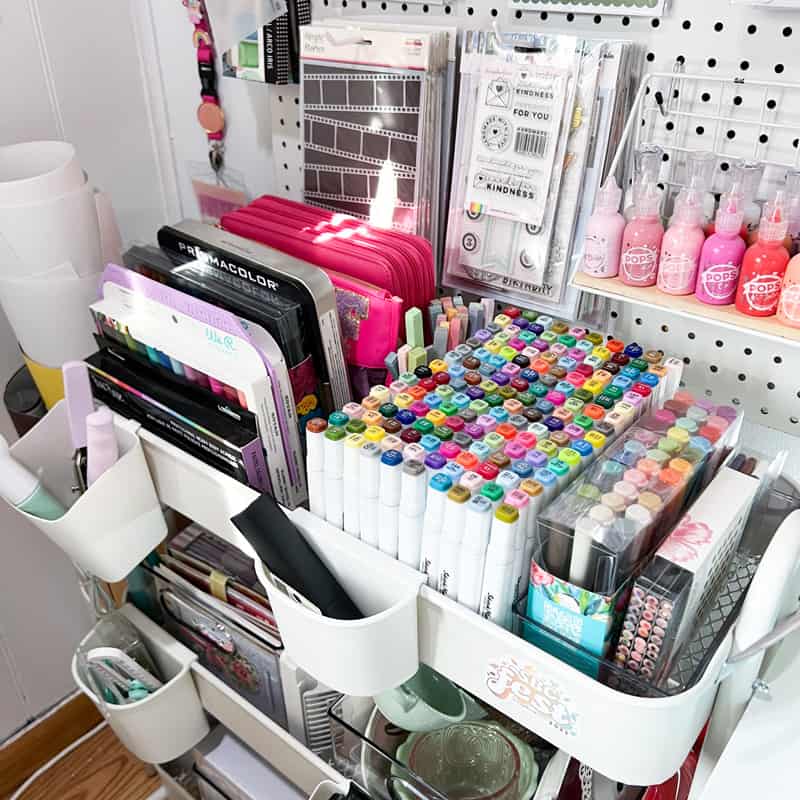
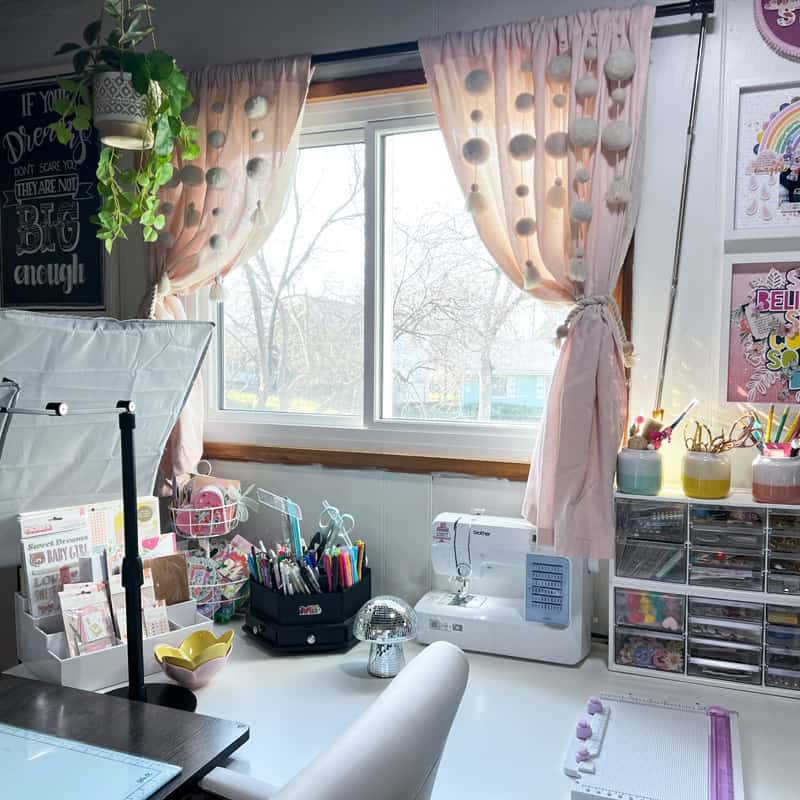
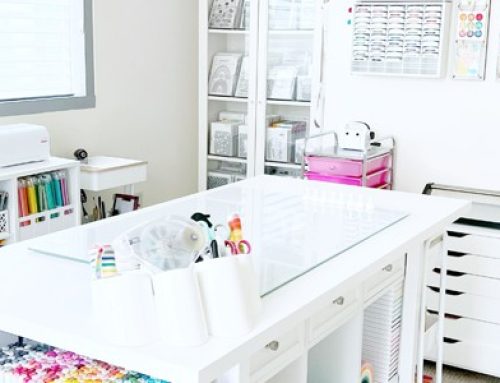
The one thing I would change about this space is the lighting. Even though there’s a window, I still need a lot of artificial light while recording videos and taking photos. Apart from that, it’s perfect for me. The first thing I see when coming in is a wall covered in color. The previous owners used this space as an office, and they left the shelves I now use to display some of my mini albums. I added a long tabletop when I took over the space and knew I needed a pegboard under those shelves. This (almost) wall-to-wall long pegboard displays a few copies of the SCT Magazine, embellishments from collections I am currently working with, as well as stencils, stamps, and a couple of extra mini shelves. The tabletop houses some of my most-used tools such as the Cinch machines, my die-cutting machine, hot foil, and letterpress tools, as well as my typewriter.
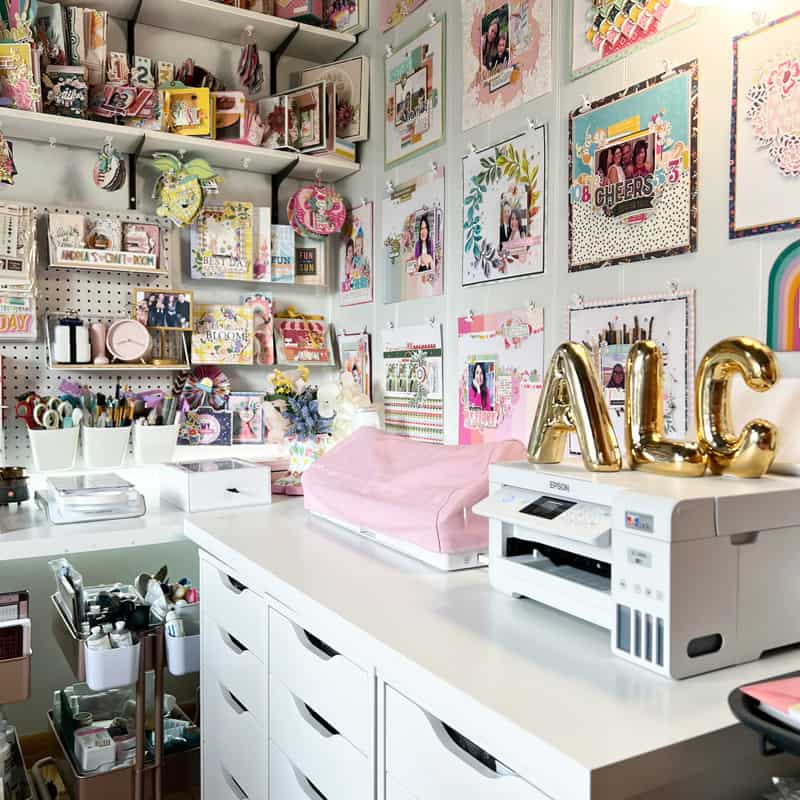
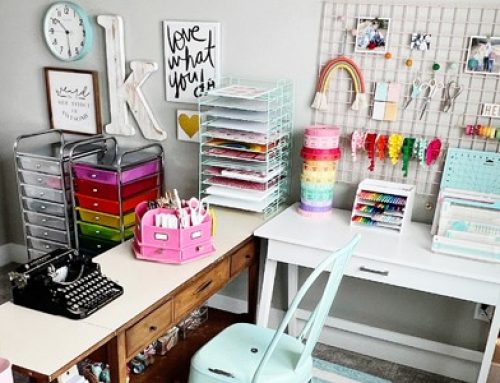
As you come into the room, to the right, you’ll find my We R Makers project cart. I use it to house projects I am currently working on or my priority projects. I have a tabletop with my Inkjet printer and my Silhouette Cameo, and it rests on top of three drawer units from Ikea. I use those to keep different embellishments, tools, notebooks, punches, inks, etc. The tabletop is connected to the main table on the back wall, and I have some open space under the right side where I keep two 2-tier rolling carts with my mixed media products, 6×8 paper pads, stamping tools, and die-cutting machine accessories. Next to these carts is an Ikea unit where I keep my Cinch accessories, silicone mats, watercolors, embossing tools, and other embellishments.
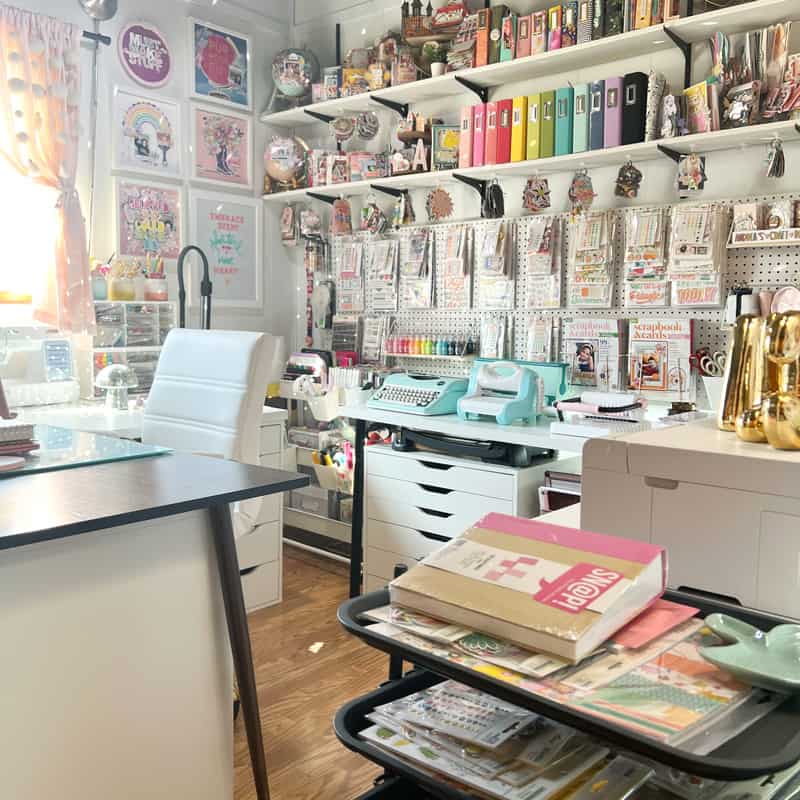
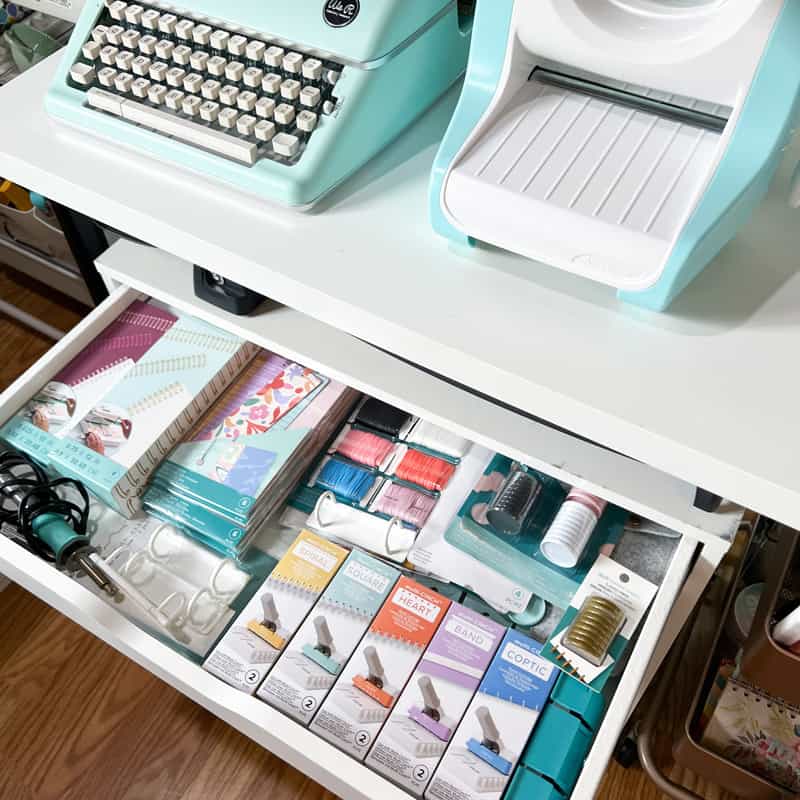
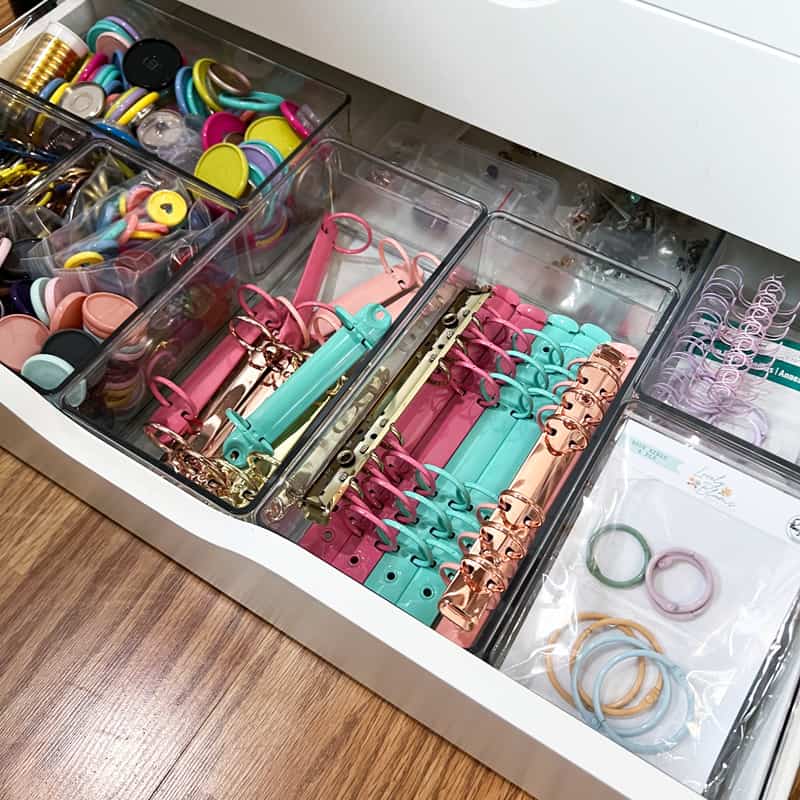
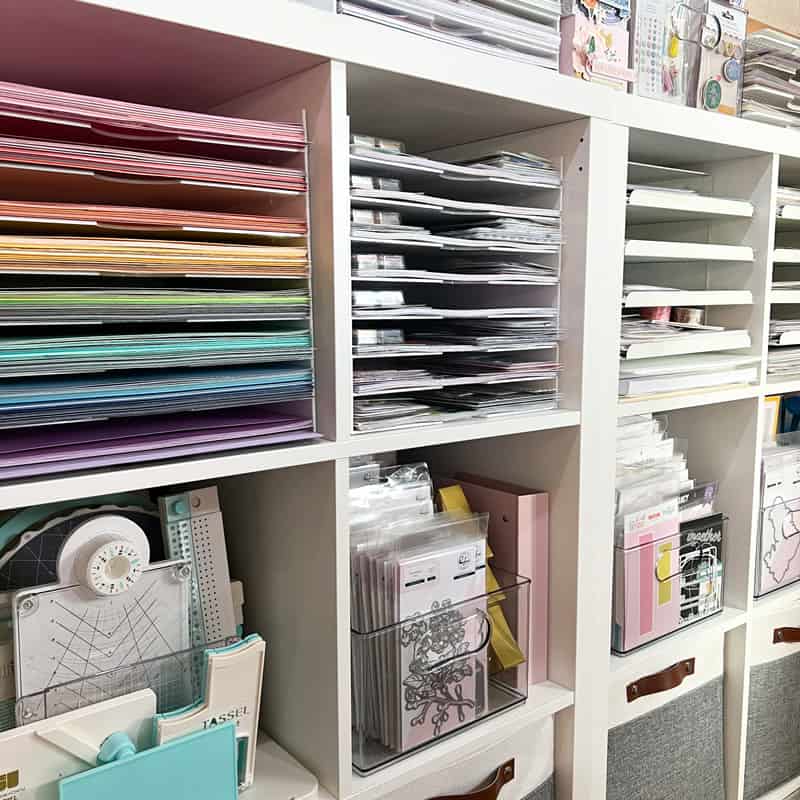
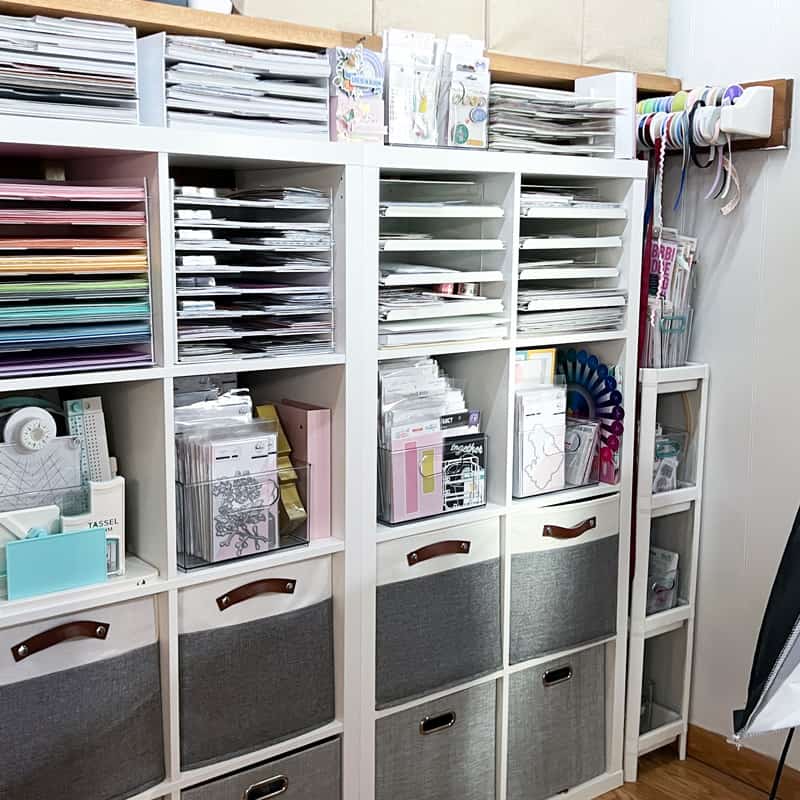
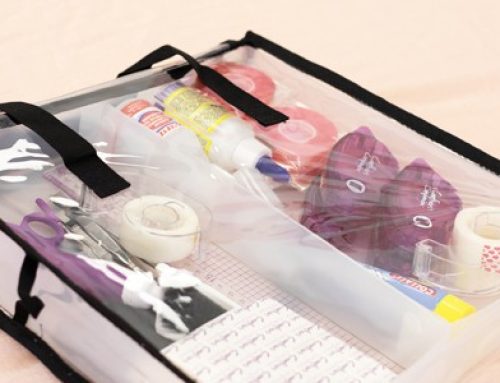
For my desk, I have two tables creating an L-shape. I create the projects, record, and take photos on the left table, and keep my sewing machine, pens, scissors, etc., to my right. My adhesives, punches, and most frequently used tools are in drawers to my left. Right in front of my desk, in the ‘closet’, I have a couple of Ikea units that house all of the collections I am working with for my design teams. I use 24 of the Scrapbook.com stackable trays and a couple of Ikea tray units. Most of my metal dies, clear stamps, hot foil, and letterpress plates are in clear containers, and I am using one of the We R Makers tool organizers to keep my smaller tools all in one place. I have fabric cubes where I keep basic materials such as chipboard, plain cardstock, copy paper, sticker paper, etc. I also keep a few paper collections, additional magazines, etc. I also keep a whiteboard calendar showing all my deadlines and special events. I always have my planner with me, but I love the way the calendar looks on the wall. I need to remind myself I have a full-time job, so staying organized and on top of all things crafting is a must for me.
Make sure to check the walkthrough video below where I share more details on how I organize my drawers and shelves with my most-used tools and products!
I hope you are inspired to create the best space that works for you and that makes you happy. Thank you so much for stopping by!

Find more of Andrea’s creations here: Instagram | Facebook | YouTube


Such a happy space indeed Andrea, thank you for sharing! I especially love the peg board for displaying the collections you’ll be working with next, where did you get it?
Hi Lori! Thank you so much! The pegboard is from the Home Depot. My husband cut it to fit in the space between the table and the shelves. It’s also what I love the most about my room.
wow your space is amazing! Thanks so much for sharing.
Thank you so much for stopping by, Laura!
I absolutely loved this show and tell, Andrea! I agree that your craft room is most likely the best room in your house -it’s a dream! I enjoyed seeing all the little details; thank you for sharing🙂💗🌸
Jennifer
You are so sweet, Jennifer. Thank you! And thank you for stopping by to check the post and video. It makes me so happy.
Loved seeing your amazingly beautiful, eye-candy, crafting room! The colour, and that you have so much of your work displayed … inspirational. <3 Would love to know how you’ve attached the clips that hold your 12×12 layouts.
Hi, Kim! Thank you so much for stopping by! The clips are hanging from small nails on the wall. In my previous room, my husband made sure to measure where each nail was supposed to go… this time, I think I eye balled it pretty well :)
Thank you for sharing your beautiful space, Andrea! It’s important that we create to the extent that we can in spaces that we love! I appreciated your sharing the top 3 things that you need no matter what space you are in.
Thank you so much, Debbie! I appreciate you stopping by!
OMG! I LOVE your crafting room – it’s a crafter’s dream come true!😍 If my room looked like that I would NEVER leave it!😂 Thank you so much for sharing these pictures and how you organize everything, it’s given me a lot of great ideas that I can incorporate into my own crafting space!😊
Yaaay! I am so glad! I also love seeing how other crafters organize their spaces. I wish I could work from home. That is indeed my dream office.