
Hello friends, Latisha here with you today and I am sharing a few cards with you all, using the ink blending technique.

Grab your favorite blending tool and ink. The brand of ink used to blend all three cards is the Tim Holtz Distress Oxide Ink. Really any ink will work, but I have found if you are a beginner or do not have a lot of time to really blend in the inks. The oxide works the best.
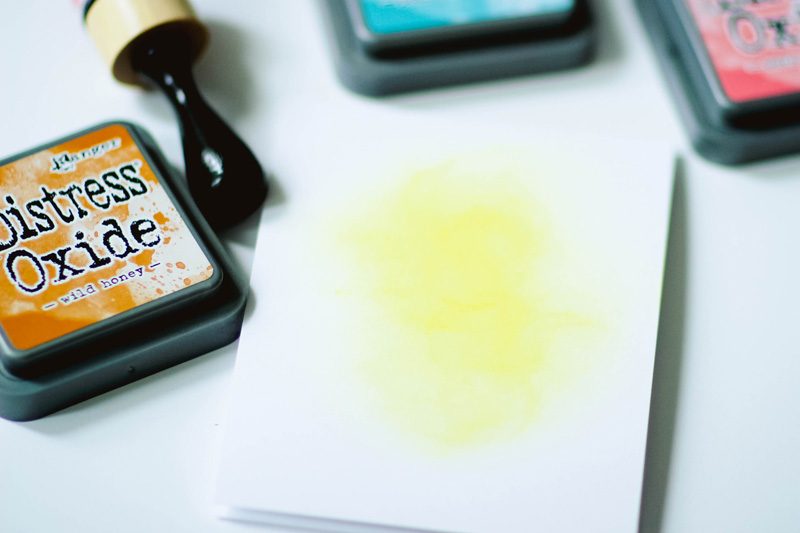
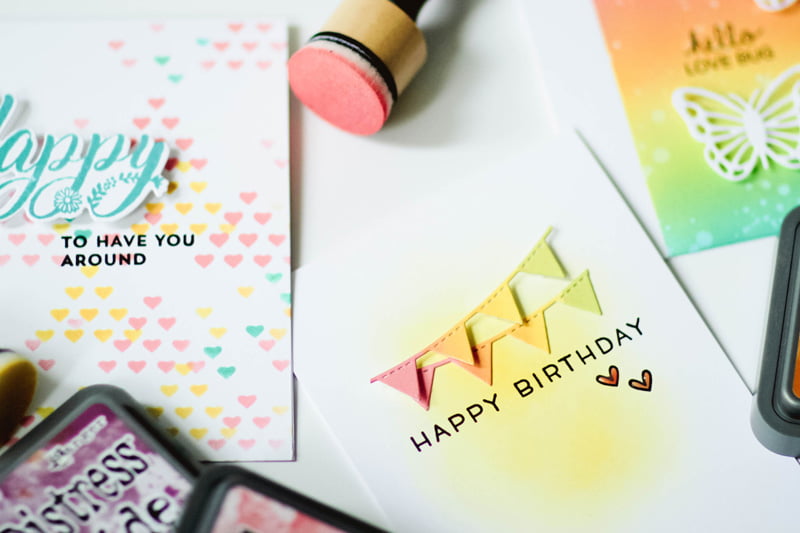
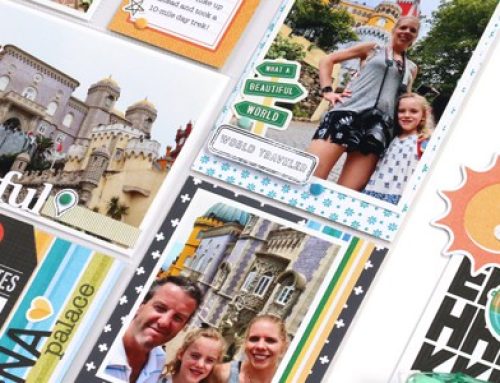
For this first card, it is going to be just a simple blend of ink put onto the cardstock. This will be a clean and simple card, so the pop of color on the card front really elevates the card contrast.

Once the ink was dry, the sentiment was stamped in black ink and the banners were die cut. The banners were adhered using foam tape.
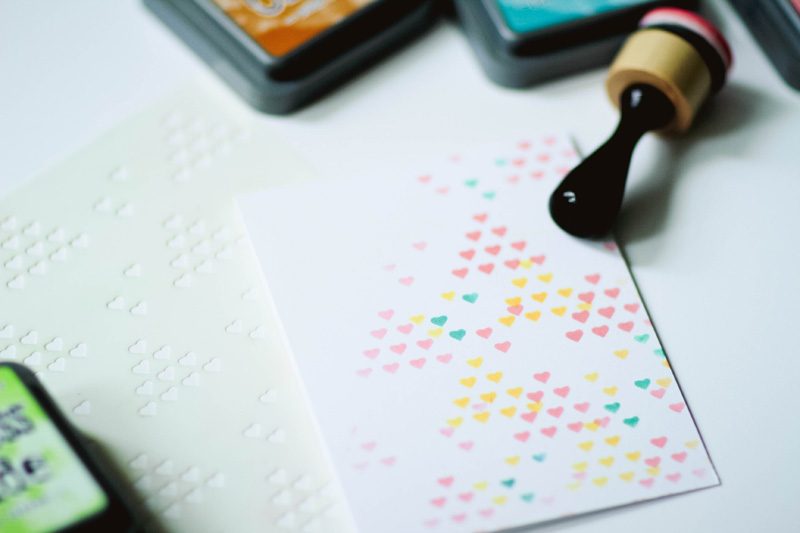
The second card is using a stencil along with the ink and blending tool.
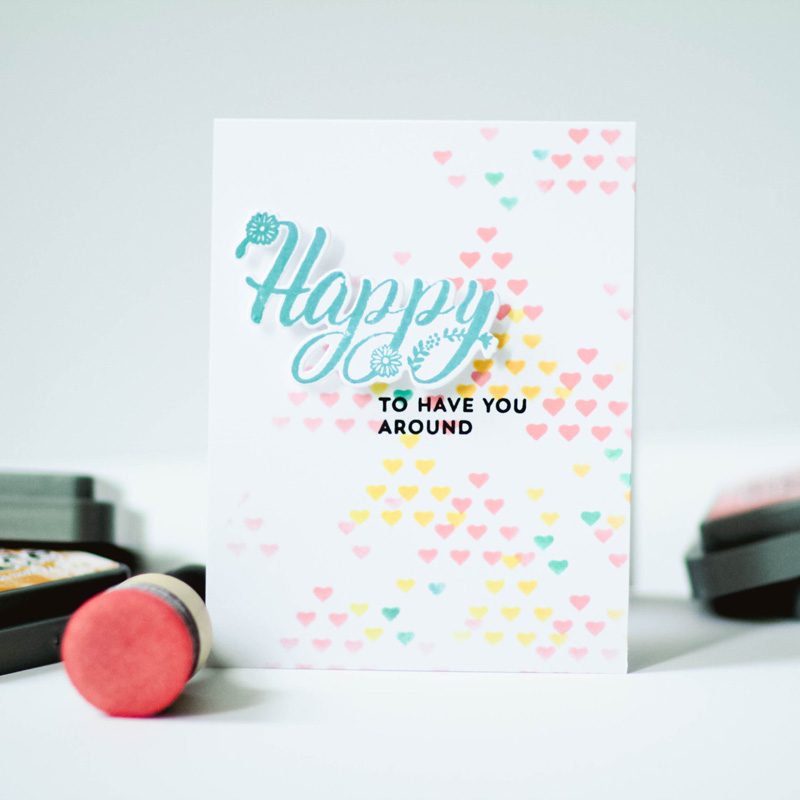
To create a multi colored background using a stencil. Place the stencil over the card front, and apply ink onto the stencil. Pick the stencil up and move to a different spot and apply another color. Do this with as many colors as you want. For this card I used 3 colors, and then coordinated the sentiment with the same color ink.
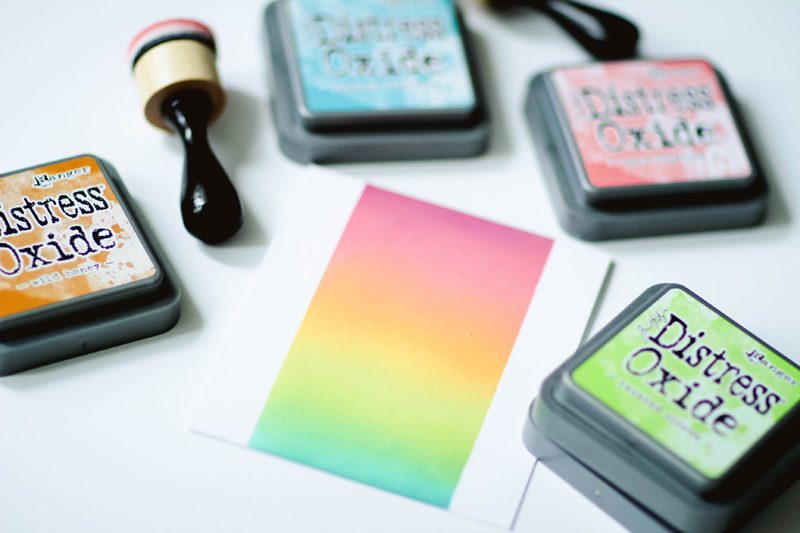
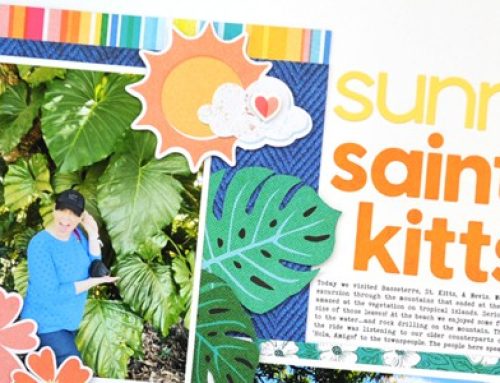
For the last card, several different ink colors were used to create a gradient look. To color block white space, a strip of .75 inches x 5.5 inches was placed on both sides of the card front. The strips were adhered using a repositionable adhesive, but masking tape or washi tape would work well too.

Supplies used on cards: Stamps: Lawn Fawn, Technique Tuesday, Pink Fresh Studio; Ink: Tim Holtz Distress Ink Oxide, Tsukineko Memento tuxedo black ink, Versamark onyx black; Dies: Lawn Fawn, Technique Tuesday; Tools: Ranger Ink Blending tool, Hero Arts Stencil; Adhesive: Scrapbook Adhesives by 3L; Cardstock: Simon Says Stamp
I wanted a rainbow gradient, but any color combination would be beautiful.
Before I pulled the strips of paper off the sides, using a watercolor brush, I lightly flicked water onto the gradient. Spritzing or flicking water onto this ink, creates a cool watermark. To finish the sentiment was stamped in black ink, and butterfly diecuts were added.
Thank you for joining me today! I love sharing fun ways to stretch your stamping supplies. All three of these techniques would work on scrapbook pages, art journal pages or tags too. Really the sky is the limit with this technique!
~ Latisha
It’s that time! To start a subscription with our September SCT Sampler or to learn more about this monthly happy mail, visit our website at https://scrapbookandcards.com/sct-sampler/


These are all beautiful cards! I really love the rainbow background on the last card :)
OMG!! This is an AWESOME tutorial on ink blending!! Thank you!! Thank you!! Thank you!!
It would be extremely helpful if you could share the ink colors you used. The only one I can read in the photo is Wild Honey… Could you post the other colors you used?
Thank you for the inspiration!!
Judy Rowland
lifesabeach32940@cfl.rr.com
I think these are the colors Latisha used. Salty Ocean, Worn Lipstick, Twisted Citron, Wild Honey, Wilted Violet.
Hope this helps.
Barb&Jenna ~ You are wonderful for supplying the names of the ink used in these projects!! THANK YOU!
Beautiful blending on these lovely cards!!!
Beautiful cards! Distress oxide inks are amazing for blending.
Love the rainbow gradient! The flicks of water were a perfect finishing touch!
Beautiful cards.
Thanks for sharing…