
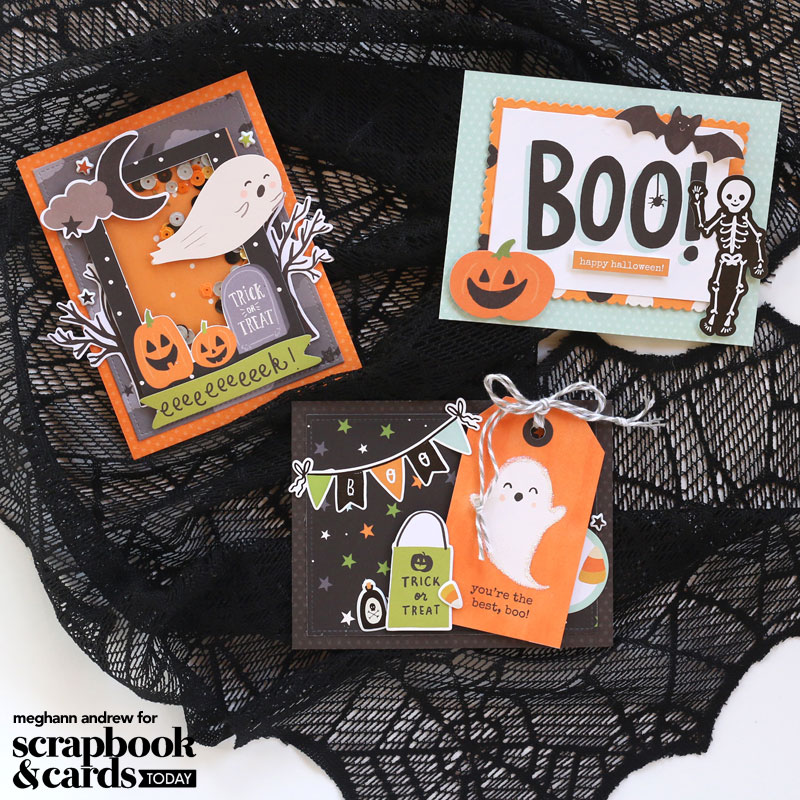
Hey there, Scrapbook & Cards Today friends! I’m so happy to be on the blog with you today! We’re right in the middle of my favourite season of all: Halloween! My Halloween outfits have been worn several times already, our house is decked out in its creepy decor, and I’m prepping Halloween gifts and treats! I need greetings to go along with my sweet treats, so I grabbed the new Spooky Nights collection from Simple Stories to help me create simple, but spooktacular cards! Take a look!
Supplies | Patterned paper, die cuts, stickers: Spooky Nights collection from Simple Stories; Metal dies; Elle’s Studio; Sequins: American Crafts; Glitter: Stampin’ Up!; Adhesive: Scrapbook Adhesives by 3L
I absolutely loved layering the fun patterned papers, ephemera and stickers from the Spooky Nights collection to create these cards and even if you’re not a cardmaker, these designs are simple to re-create using layering and easy techniques.
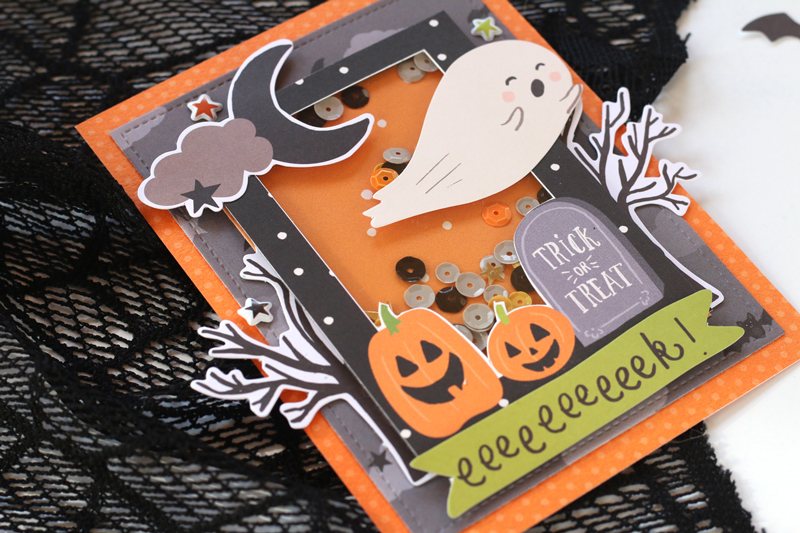
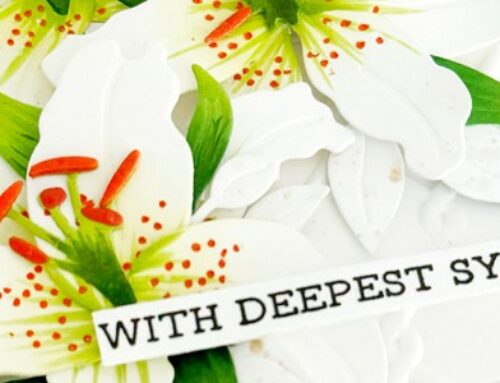
Pocket cards with frames for journaling make the BEST shaker panels for any card front, and that’s what I created here using the Journal Elements patterned paper. After cutting out the center of the journaling card using a craft knife, I backed the frame with acetate, then added foam adhesives from Scrapbook Adhesives by 3L to the back of the frame. I filled in the space with Halloween coloured sequins, then added the orange dotted panel to the back to close it off. Once I added the shaker element on top of the two other layers of paper that made up my card front, I emphasized the frame even more with the tree, cut in half and adhered on either side, ghost, moon and “eeeek!” banner from the Spooky Nights Bits and Pieces die cut ephemera pack. A few puffy stickers finished off this card, which only took a few minutes to create!
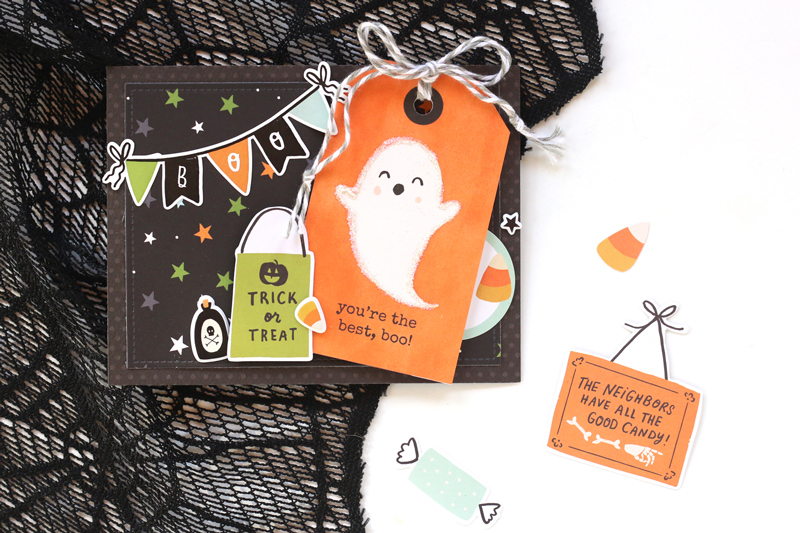
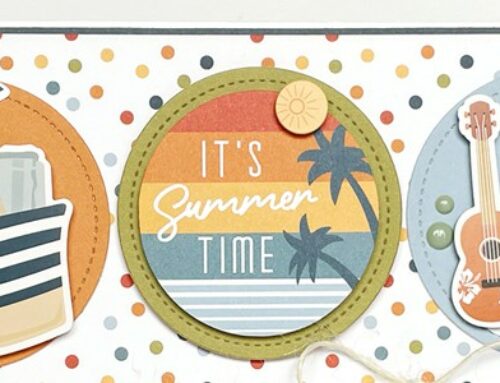
I love it when a collection does the hard work of creating a cute and quippy greeting for me, and the Tags patterned paper gave me the perfect sentiment with the ghost tag. With two layers of patterned paper behind it, and a few Bits and Pieces, chipboard stickers and puffy stickers surrounding it, all I needed to do to finish off the card was to add a bit of sparkly glitter around the cute ghost! Simple and sweet!
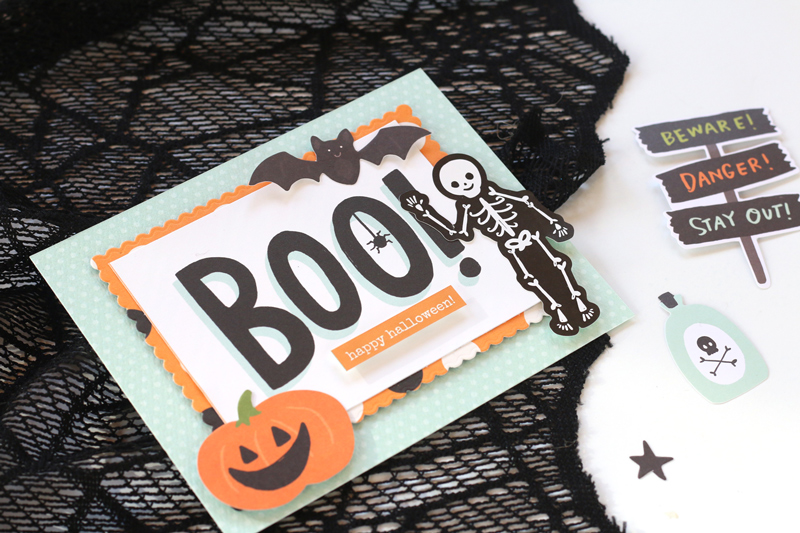
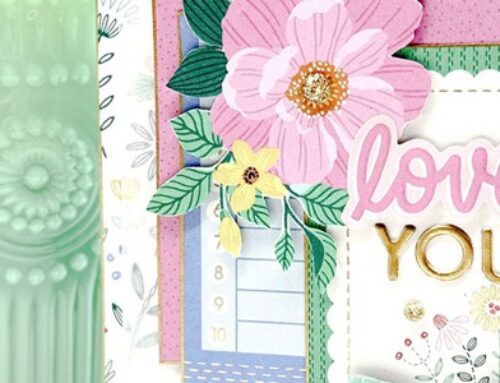
The final card was the most simple to create, but that bold “BOO!” sentiment, cut from the 3 x 4 Elements paper really set off the design. I backed the 3 x 4 card with a scalloped patterned paper frame, then adhered the greeting to the patterned paper card front. The orange “Happy Halloween” sticker created the perfect contrasting pop of colour against the background. I then focused on the perfect Halloween icons to surround the sentiment, choosing a bat and jack-o-lantern from the Bits and Pieces and the friendly waving skeleton from the chipboard stickers. I think this is my favourite, and it was the easiest to create!
Are you creating Halloween greetings this year? I hope my cards have given you some inspiration, and have shown that simple and SPOOKY really is the way to go this Halloween!

Find more of Meghann’s work here: Instagram | Facebook | YouTube


very cute cards – this collection is adorable!
Such adorably spooky cards!
Chocolate kisses, chocolate bars, chocolate candy snack bites, yes chocolate!
These are so adorable, love this collection.
Love this collection! Treat bags are made and inside/outside are decorated. Can’t wait for Trick Treat this weekend!
Love these cute, spooky cards!