
Happy Monday! Today we welcome our first guest of 2024: the talented Charlene Madrid from Dream Craft Create! We think you’ll love the amazing techniques that Charlene is sharing today, and you can see her create them in real-time in a process video! Be sure to tell us what you think in a comment on this post, and enjoy the inspiration!
![]()
Hi, friends! It’s Charlene here from Dream Craft Create, ready to embark on another creative adventure with you. Today, we’re diving into the enchanting world of alcohol inks and texture paste, using some amazing products from Picket Fence Studios. If you enjoyed our last rendezvous, you’re in for a treat today. So, buckle up, and let the crafting journey begin!
Supplies | Picket Fence Studios: Inner Glow A2 Stencil, Paper Glaze Luxe Arctic Fox, Mixed Media Spatulas, Sugar and Calorie Free Cake Stamps, Black Hybrid Ink, Lick the Bowl Stamps; Lawn Fawn: Vellum, Black Licorice Cardstock; My Sweet Petunia: Mini MISTI; Olo Markers: Y 2.0, Y 2.2, Y 2.3, YO 2.3, B 2.2, B 2.4, V 2.3, V 2.4, RV 0.2, RV 0.4, C-G 0, C-G 1, C-G 3, C-G 5; Ranger Ink: Alcohol Ink Blending Solution, Alcohol Ink Boysenberry, Alcohol Ink Glacier, Alcohol Ink Blower; Hero Arts: Nesting Rectangle Infinity Dies; StickIt: Adhesive Large Sheets; Rabbit Hole Designs: Cottontail Embossing Powder Tool; Honey Bee Stamps: Bee Creative Reverse Tweezers; WOW!: Clear Ultra Slow Drying Embossing Pad, Opaque Bright White Super Fine Embossing Powder; Thermoweb: 3D Black Foam Squares; Scrapbook Adhesives: 3D White Foam Squares; Other: 91% Isopropyl Alcohol
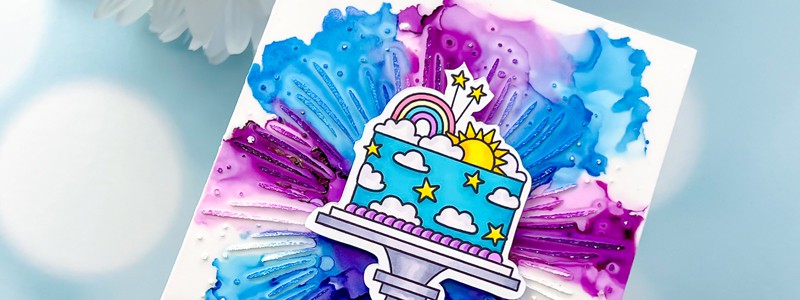
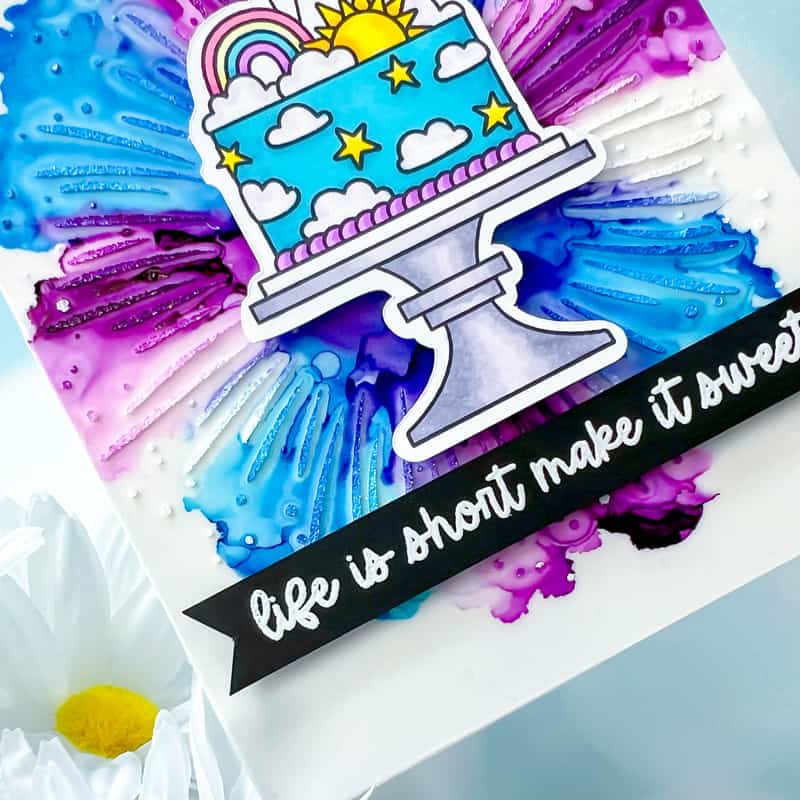
I couldn’t contain my excitement as I explored the mesmerizing technique of using alcohol inks over texture paste for my latest creation. To start, I reached for the Paper Glaze Luxe Arctic Fox, applying it through the Inner Glow A2 Stencil onto vellum. The result was a luxurious and dimensional background that set the stage for the magic to unfold.
The real enchantment happened when alcohol inks entered the scene. Armed with alcohol inks in Boysenberry and Glacier, I blended the vibrant colors over the paste and vellum using a blending solution and isopropyl alcohol. Because the inks are translucent, you can still see all of the gorgeous sparkle of the texture paste! Plus, the matte white finish of the vellum created an amazing contrast with the pops of purple and blue.
To avoid glue lines, I applied the vellum panel to an A2-sized card base using an adhesive sheet. The Nesting Rectangle Infinity Dies came in handy to cut the vellum panel to the perfect size.
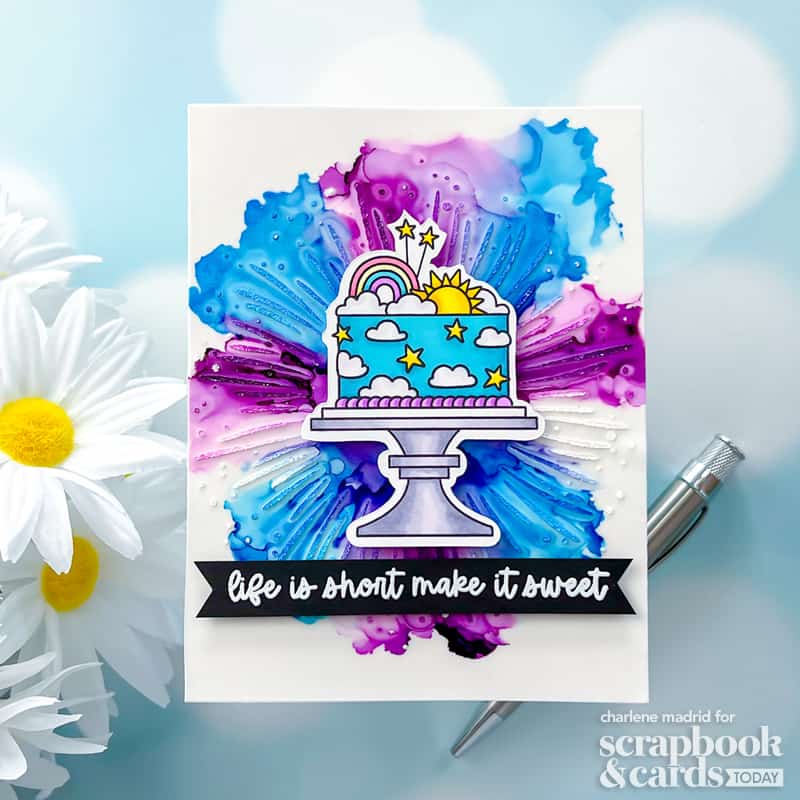
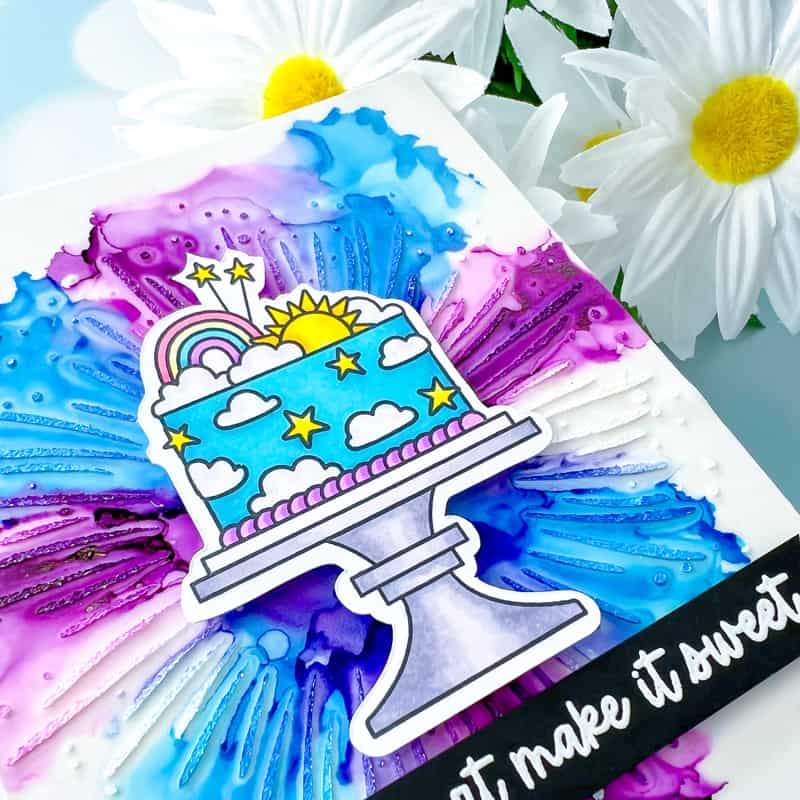
For my centerpiece, I stamped and colored an adorable cake image from the Sugar and Calorie Free Cake Stamps using alcohol markers. Black Hybrid Ink ensured crisp and defined lines for my delightful creation.
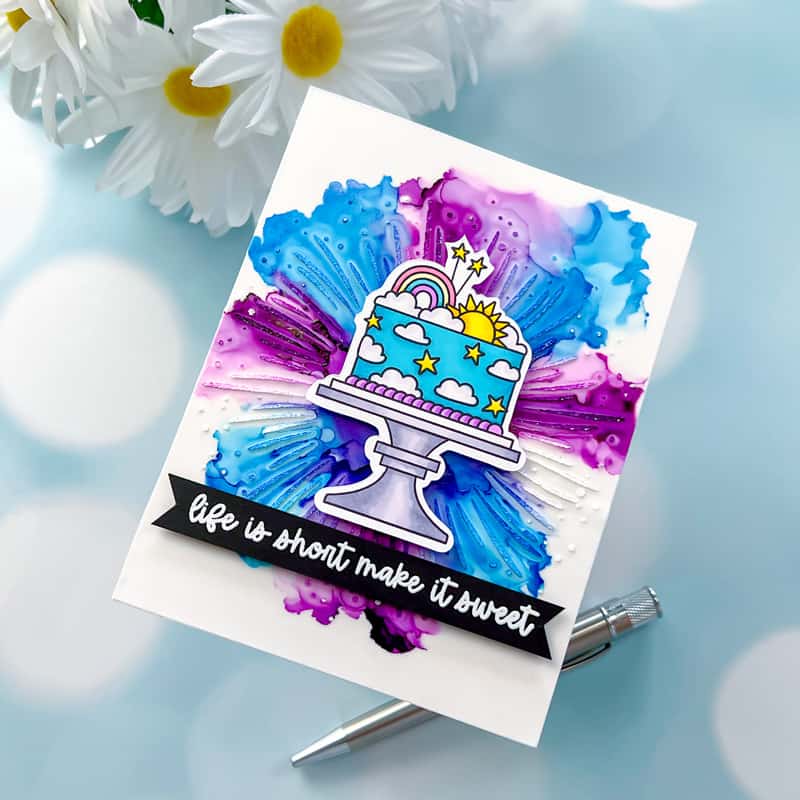
As a final touch of sweetness, I heat-embossed a message in white using the Lick the Bowl Stamps on black cardstock. The contrast of the sentiment against the vibrant colors and texture of the background added a nice touch to the finished card.
Crafting friends, this project was not just about creating a card; it was about crafting magic and celebration. I encourage you to explore the endless possibilities of alcohol inks and texture paste in your own creations. Try spending a day making backgrounds to have on hand any time you need one!
For a more detailed guide on recreating this magical card, join me in my video tutorial where I’ll walk you through each step, sharing tips and tricks along the way.
So, my fellow crafters, embrace the magic of alcohol inks, texture paste, and your boundless creativity. May your projects be filled with sparkle and joy. Happy crafting!

Charlene’s crafting adventure kicked off with a special gift from her husband. Today, she’s a cardmaking content creator, primarily known for her engaging video tutorials. With a track record of collaborating with design teams and earning features in various publications, Charlene’s passion is evident. On her YouTube channel, Dream Craft Create, she shares cardmaking tips and plenty of creative inspiration. For a continuous stream of ideas, don’t forget to follow her on Instagram at @dreamcraftcreate.
Find more of Charlene’s creations at these links: YouTube | Instagram | Blog | Facebook


Love this technique, and can’t wait to try it! Video was so informative. The Lick the Bowl stamps are so cute!
love the colorful background panel you created – thanks for sharing this technique
What a fun technique, I can’t wait to give it a try. Thanks for the video tutorial!
Love this idea! Thanks for sharing and I will be giving this a try!
Beautiful colours