

Happy Tuesday! We have a treat for you today! Since we can’t give you each a warm mug of cocoa, we decided to give it to you in cut file form, with a freebie created by Paige Evans! As another treat, we have guest Brianna Lepper, who always creates amazing layouts with cut files, here to inspire us to use it with a gorgeous layout! We hope you’ll download today’s cut file and give Brianna’s techniques a try!
![]()
Hey, friends! It’s Brianna Lepper here and I’m so excited to guest design here on the SCT blog! I love working with cut files, especially ones that are created by Paige Evans. I love this month’s cut file because not only do you get a really cute cup of cocoa, but you also get several snowflakes as well, so it’s like two cut files in one! Take a look at this month’s cut file:

Click HERE to download this free cut file from Paige Evans!
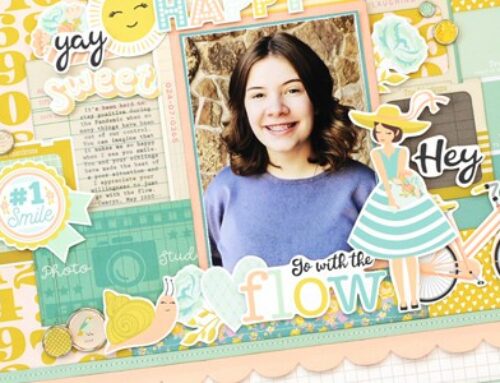
I was immediately inspired and couldn’t wait to create. I thought it would be fun to incorporate fun techniques into my layout. I can’t wait to share them with you. I paired the cut files with the Winter Wonder collection from Simple Stories (it matched this cut file perfectly!) and created my background using a few Shimmerz Paints sprays. Here’s my page:
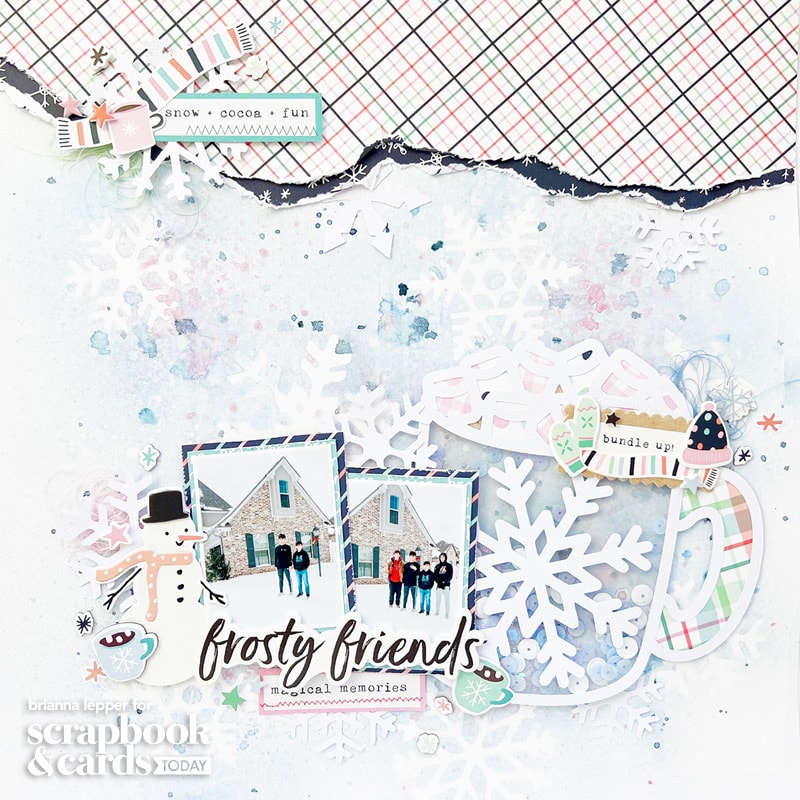
Supplies: Patterned paper, foam stickers, chipboard stickers, layered chipboard stickers, cardstock stickers, and journal bits: Simple Stories Winter Wonder Collection; Sprays and Bubblez from Shimmerz Paints (sprays used: Frost Bite Vibez, Powder Puff Spritz, Cotton Candy Spritz and Ahoy Matey Coloringz)
Upon looking at the cut files, I immediately wanted to use the snowflakes as masks and wanted to create a pretty background with them. While I was in my Silhouette software, I duplicated each one so that I could have one as a mask and the other as an embellishment. After everything was cut, I got to work on my background. I applied temporary adhesive to the snowflakes so that they would not only stay put but would also help prevent some ink or spray from getting underneath those delicate edges.
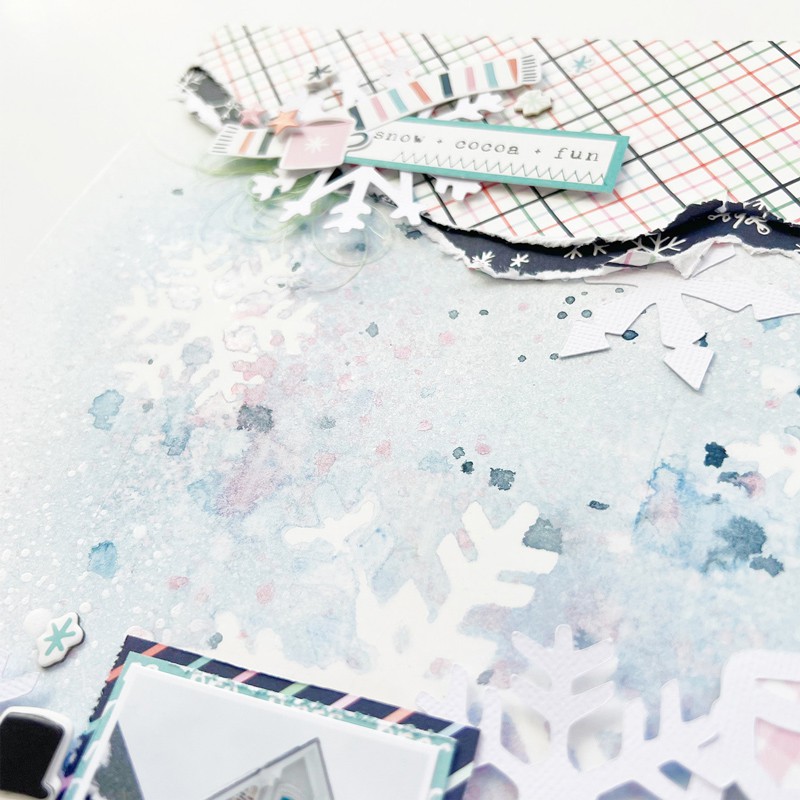
Once I had all of my snowflake masks where I wanted them, I took a few Shimmerz Paints sprays in coordinating colors and lightly misted my page with them. I didn’t want too much liquid on each snowflake since I wanted a crisp image. If you get too much liquid on each one, you chance it bleeding underneath. Tip: apply each color in stages and allow each to dry before moving on to the next color. You can also have a paper towel ready to help soak up some of the liquid if you accidentally apply too much spray. I also added splatters of each color and then sprayed or splattered in white acrylic ink spray. It looks like a snowy scene!

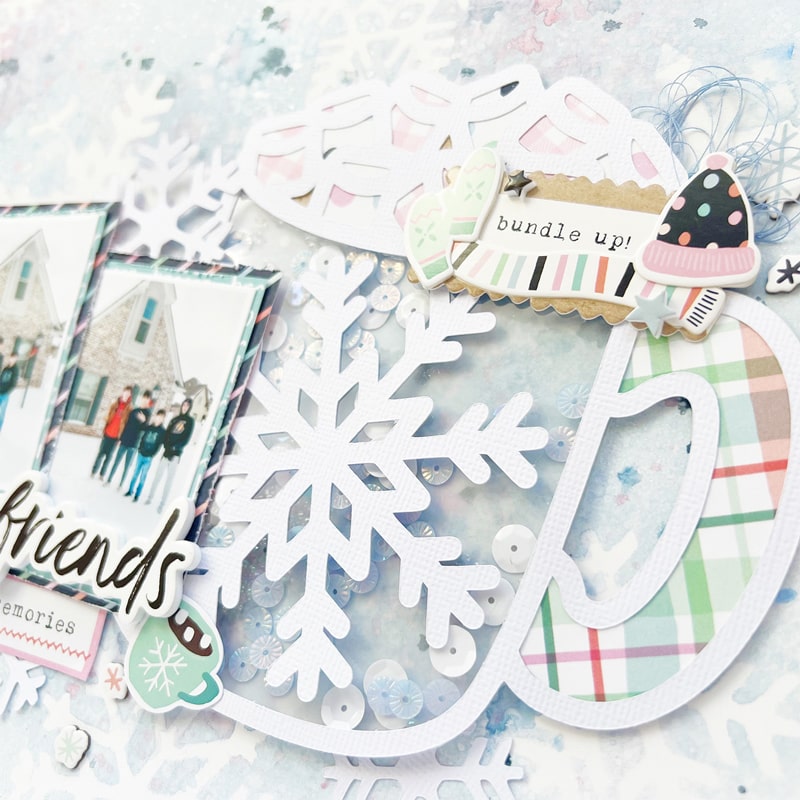
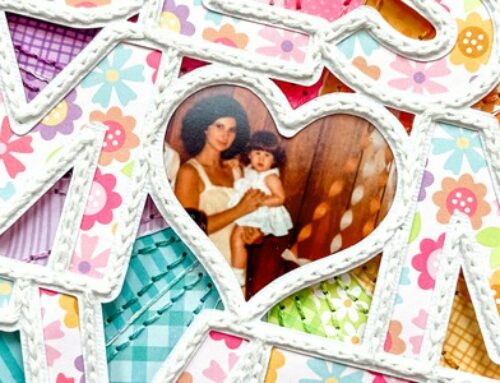
After I removed my masks from the background and revealed the pretty snowflakes (my favorite part), I started working on the cup of cocoa cut file. This cut file was screaming for me to turn it into a fun sequin shaker. I turned it over and adhered a piece of acetate to the backside and then applied thin foam tape to the perimeter of the cup. This created a place for my sequins to sit. I poured in some sequins from my stash as well as some Bubblez from Shimmerz Paints and then sealed it using a piece of vellum. I love using vellum to seal all of my shaker elements because it provides a soft background and my sequins don’t have to compete with anything. It also allows you to still see your pretty mixed media background! I backed the cup handle and the marshmallows using patterned paper from the collection and it was ready to be adhered to the page!
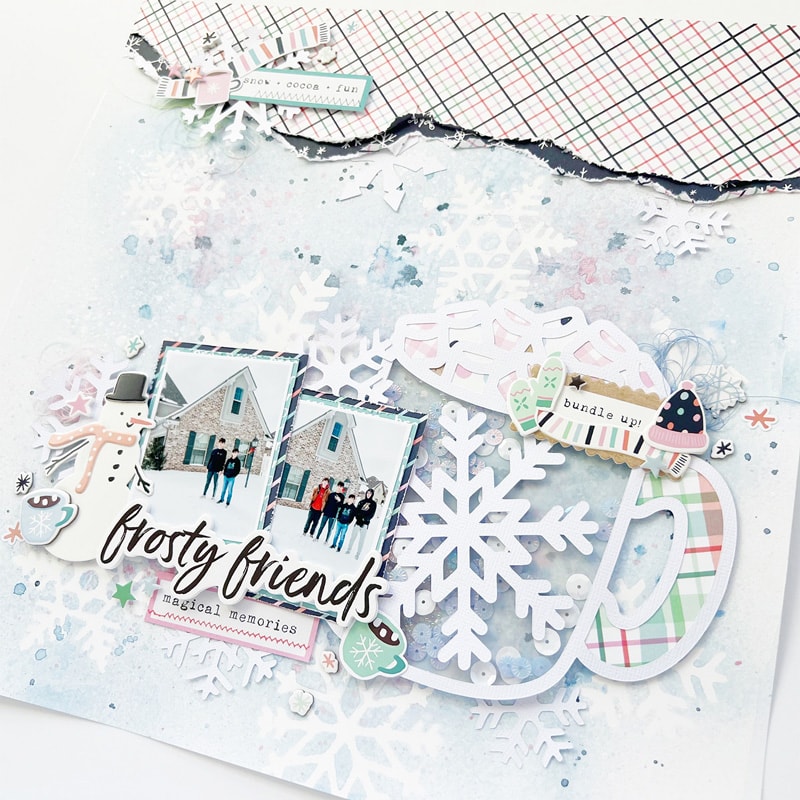
Next, I matted my two photos using the 6×8 paper pad and popped each one up on foam tape. These photos are of my boys and their friends on a snow day back in Louisiana. As soon as I took these photos, I went inside and made them each a mug of hot cocoa. They were so cold and it warmed them up in no time! It only snows once every few years, so any time we get snow, it is such a big deal! The white space at the bottom of my photos was the perfect spot for my title.

I love adding layers and dimension to my layouts and the snowflakes that we had cut earlier were the perfect additions to my page. I also embellished using ephemera, chipboard stickers, and a few cardstock stickers from the Winter Wonder collection. I thought it needed a bit of patterned paper, so I took both sides of the Snow Happy 12 x 12-inch paper and adhered it to the top of my layout. For a finishing touch and a bit more texture, I added tangled thread into my clusters. I love how this page turned out!
It was an absolute treat being a guest this month and working with this fabulous cut file. Thank you so much for having me and I hope that I’ve inspired you in some way. Have you used a cut file as a mask or even as a stencil? Or have you turned one into a sequin shaker? Cut files can be used in so many ways and I hope you’ll give one of these techniques a try!
Hi friends! My name is Brianna Lepper and I’ve been scrapbooking for over 18 years. We are a military family currently stationed at Edwards AFB in CA. I have three kids and two dogs and you’ll see them on a lot of my layouts! I love scrapbooking 12 x 12-inch layouts, but I also love to make cards and mini albums on occasion. When I’m not creating in my craft room, I enjoy reading, jigsaw puzzles, and playing games with my family.
Find more of Brianna’s creations here: Instagram | YouTube | Blog | Facebook


Love the layout! Thanks for the cut file!
Such a beautiful layout!
This is a great layout! And I love the cut file! Thank you.
Gorgeous layout, just love how you created your snowy background! Thanks so much for the cut file too!!
What a lovely layout! Thank you for the cut file!
I LOVE LOVE LOVE how she made this. I wish she had made a video to watch it. Great cutfile and colors!
I like more splashes of color in my work but this color combo gave me such an ethereal feeling I fell in love with this page. Beautiful ensemble my dear and all the techniques shared? what a gift!
Gorgeous layout!
Beautiful layout.