
Hello, and welcome to the Scrapbook & Cards blog! It’s Dilay Nacar here, and I am thrilled to share a cute Easter card featuring fantastic new products from Scrapbook.com. This new Market Bloom collection is so fun and incluces a lot of dies that can be used in different ways—more on that below!
Supplies | Decorative Die Set Market Bloom Rabbit, Decorative Die Set A2 Plate Bold Curves, Decorative Die Set Market Bloom Florals, Sherbet Patterned Cardstock Paper Pad Double Sided, Decorative Die Set Market Bloom Hip Hop Hooray Easter Sentiments, Sherbet Smooth Cardstock Paper Pad, Artis Craft Glue; Other: Scrapbook Adhesives 3D Foam Squares, Scrapbook & Cards Today White Cardstock, Spellbinders Colored Cardstock, Concord & 9th Matte Gold Foil Paper
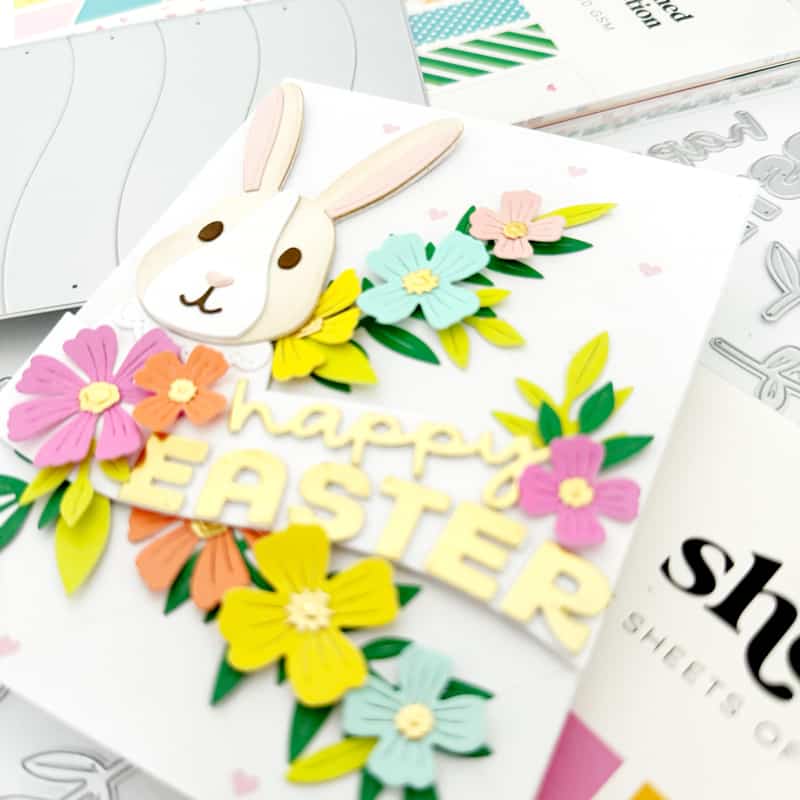
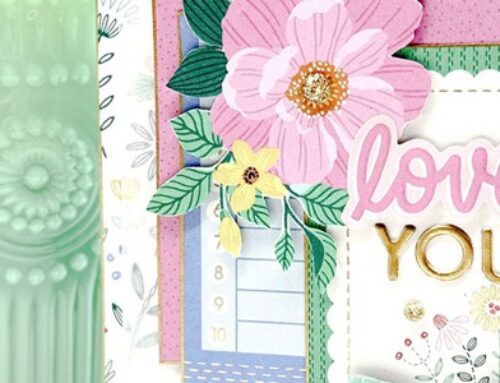
For those hesitant about patterned paper (like I once was) Scrapbook.com paper pads are a must-try! Available in different sizes, they coordinate seamlessly with lots of other products! For this card, I utilized the Sherbet Smooth Cardstock Paper Pad from Scrapbook.com, incorporating both the solid and patterned versions. Side note: if you’re new to Scrapbook.com, I highly recommend exploring their diverse range of products, tools, and craft supplies on their website!
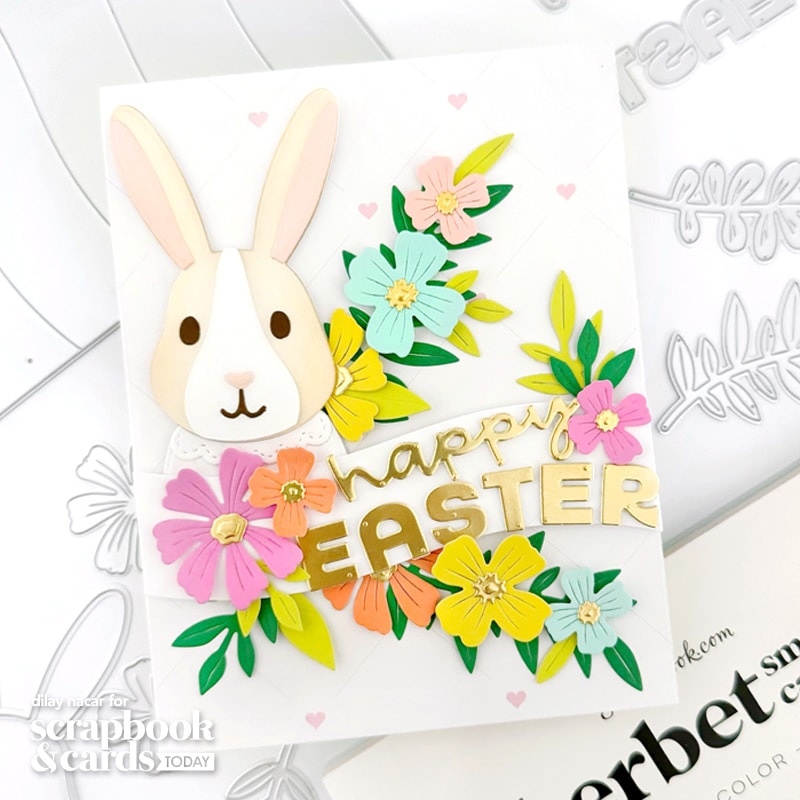
To begin, I trimmed the pink heart patterned paper down to an A2 size (4.25 x 5.5”) and affixed it to a top-folding card base. Following that, I die-cut the Market Bloom rabbit body using ivory and white paper, incorporating pink for the nose and ears, and brown for the eyes and mouth. This set, consisting of 20 dies, is extremely versatile and can be used for many occasions, particularly birthdays! To complement the design and sentiment, I die-cut a banner using the Bold Curves A2 die in white, attaching one of the waves to the lower half with 3L Scrapbook Adhesives 3D Thin Foam Squares. Not only does this add some dimension, it also provides a spot for the rabbit to rest!
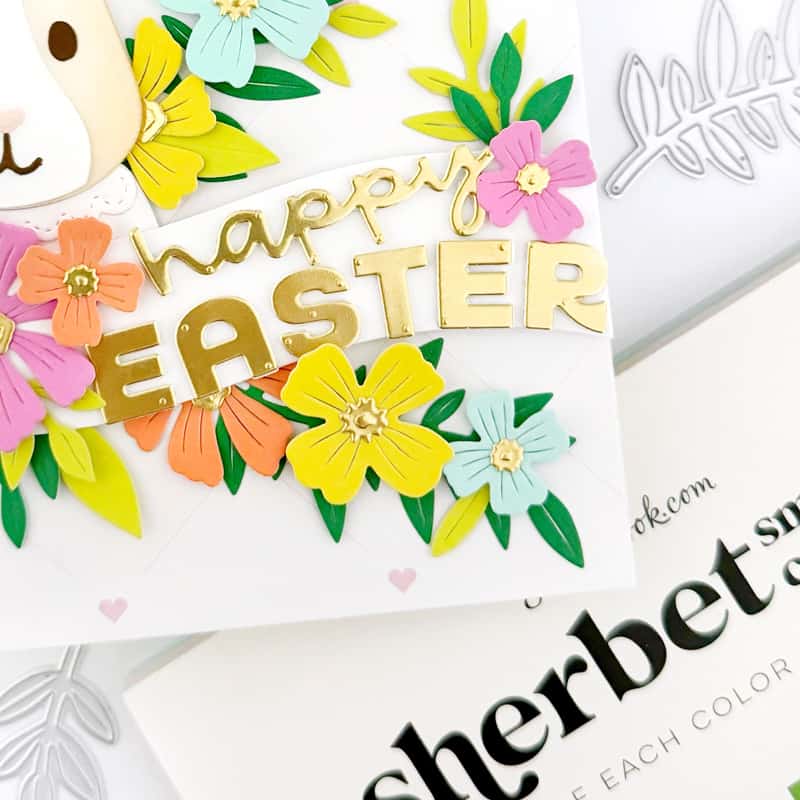
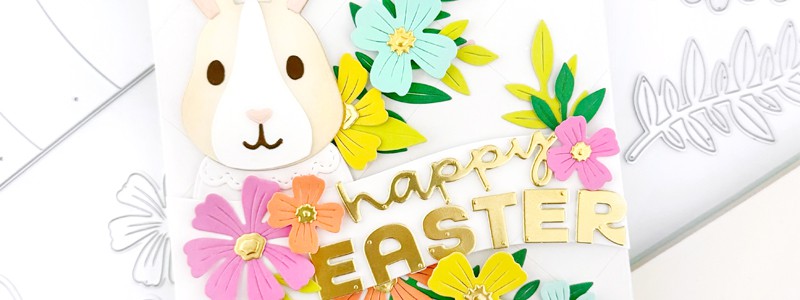
Before moving onto the flowers, I die-cut “happy EASTER” from the Market Bloom Hip, Hip Hooray Easter Sentiments die set using matte gold cardstock. Skipping the shadow layer, I carefully adhered it directly onto the banner. The ‘happy’ die can also be perfectly paired with various sentiment strips from your stash!
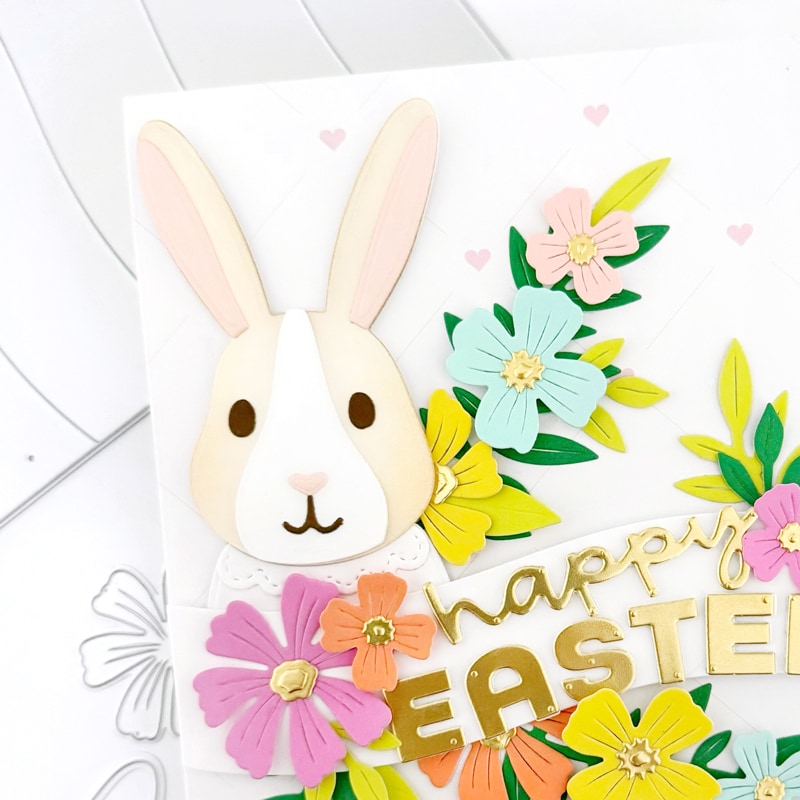
To create the vibrant florals, I used the smallest flowers from the Market Bloom Florals die set, cutting them out from the solid Sherbet Smooth Cardstock paper pad. I then arranged and adhered them onto the cardstock, creating a backdrop for the rabbit. To complete the project, I cut several leaves from the same die set and carefully adhered them to the card, tucking them beneath the flowers and sentiment banner for a blended finish.
I hope you liked today’s card! I’ll also be sharing more on my Instagram, highlighting some tools and supplies that I use to make crafting a breeze!
Find more of Dilay’s work here: Instagram | YouTube | Blog | Facebook


Beautiful card!
I love that bunny soft and simple
Adorable card!
Love this card!
I have these dies and am hoping to craft with them ASAP
Love the card!! Have this set and love the color of the bunny you did❤️ have to make one like that!