
Welcome to this month’s Designer Details post! This month, we’re in for a treat, and some amazing tips from our friend, Aurélie Cormier, as she explains how to successfully create a staple design in scrapbooking: a grid! We know you’ll love it!
…………………….
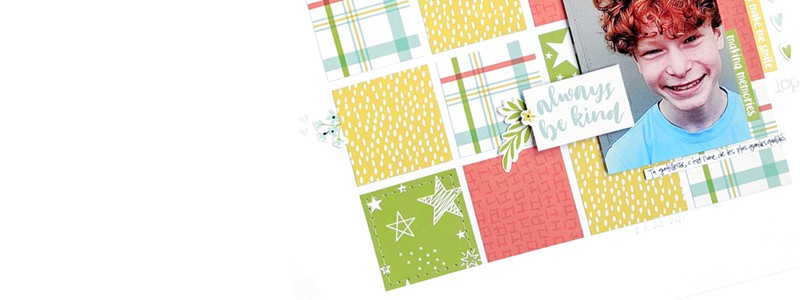
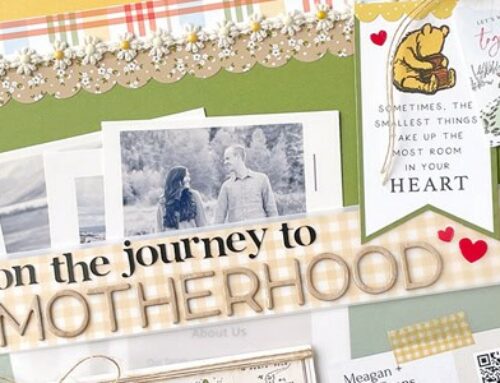
Bonjour, everyone! It’s Aurélie Cormier here today, super excited to share a few design tips and tricks to create a grid design as efficiently as possible. These tricks of the trade will save you time every single time! Take a look at the grid layout I created to share with you today:

Supplies | Cardstock: Bazzill; Patterned paper, stickers: Echo Park Paper All About a Girl collection; Stamps: Lime Citron, Stampin’ Up; Ink: Close to My Heart; Pen: Pilot; Adhesive: Scrapbook Adhesives by 3L
1. Choosing colors
Full disclosure: I have never, ever used a color wheel in my life! I know, right? But honestly, when choosing colors for my grid layouts, or any layouts, in fact, I generally am inspired by a specific collection. It truly takes the guessing game out of matching colors. I often choose no more than five colors, but more often than not, stick to three with a possible fourth that I use as an accent color for my design.
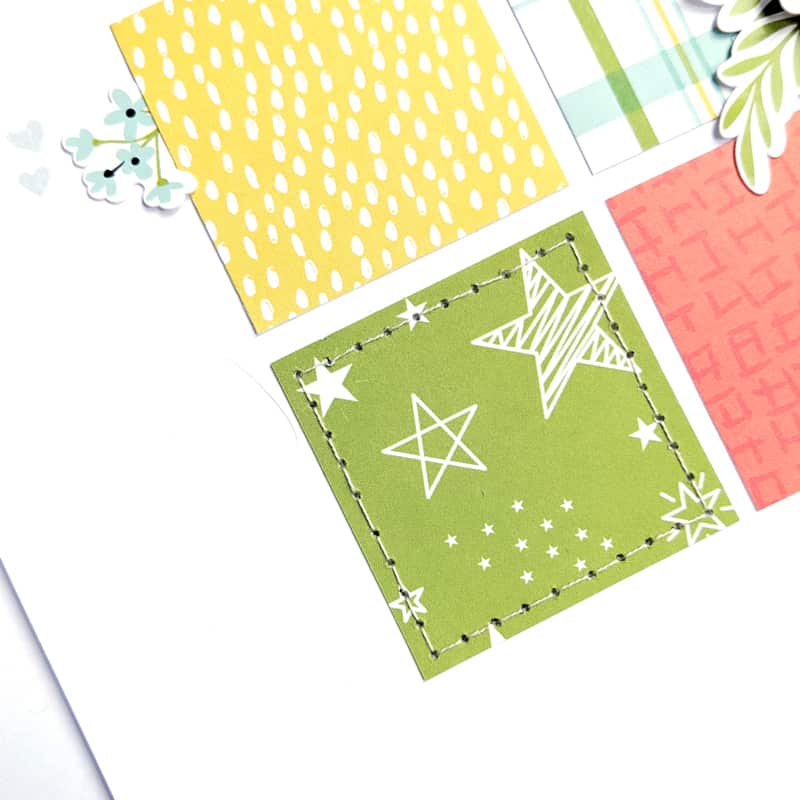
2. Choosing patterns
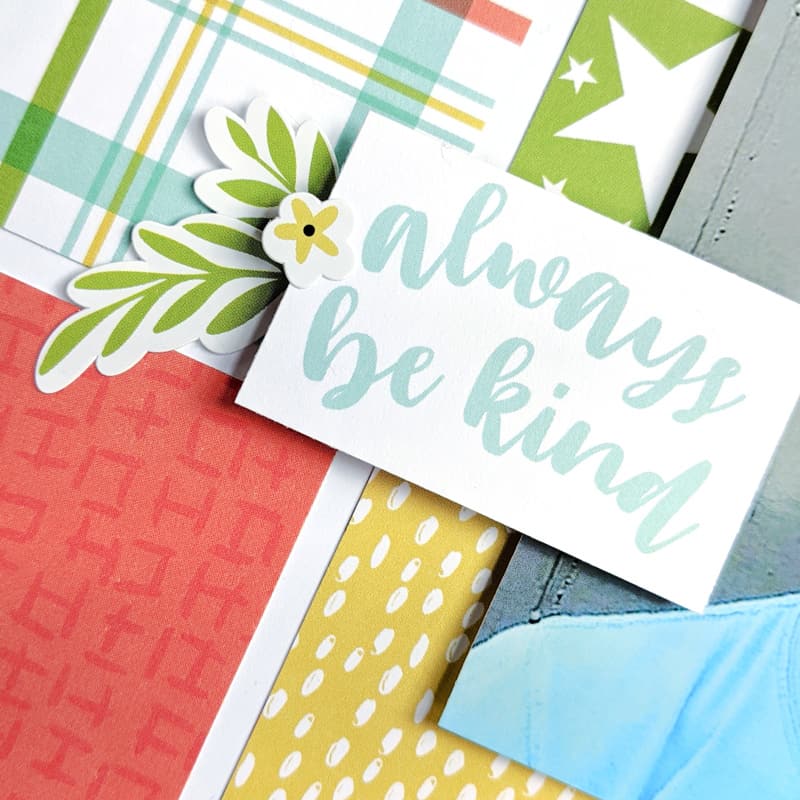
Once the colors are chosen, then comes the time to choose patterns. I always choose different patterns in different scales. For example, stars, dots, and checkers. I then ensure that one patterned paper includes all the colors of the other pieces. With this in mind, I strategically cut the plaid piece of patterned paper so that only the green, yellow, and orange were included. Yes, there’s also blue, but that’s my chosen accent color found in both my title and embellishment elements.
3. Color and pattern placement
Now, the real fun begins. For me, building a grid design is like solving a sudoku puzzle. Patterned papers are positioned so that no color, nor patterns are in the same horizontal or vertical rows and columns. That’s it! Easy peasy!
4. Photo and embellishment placement on the grid
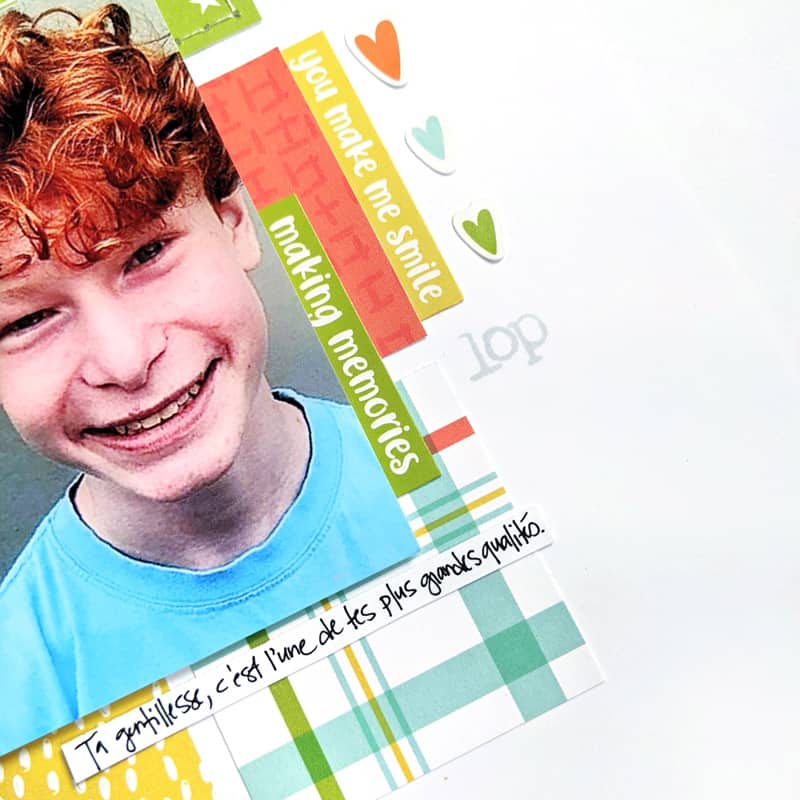
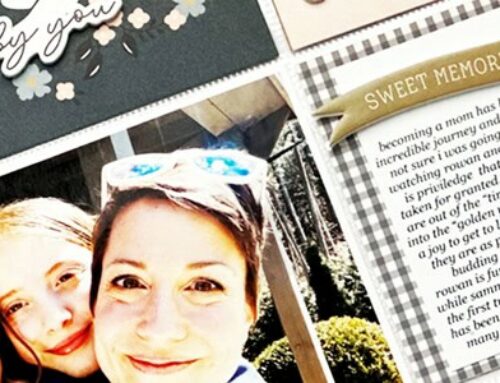
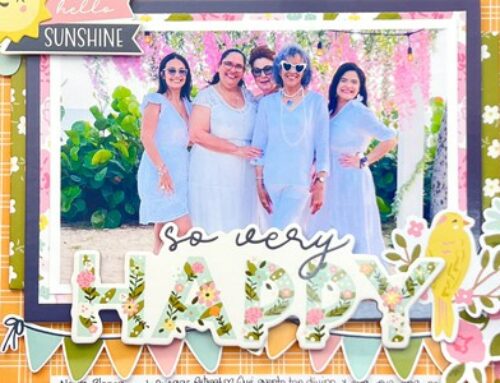
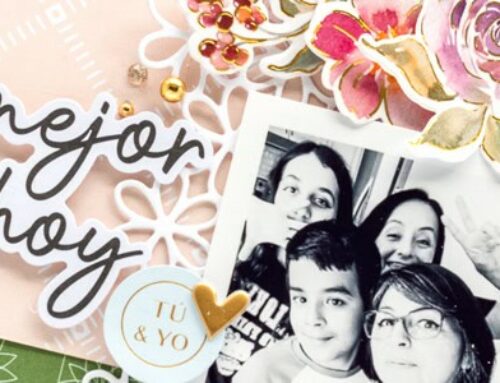
Okay—the work is done! Your grid is on your page. Now what? For me, it’s all about drawing the eye as naturally as possible to the photo. Oftentimes, I put my photo to the right of the grid and I build from there. On this layout, most embellishments were placed on the same row, but strategically color-wise. Notice how no two colors are directly one next to the other? Yup! On purpose. Furthermore, if you add up all embellishments and patterned papers in each color, you’ll get an uneven number. Of course, embellishments were placed in some kind of triangular pattern. See it? And finally, the journalling was used as the last element of embellishment around the photo, creating a triangular visual interest right where it packs in a punch, around my son’s sweet, handsome face on his 13th birthday last summer.
5. Make the most of your patterned papers.
Like most papercrafters out there, when shopping for new patterned paper, I’m usually drawn to the images I find on the collection packs. However, sometimes, it’s worth a peek or two inside to find hidden gems that aren’t on that front cover. It can be like finding that rare bonus track at the end of an album back in the day.
For example, I used Echo Park’s All About a Girl collection for this layout. Say what? By taking a closer look at all patterned papers in the collection pack, I found a surprise b-side that was key when designing my grid design. Do you see it? Yes! That orange pattern is the b-side of the rainbow patterned paper. Who would have thought by looking at the collection cover? And honestly, who would have thought that one could make this layout with this collection?
There you have it! I’ve lost count of how many grid designs I’ve created since I started scrapbooking. These tips simplify the process for me every single time and in return, cut the creative process and save me time. A collection pack and a few odds and ends and “boom!” I have a layout to cherish forever. Try it! You’ll see for yourself!
Watch this video as I explain all of the tips I shared in this post, and more!
Happy scrapping! And remember – always take a closer look at what’s really in those collection packs. You just may find what you’re looking for and find bonus patterns for your next project!

Hello! I’m so happy to see you here! First thing you should know about me: I L-O-V-E scrapbooking! It’s been an integral part of my life for more than a decade. I now consider myself a memory keeper. I mix and match elements of traditional scrapbooking with those of pocket scrapbooking all while documenting the small and big moments of my life with my husband and our two children in New Brunswick. For me, journalling is truly as important as photos. I also dabble in memory planning, MemoryDexing, and cardmaking. Finally, I thoroughly enjoy creating paper flowers to embellish my projects!
Find more of Aurélie’s creations at this link : Instagram

I love this layout! So colorful!
Bravo Aurelie, vraiment beau et si simple, une bonne inspiration et de bons “tips” ????
Very pretty
Beautiful layout! I love using grids on my pages!