
Happy Wednesday, friends! Today we are so HAPPY to welcome special guest Kathy Pisupati to the blog, who has been creating with a very happy new release from LDRS Creative! Let’s take a look at the cheerful, yet simple card that Kathy is sharing with us to bring a bit of sunshine to our day, and leave us inspired to create!
…………………….
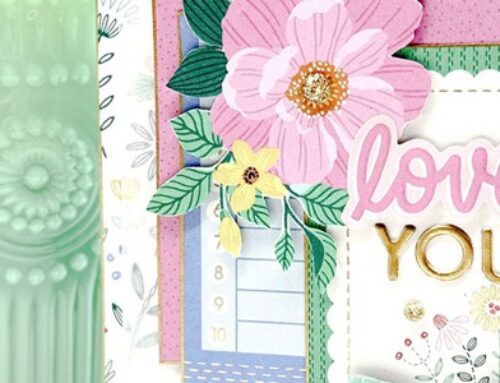
Happy day friends! It’s Kathy Pisupati with you today, and I am so excited to talk about cards that make your busy lives EASIER! Happy days are the only kind of days to have and when a card comes together quickly, that’s a happy day! The card I am sharing with you today will bring happiness to any recipient. My Happy Day card is simple to make, eye-catching, and made with beautiful ephemera, dies, toner paper, and ink from LDRS Creative.
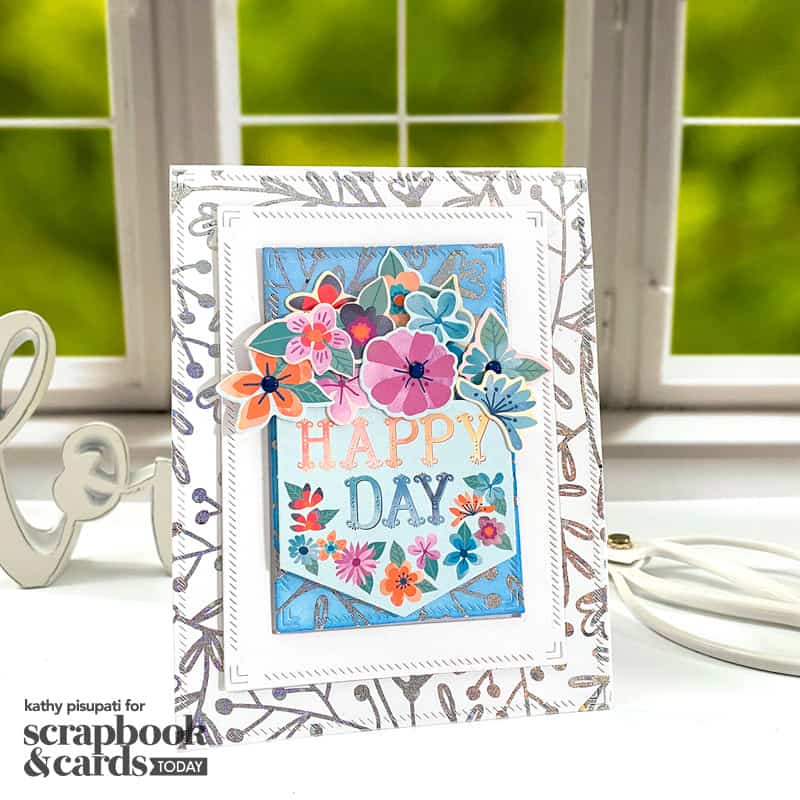
Supplies | LDRS Creative: One Fine Day Ephemera Pieces, A2 Diagonal Stitched Layered Card Topper Die Set, Diagonal Stitched Layered Frames, Floral Toner Toppers 6 x 6 Paper Pack, One Fine Day Enamel Dots, Dark Wash Jeans Hybrid Ink, Neenah Classic Crest Solar White 110lb card stock, Blender Brushes, Craft Glue; Therm O Web: Deco Foil Transfer Sheets – Iridescent; Additional supplies: laminator, foam tape
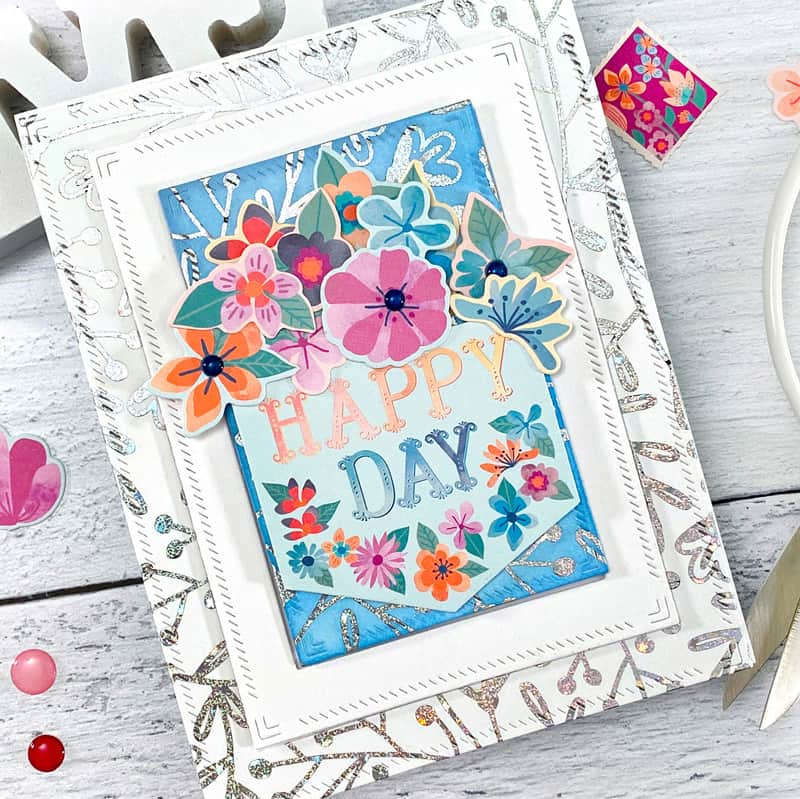
The One Fine Day Collection from LDRS Creative is a gorgeous collection from the February Release that includes stamps, dies, paper, and MORE essentials for your craft room! I wanted to use all the beautiful One Fine Day Ephemera from this collection (and make a quick card). The hardest part of this card was probably running the Floral Toner Topper through my laminator because I had to let the laminator heat up. (Tip: Let your laminator heat up for at least 15 minutes.) Cut a piece of cardstock to 6 x 6 inches. Lay down your cardstock, place the foil over the cardstock (shiny side UP), put it into a folded parchment paper sleeve, and run through your laminator.
You will cut the main panel and the two frames from this foiled piece. (Tip: Use a magnet sheet to line up your A2 Diagonal Stitched Card Topper and the two largest Diagonal Stitched Frames.) Tape them down with low-tack tape, remove and place them on cardstock. Following the instructions for your die-cutting machine, die-cut these pieces.
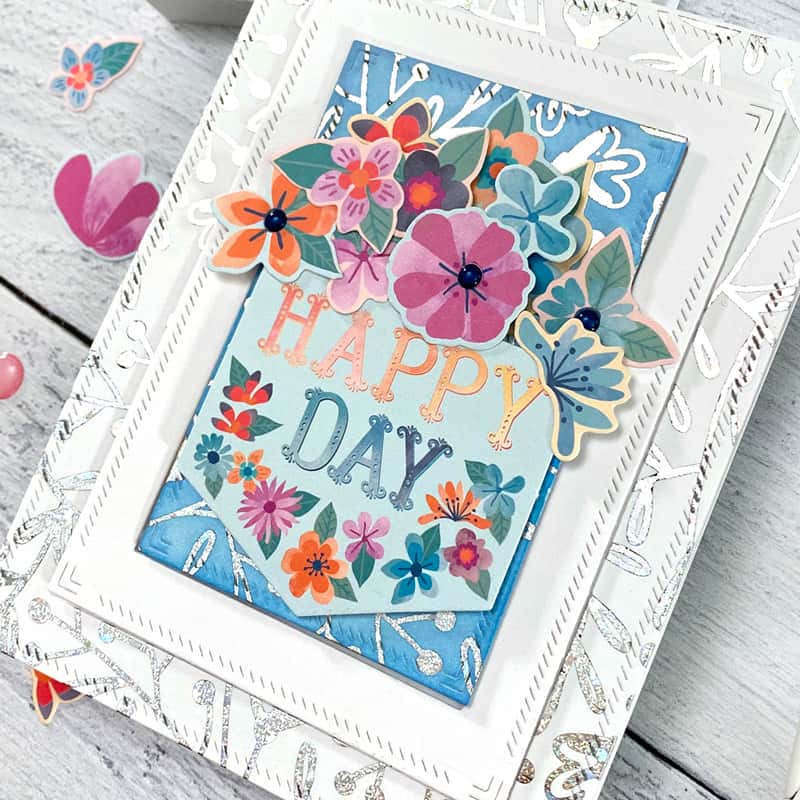
Using LDRS Blending Brushes, blend the smallest frame with Dark Wash Jeans Hybrid Ink. Leave the largest foiled piece in white. The middle-foiled frame can be used for another project. Using the largest layered frame, cut another from white card stock. This is the middle card panel.
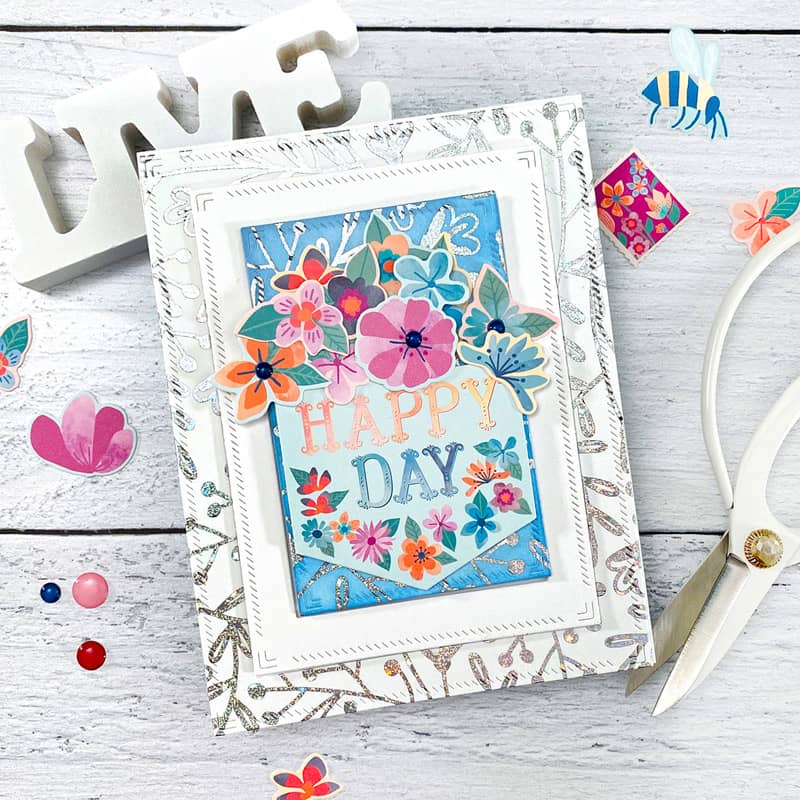
Select your pieces from the One Fine Day Ephemera pack and lay them out as you desire on the ink blended frame. (Tip: Use Press-N-Seal to pick up the layout.) Glue down the bottom pieces and work your way to the top. You can use foam tape to add dimension to the topmost layers. It’s okay if some of the flowers hang off the edges. Once everything is adhered, glue down the A2 Diagonal Stitched Card Topper to a top-folding A2 card base. Add foam tape to the white Diagonal Stitched Frames and the small, ink-blended frame and adhere these to the main panel.
Thank you so much for joining me today! Have you checked out the new release from LDRS Creative? What are you crafting today that makes you happy?

I’m Kathy Pisupati and live in Goodyear, AZ, where the weather is always beautiful. However, on most days you will find me in my craft room making cards or on Instagram checking out all your beautiful creations. I blog over at Expressive Paper. For me, cards are mini canvases that enable me to share my creativity with all of YOU! I love creating backgrounds, die-cutting, and ink blending. I also love to travel and meet people from all parts of the planet!
Find more of Kathy’s work at these links: Instagram | Facebook | Pinterest | Blog


I thought you had literally put your lovely card in a frame as a home decor❣️ Simply stunning, must check out that collection & dies. Thanks for sharing☺️
It’s a beautiful collection! Thanks for your kind words!
Such a pretty card. Love that washed Jean color.
Thank you Irene!
So beautiful/Stephi
Thanks so much Stephi!!!
what a gorgeous card, love the look and all the articles in your magazine, thanks so much
Thank you for the kind comments!
Such a beautiful card.
Thank you Claire!!!
Beautiful card. One for a frame for the recipient!
Thank you!
Such beautiful layering!
Thanks so much!!!
Beautiful card.