
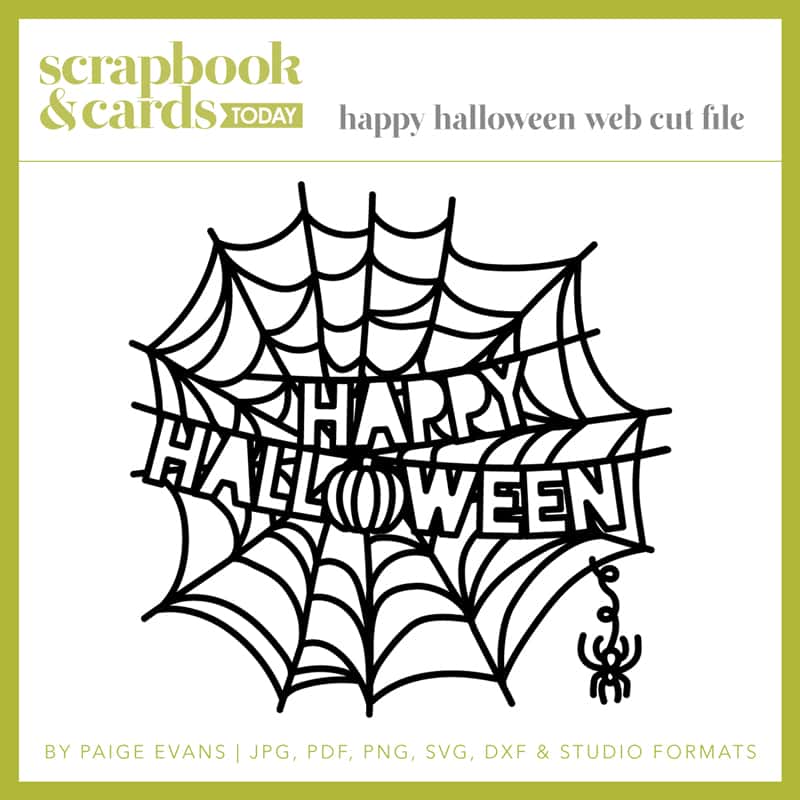
A thousand happy haunts my friends! It’s Victoria, and I am back with a spooky scrapbook layout featuring the Happy Halloween Web cut file by Paige Evans.
Click HERE to download this cut file for FREE!
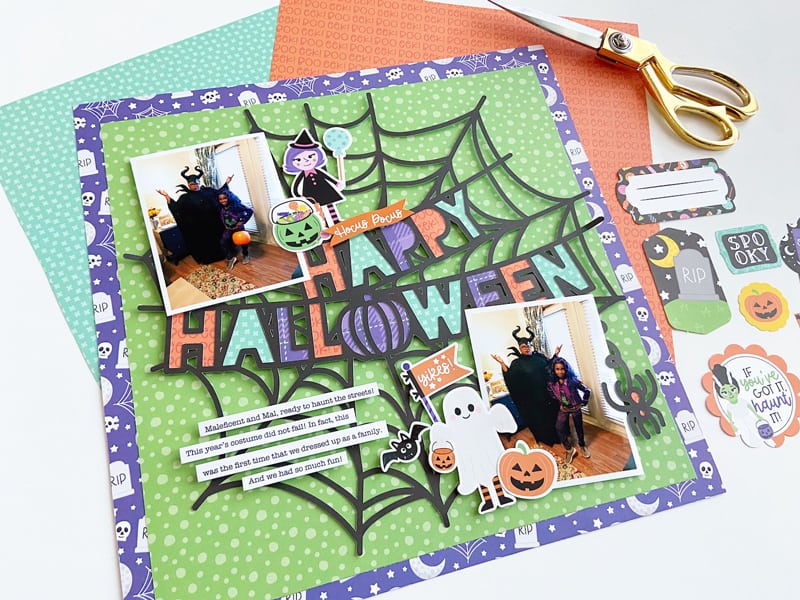
This cut file is perfect for documenting your Halloween stories. In fact, for this project, the cut file does all of the heavy lifting from a design standpoint. Pair this cut file with your favorite Halloween-themed patterned paper or a fall color scheme to create a frightfully wonderful scrapbook project! Let’s check it out!

Supplies | Echo Park Monster Mash Collection: patterned paper, stickers, solid paper pack; Scrapbook Adhesives by 3L: foam adhesive; Scrapbook.com: permanent adhesive
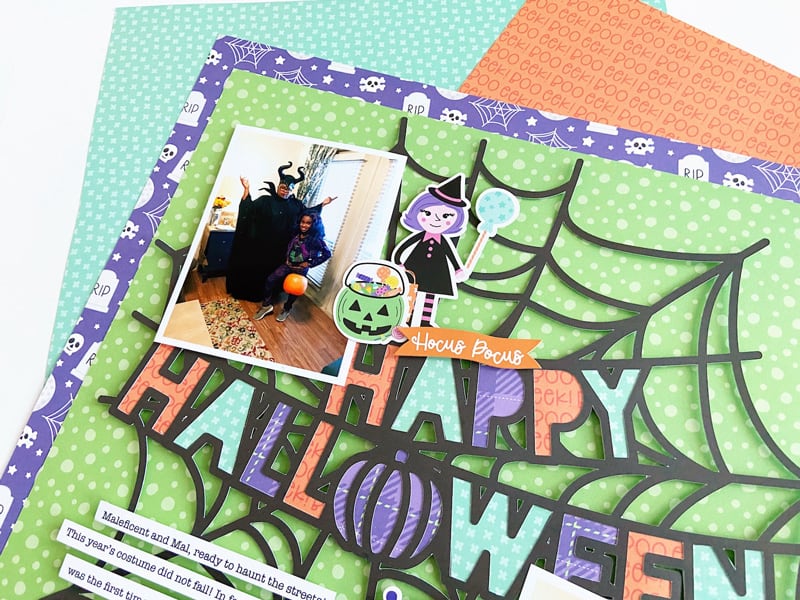
To begin, upload and cut the Happy Halloween Web cut file using your preferred electronic cutting machine. For this project, I used a Cricut Explore Air 2 to cut this file. Next, select 2-5 coordinating pattern papers—they will be used to back the Happy Halloween portion of the cut file design. TIP: Once cut, use the inside portion of the letters as a template for backing the outlined letters with coordinating patterned paper. Position the solid letter template on a piece of pattern or solid cardstock and with a pencil, trace the outline of the letter. Leave a bit of space around each letter to make it easier to adhere it to the back of the cut file design. Next, cut each letter from your selected pattern, erase the pencil marks, and glue it to the back of the cut file so that the pattern paper shows through the outline letter. Repeat this step for each letter until the entire design is filled in.
In addition to using coordinating pattern paper or solid cardstock, try experimenting with specialty paper such as glitter, textured cardstock, or vellum when backing elements on a cut file design. Using a variety of substrates will yield different and unique project designs!
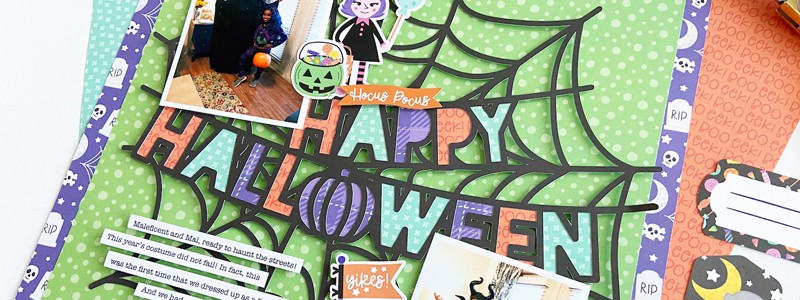
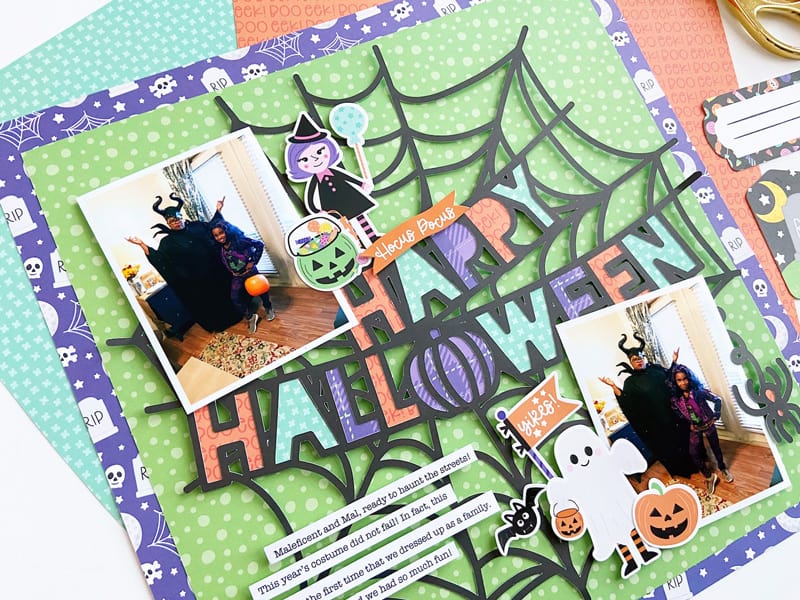
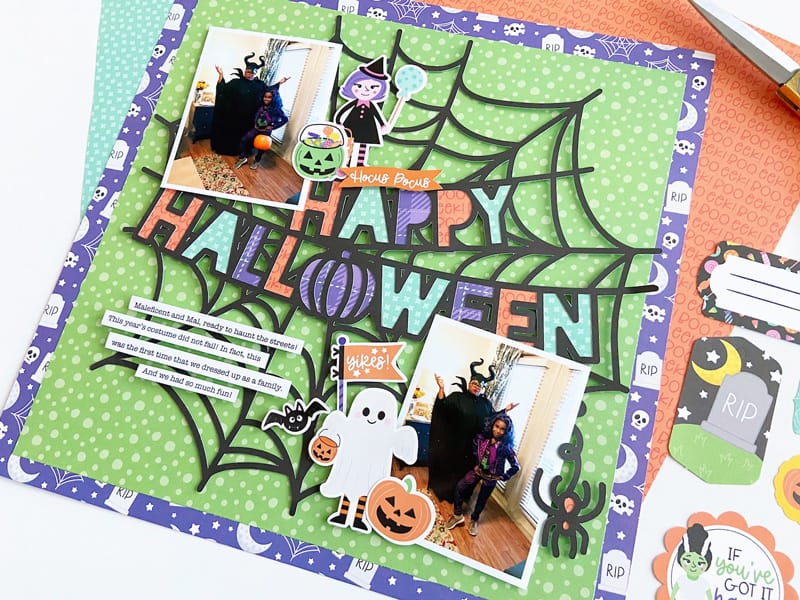
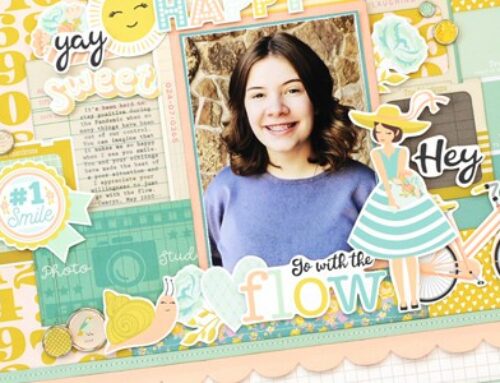
Next, create a background using a 12 x 12-inch patterned paper base and an 11 x 11-inch patterned paper layer (adhere as shown). To the center of the background, position the Happy Halloween Web cut file. TIP: Add adhesive foam to the back of the cut file letters for extra dimension and interest. Once the cut file is in place, position a 3 x 4-inch photo to the top left and the bottom right of the layout.
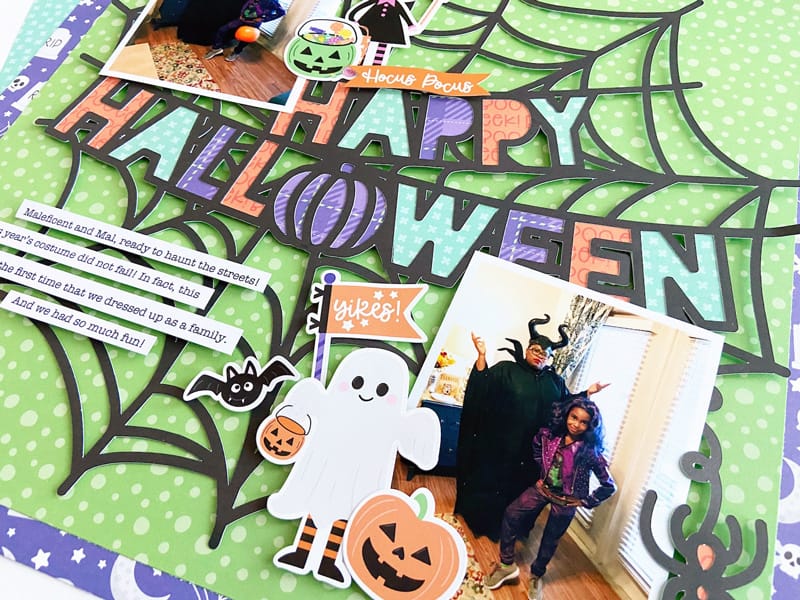
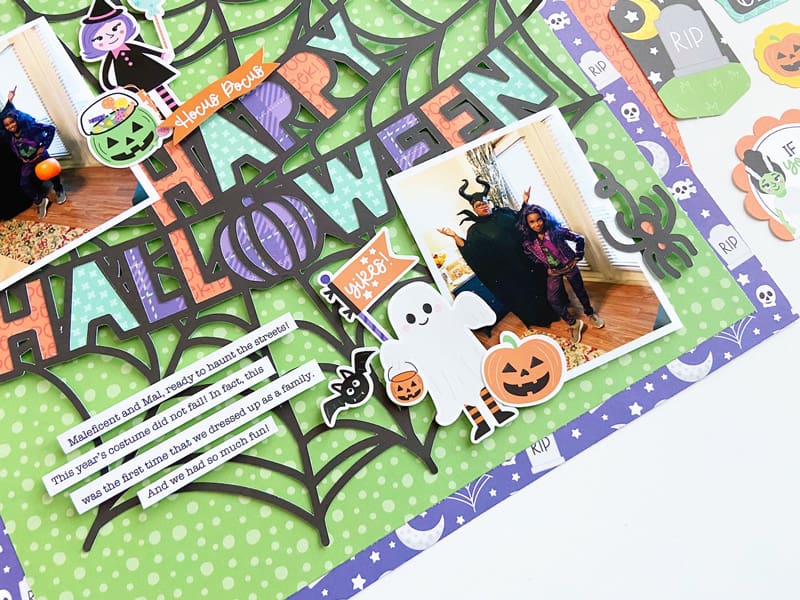
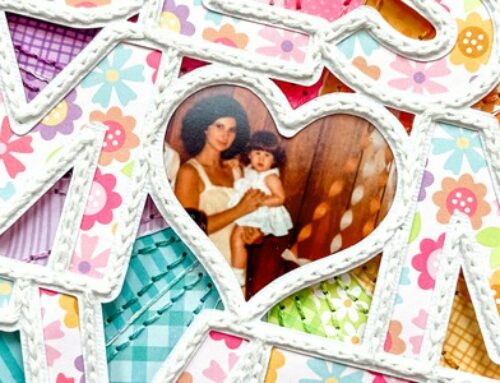
To complete this design, create a small cluster of layered embellishments next to each photo. Making a Halloween-themed layout is a great opportunity to use a variety of fun die cuts, stickers, and more! For this project, I used elements from the Echo Park Monster Mash Collection Kit which features a full set of spooky (and cute) icons to include a tiny ghost, a little witch, and pumpkins. Once both clusters are complete, add a few journal strips to the bottom left of the layout to document your Halloween adventures!
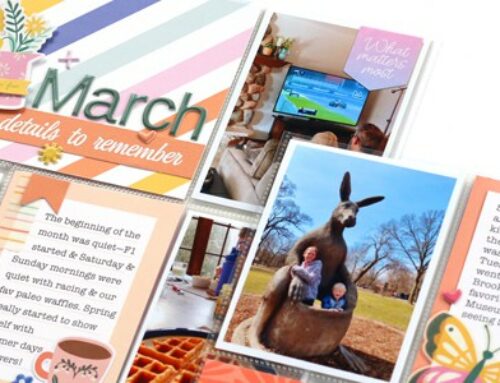
The Happy Halloween Web cut file adds a ton of visual interest to this project! Pair this cut file design with Halloween-themed pattern paper and embellishments to create a scrapbook layout that showcases your Halloween stories!
Be sure to watch how this layout comes together in my process video below, or click ‘watch on YouTube’ to see this video on the SCT YouTube Channel!
Also, be sure to download the Happy Halloween Web cut file by Paige Evens to use on your next scrapbook project!

Find more of Victoria’s work here: Blog | YouTube | Instagram | Facebook


What a fun layout! Thanks for the cute cut file :)
Fun layout!
Gorgeous layout and cut file, V!