
Hey friends! It’s Jess Francisco from Love, Jess. I’m excited to share a project with you on behalf of Ranger featuring the new Distress Watercolor Pencils from Tim Holtz and Ranger. This was such an exciting new product launch and I can’t wait to jump into this fun Halloween card with you. Let’s get started!
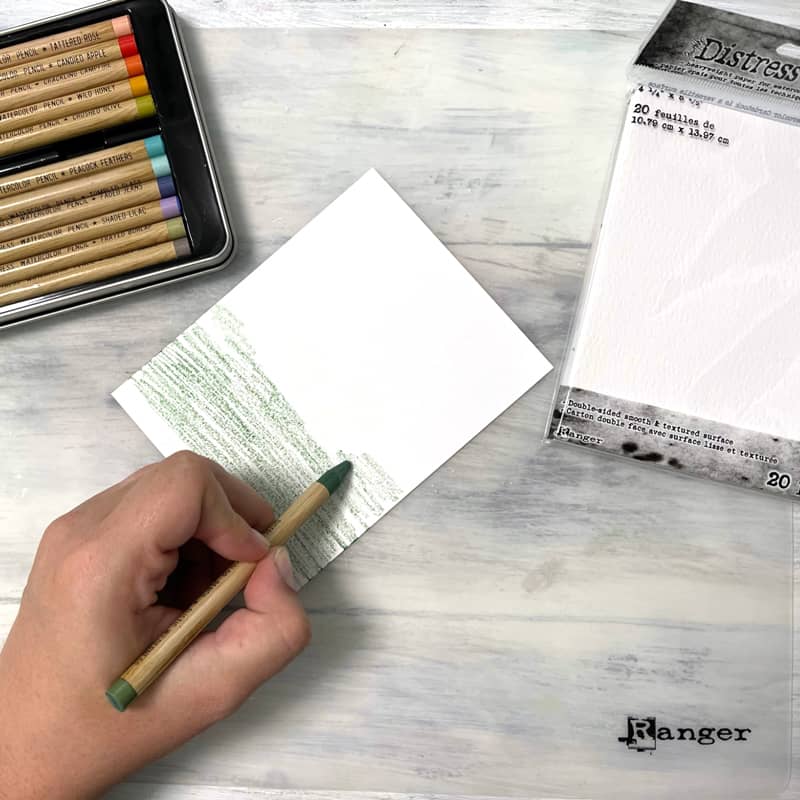
We’re going to create a super easy ‘watercolor wash’ for our background. Don’t panic, though, you don’t need to know a single thing about watercolor to make this background! We’re going to start with a piece of Distress Watercolor Paper. I prefer to work on the smooth side of the cardstock if I know I’ll be stamping later, so that’s the side we’ll use for this project. On the smooth side, use the Rustic Wilderness pencil to scribble (yes, just scribble it right on there!) directly on approximately the top ⅓ of the cardstock. Don’t worry about filling every tiny white space, just cover most of the area.
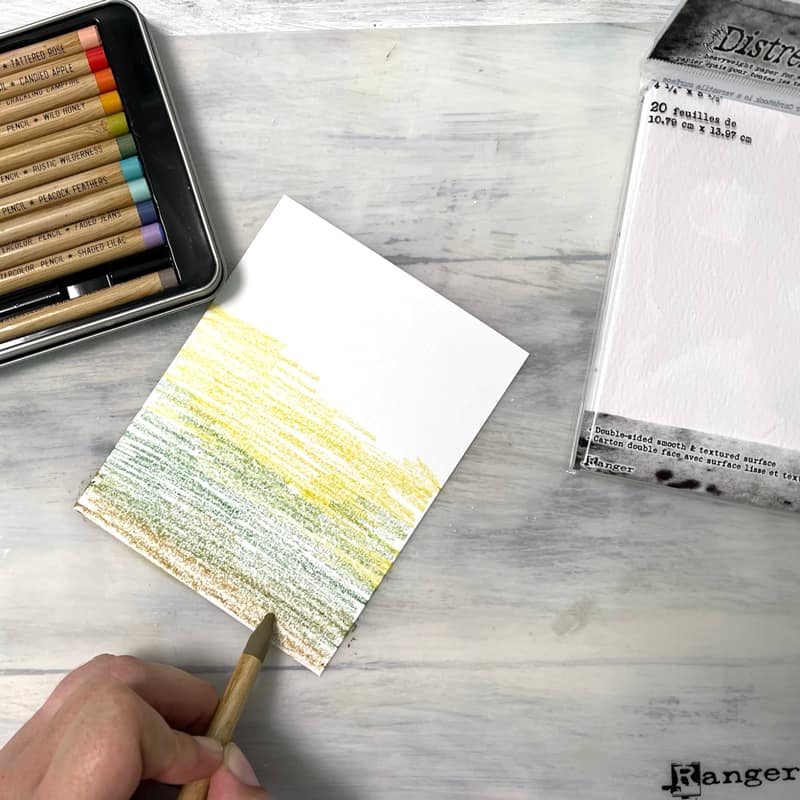
Repeat the scribbling process in Crushed Olive on the middle ⅓ of the cardstock. Then, grab the Frayed Burlap pencil and add a little right on top of the Rustic Wilderness from earlier. Layering the colors this way will give us a nice gradient effect when we add our water in the next step.
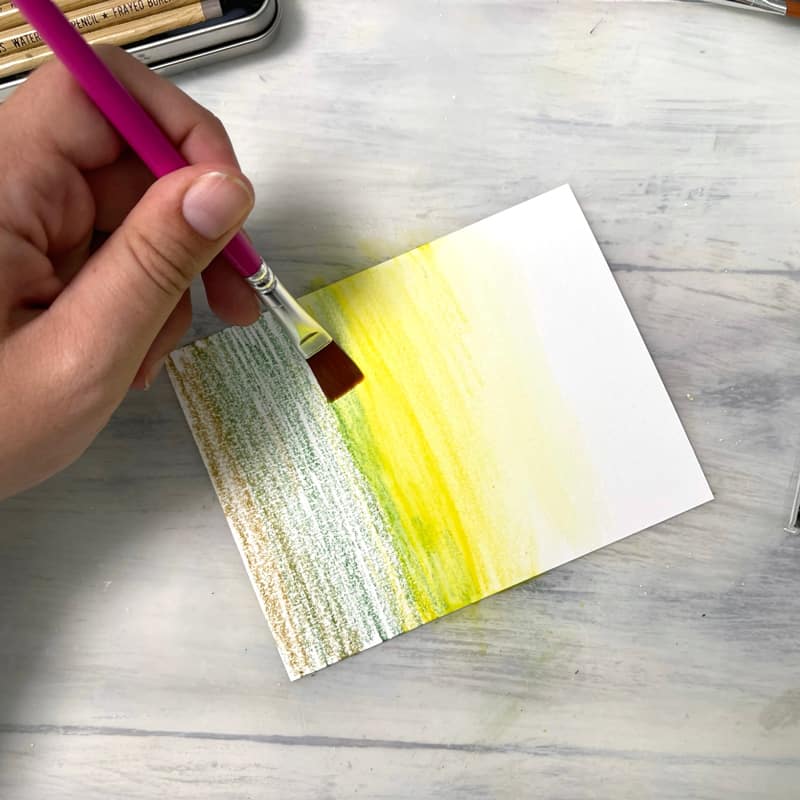
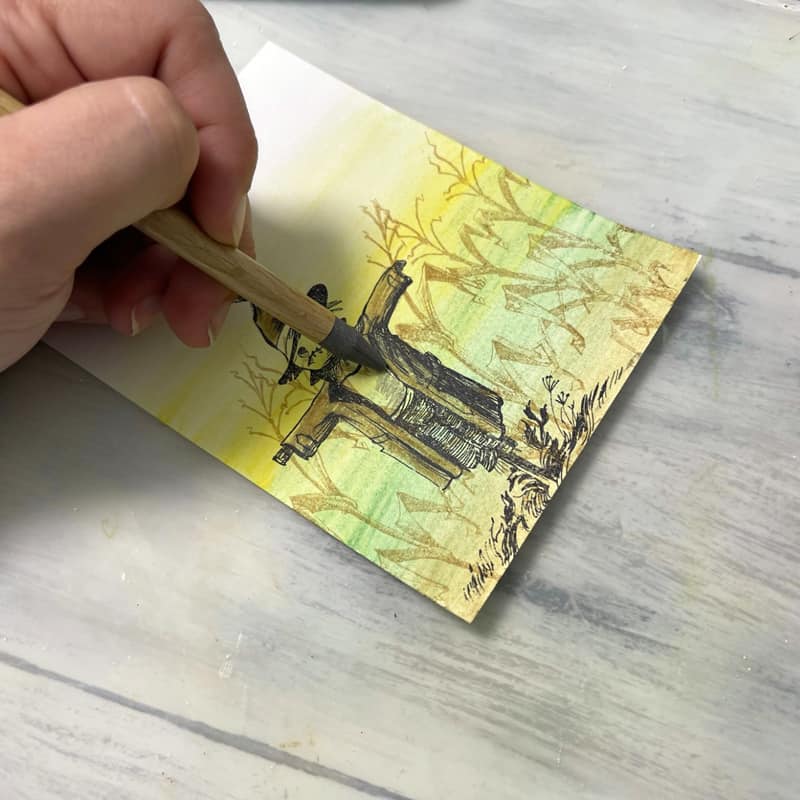
You’ll want to have a small cup or dish of clean water nearby for the next step. Dip your paintbrush into the clean water and swipe the brush back and forth over your scribbles. You can start from either end, but try to keep moving in one direction once you’ve started. This will help make your colors transition more smoothly. You can dip the paintbrush in the water as many times as needed, but just keep in mind that the more water you add, the less vibrant your colors will be in the end. If you feel like your colors are a little lighter than you wanted, you can go back and add more pencil right on top of your background once it has dried and repeat the process with your water and paintbrush.
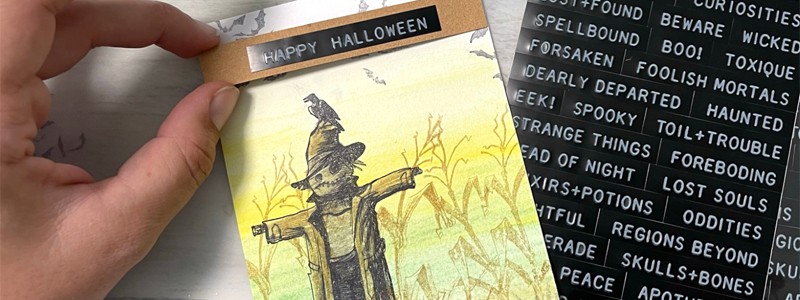
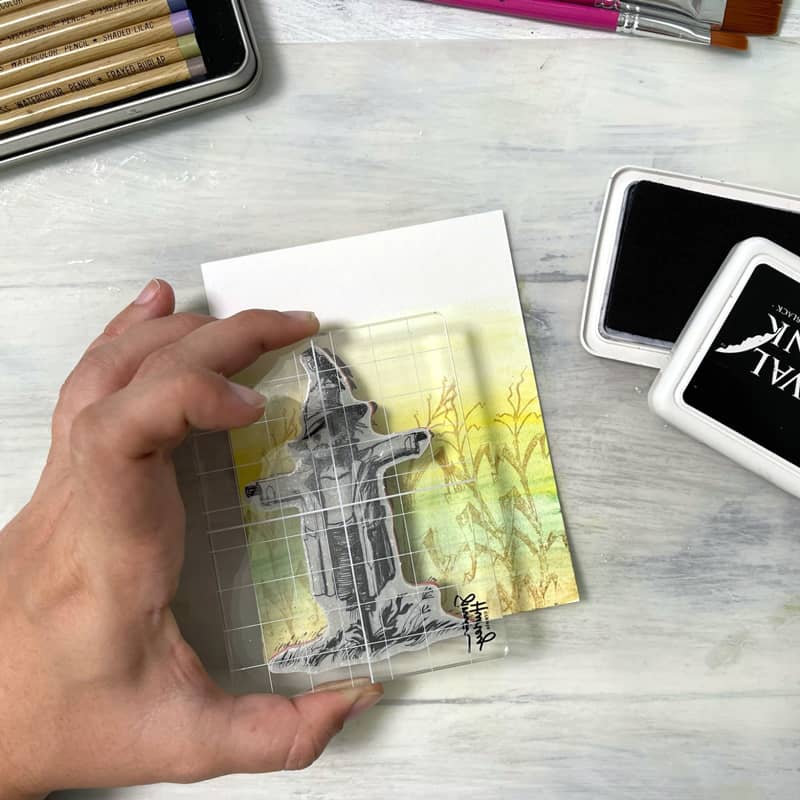
Once your background has dried, you’re ready to start building up the scene. I used the new ‘The Scarecrow’ stamp set from Tim Holtz and Stampers Anonymous. I love that there are lots of elements to choose from! To start, you’ll want to do a little ‘second generation stamping’ with the corn stalks. That just means you ink up your stamp, stamp it on a scrap piece of paper, then immediately stamp it again on your project. This gives a more translucent or faded impression of your stamped image, rather than having it at full opacity. Ranger Archival Ink in Coffee was the perfect color for this project. Repeat this process with the corn stalks until you’ve covered the bottom portion of your watercolor background.

Next, we’re going to add the spooky scarecrow to the foreground of our scene. Ink up the scarecrow in Ranger Archival Ink ‘Jet Black’ and stamp directly over top of your corn stalks. I like to make sure the bottom of the stamp is just off the cardstock so that it doesn’t look like it’s floating in midair in the scene. Give it a try!
You might have noticed that you can see through our scarecrow friend a little bit since he’s not a solid stamped image. No worries! Our trusty Distress Watercolor Pencils will save the day here. You can color directly over the stamped image to fill in any areas that aren’t solid. I used Frayed Burlap for the jacket and Hickory Smoke for the shirt. Feel free to change up the colors if you’d like! Add some finishing touches like bats in the sky (here’s another chance to practice some second-generation stamping!) or some hand-drawn blades of grass at the bottom to make your scene pop.
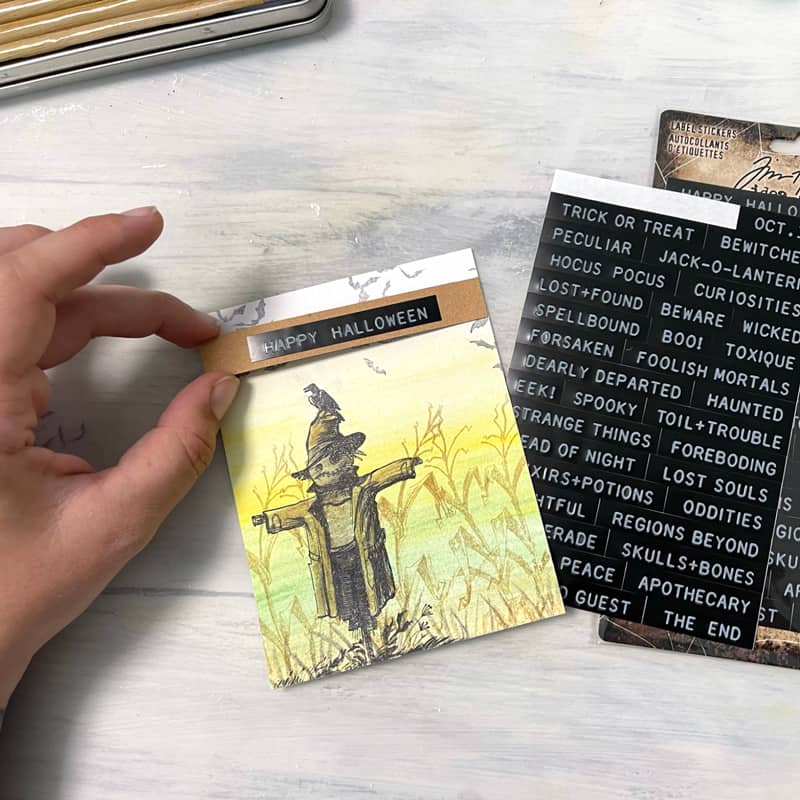
To pull our card together, we need a sentiment. The Halloween Label Stickers from Tim Holtz are perfect for this. Cut a strip of kraft cardstock to the width of your card and layer the ‘Happy Halloween’ sticker in the center. Attach the strip to your scene using your preferred adhesive.
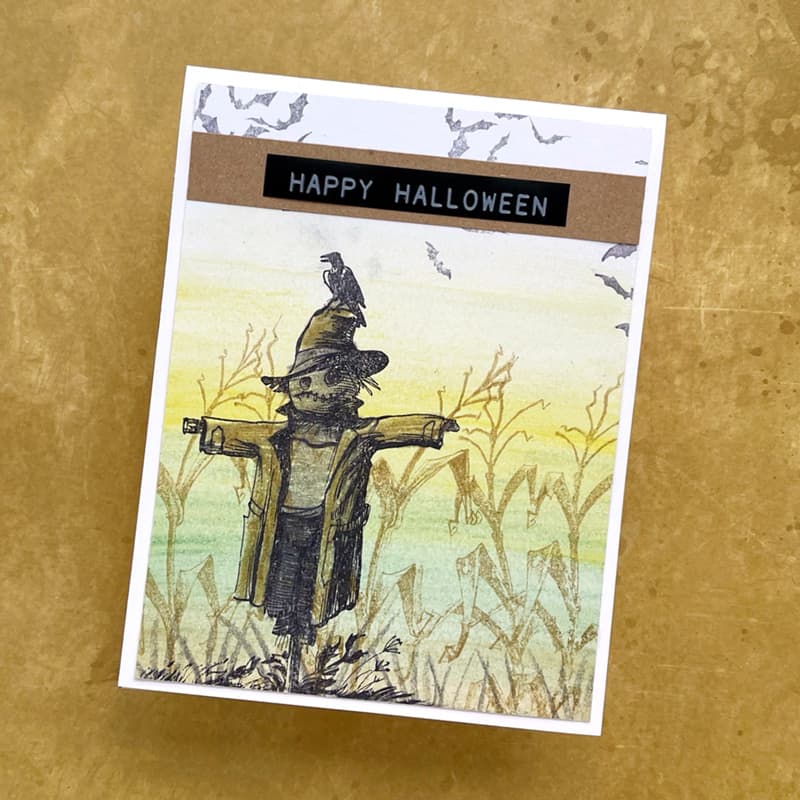
All that’s left is to mount your scene on a white A2-sized card base and you’re finished! Just like that, you’ve got a spooky cute Halloween Card ready to mail to whoever you’d like. Watercolor just because so simple thanks to the new Distress Watercolor Pencils. Now you can create beautiful backgrounds with just a little scribbling and some water. It’s like magic!
Supplies | Tim Holtz Distress® Watercolor Pencils – Set 3, Tim Holtz® by Stampers Anonymous ‘The Scarecrow’ Cling Stamp Set, Tim Holtz® Idea-ology Halloween Label Stickers, Ranger Archival Ink™ Pads: Jet Black, Coffee, Tim Holtz Distress® Watercolor Cardstock, Simon Hurley create. Stark White Cardstock, Dylusions 5 Piece Brush Set, Simon Hurley create. Stamping Blocks, Ranger Non-Stick Craft Sheet; Other: Kraft cardstock, scissors, adhesive, paper trimmer
I can’t wait to see what you create with these awesome new supplies. Be sure to tag us on social media (@sctmagazine, @ranger_ink, and @lovejessco) so we can see what you’re creating. Happy crafting, friends, and be sure to follow Ranger for more ideas using Distress Watercolor Pencils at the links below!


Thank you for sharing your card using the distress pencils. They look fun.
lovely card – thanks for sharing
Love seeing these in use!
I love the card! I want to try this technique with my new Distress watercolor pencils.
These pencils make it look easy to create a gorgeous card.
Gorgeous and such a neat technique!!!
Love this card. Thanks for sharing.
Fantastic! Love the card and technique! Thank you!