
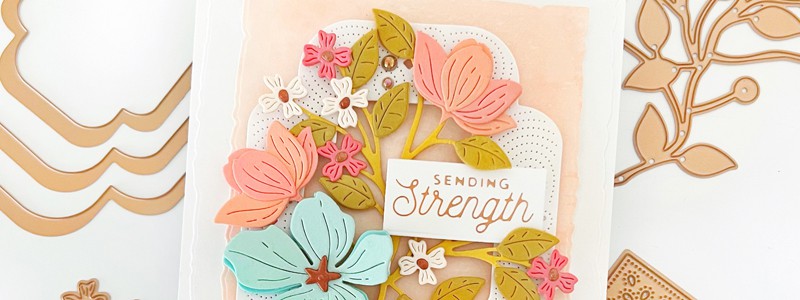
Hello and welcome, friends! It’s Dilay here today sharing a floral encouragement card that was inspired by a bonus card sketch featured in the Spring 2023 Issue! You can see the sketch below and on page 31 of the latest issue. I love framed florals, so I was immediately drawn to this sketch! My interpretation is a bit fuller, but that’s what’s awesome about sketches! You have a starting point but can always put your spin on it!

Supplies | Altenew: Watercolor Brush Markers, Spellbinders: Colored Cardstock, Sealed Glimmer Sentiments Hot Foil Plate, Four Petal Thank You Floral Etched Dies, Scrolled Punch & Pierce Plate Etched Dies; Honey Bee Stamps: Honey Bee Stamps Deckle Edge A2 Dies; Ranger Ink: Tim Holtz Distress® Watercolor Cardstock; Scrapbook & Cards Today: Water brushes package, SCT Exclusive 100 lb Cover Cardstock; Scrapbook Adhesives by 3L: Thin Foam Squares, E-Z Runner Grand Adhesive Runner; Gina K. Designs: Connect glue
To begin, I lightly sprayed a piece of watercolor paper and added a light wash of color using the SCT watercolor brush pens and Altenew’s watercolor brush marker in Rouge, then set it aside to dry. The watercolor application does not have to be perfect and looks more organic when it’s not in my opinion.
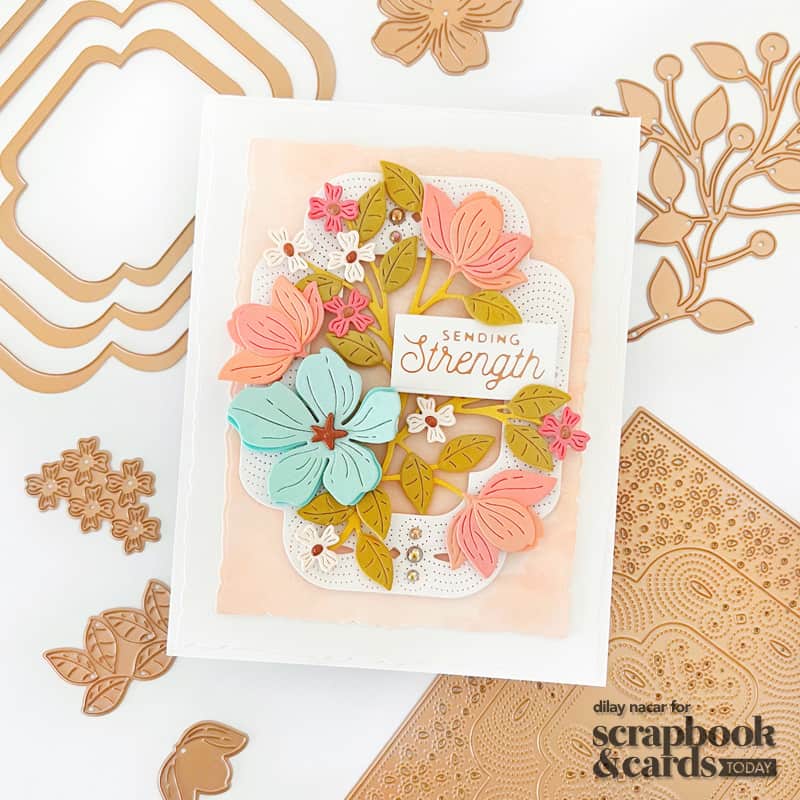
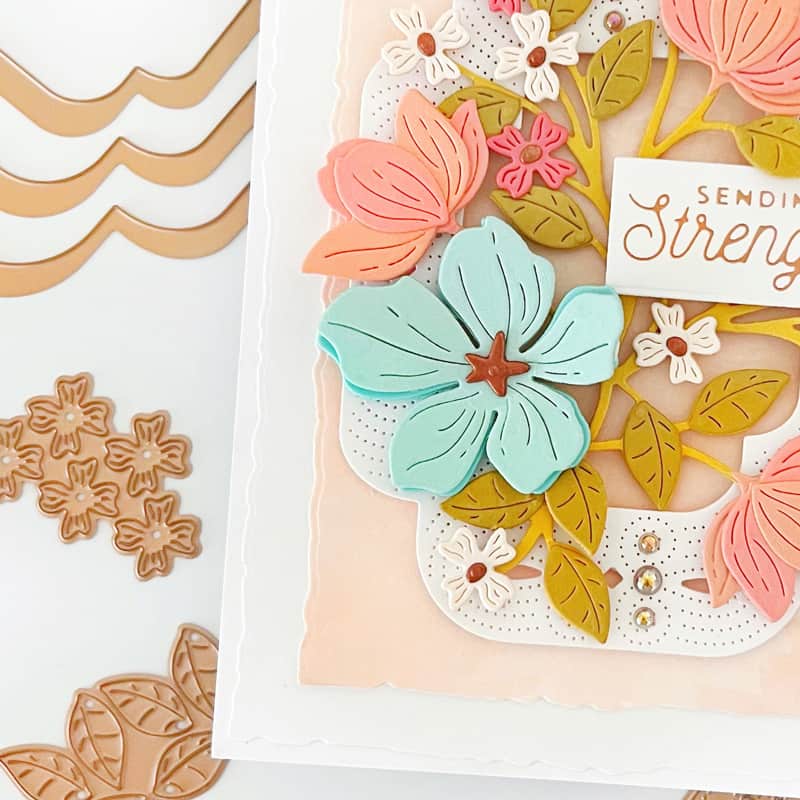
For the next step, I die-cut the Spellbinders Four Petal Thank You die in various cardstock shades from Spellbinders, then assembled it accordingly. Next, I die-cut the Spellbinders Scrolled Punch & Pierce Plate in white cardstock, then used only the center frame to create a backdrop for the die-cut blooms.

Now that the watercolor background is dry, I used the Honey Bee Stamps Deckle Edge A2 die set to die cut it (If you don’t have these dies, you can always use a specific trimmer or the edge of a ruler to create the same effect.) then a second larger one in white, and adhered the watercolor one over top. Next, I adhered the frame to the center with foam tape, before adding the blooms. I shifted the petals and leaves as needed, then used thin foam tape to secure them to the frame.
For the sentiment, I foiled Sending Strength from the Spellbinders Sealed Glimmer Sentiments Foil Set using Copper foil. I then trimmed it down and adhered it to the frame using more foam adhesive. To finish, I added small pearl embellishments to the frame and mounted it to the finished project to a top folding card base.
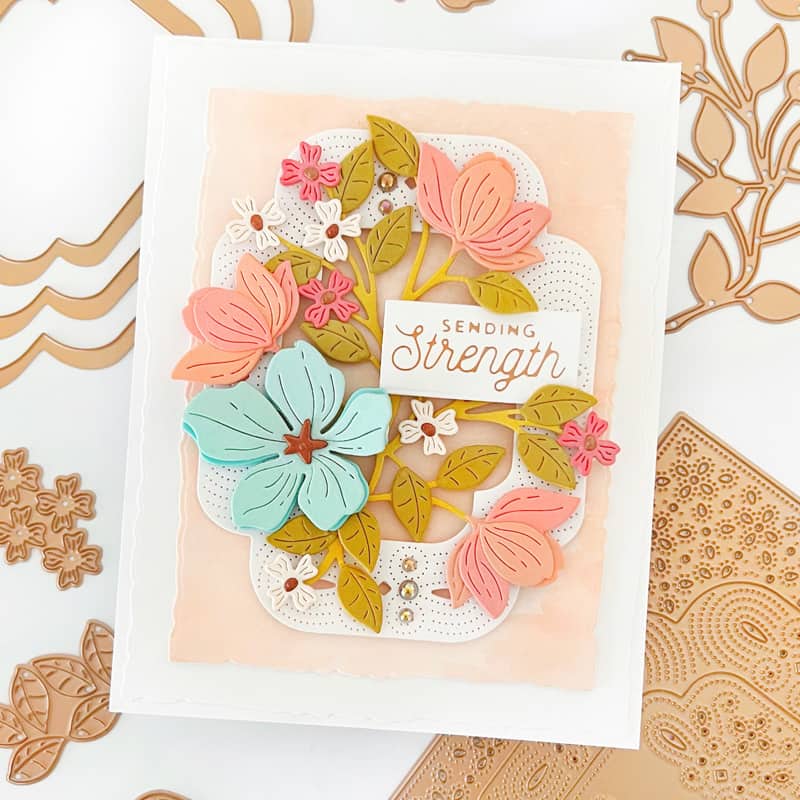
I loved using this sketch as a starting point to create this card! If you see a sketch or idea that inspires you, be sure to give it a try! I can’t wait to see what you create with this sketch!

Find more of Dilay’s work here: Instagram | YouTube | Blog | Facebook


Beautiful color palette and card.